
Rotator
Tutorial
Rotator TUtorial
This model from 5:√3 paper has long spikes emerging from mountains. It is fairly stable and can be made in a variety of geometries.

Step 1
Start with a 5:√3 rectangle and fold and unfold lengthways.
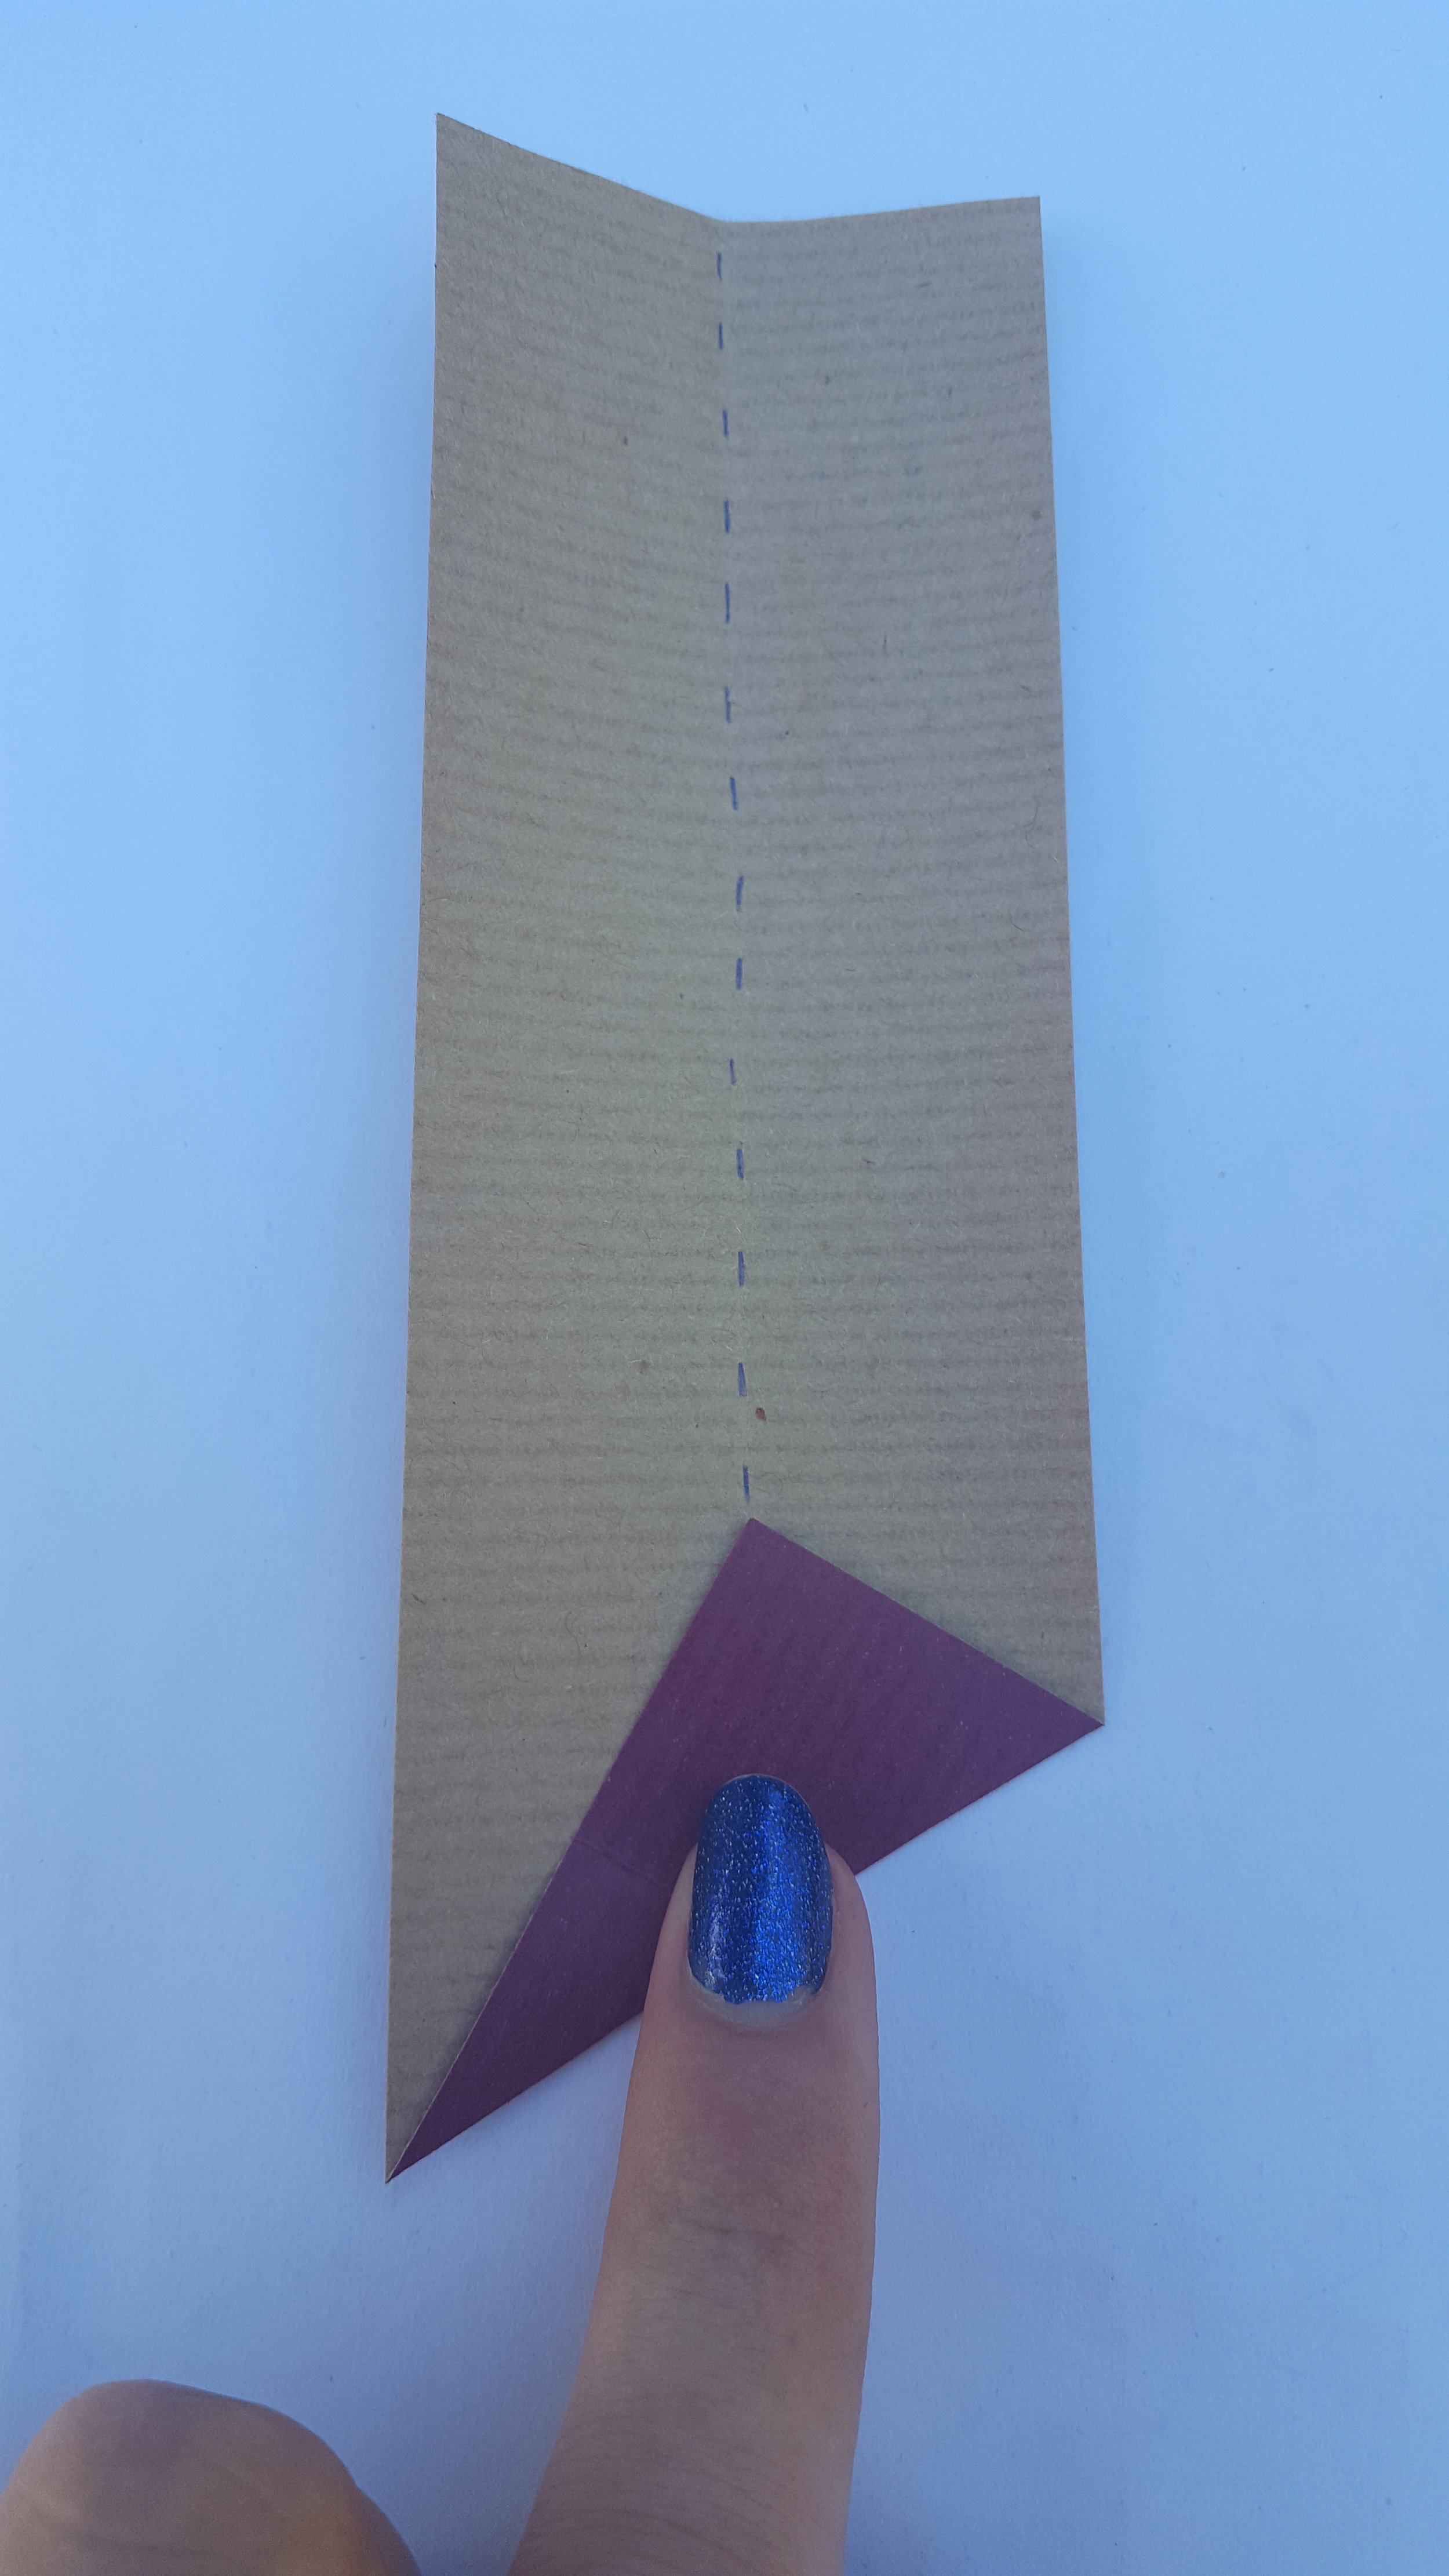
Step 2
Bring the bottom right corner to lie on the centre line so that the crease formed passes through the bottom left corner.

Step 3
Repeat at the top with the top left corner.

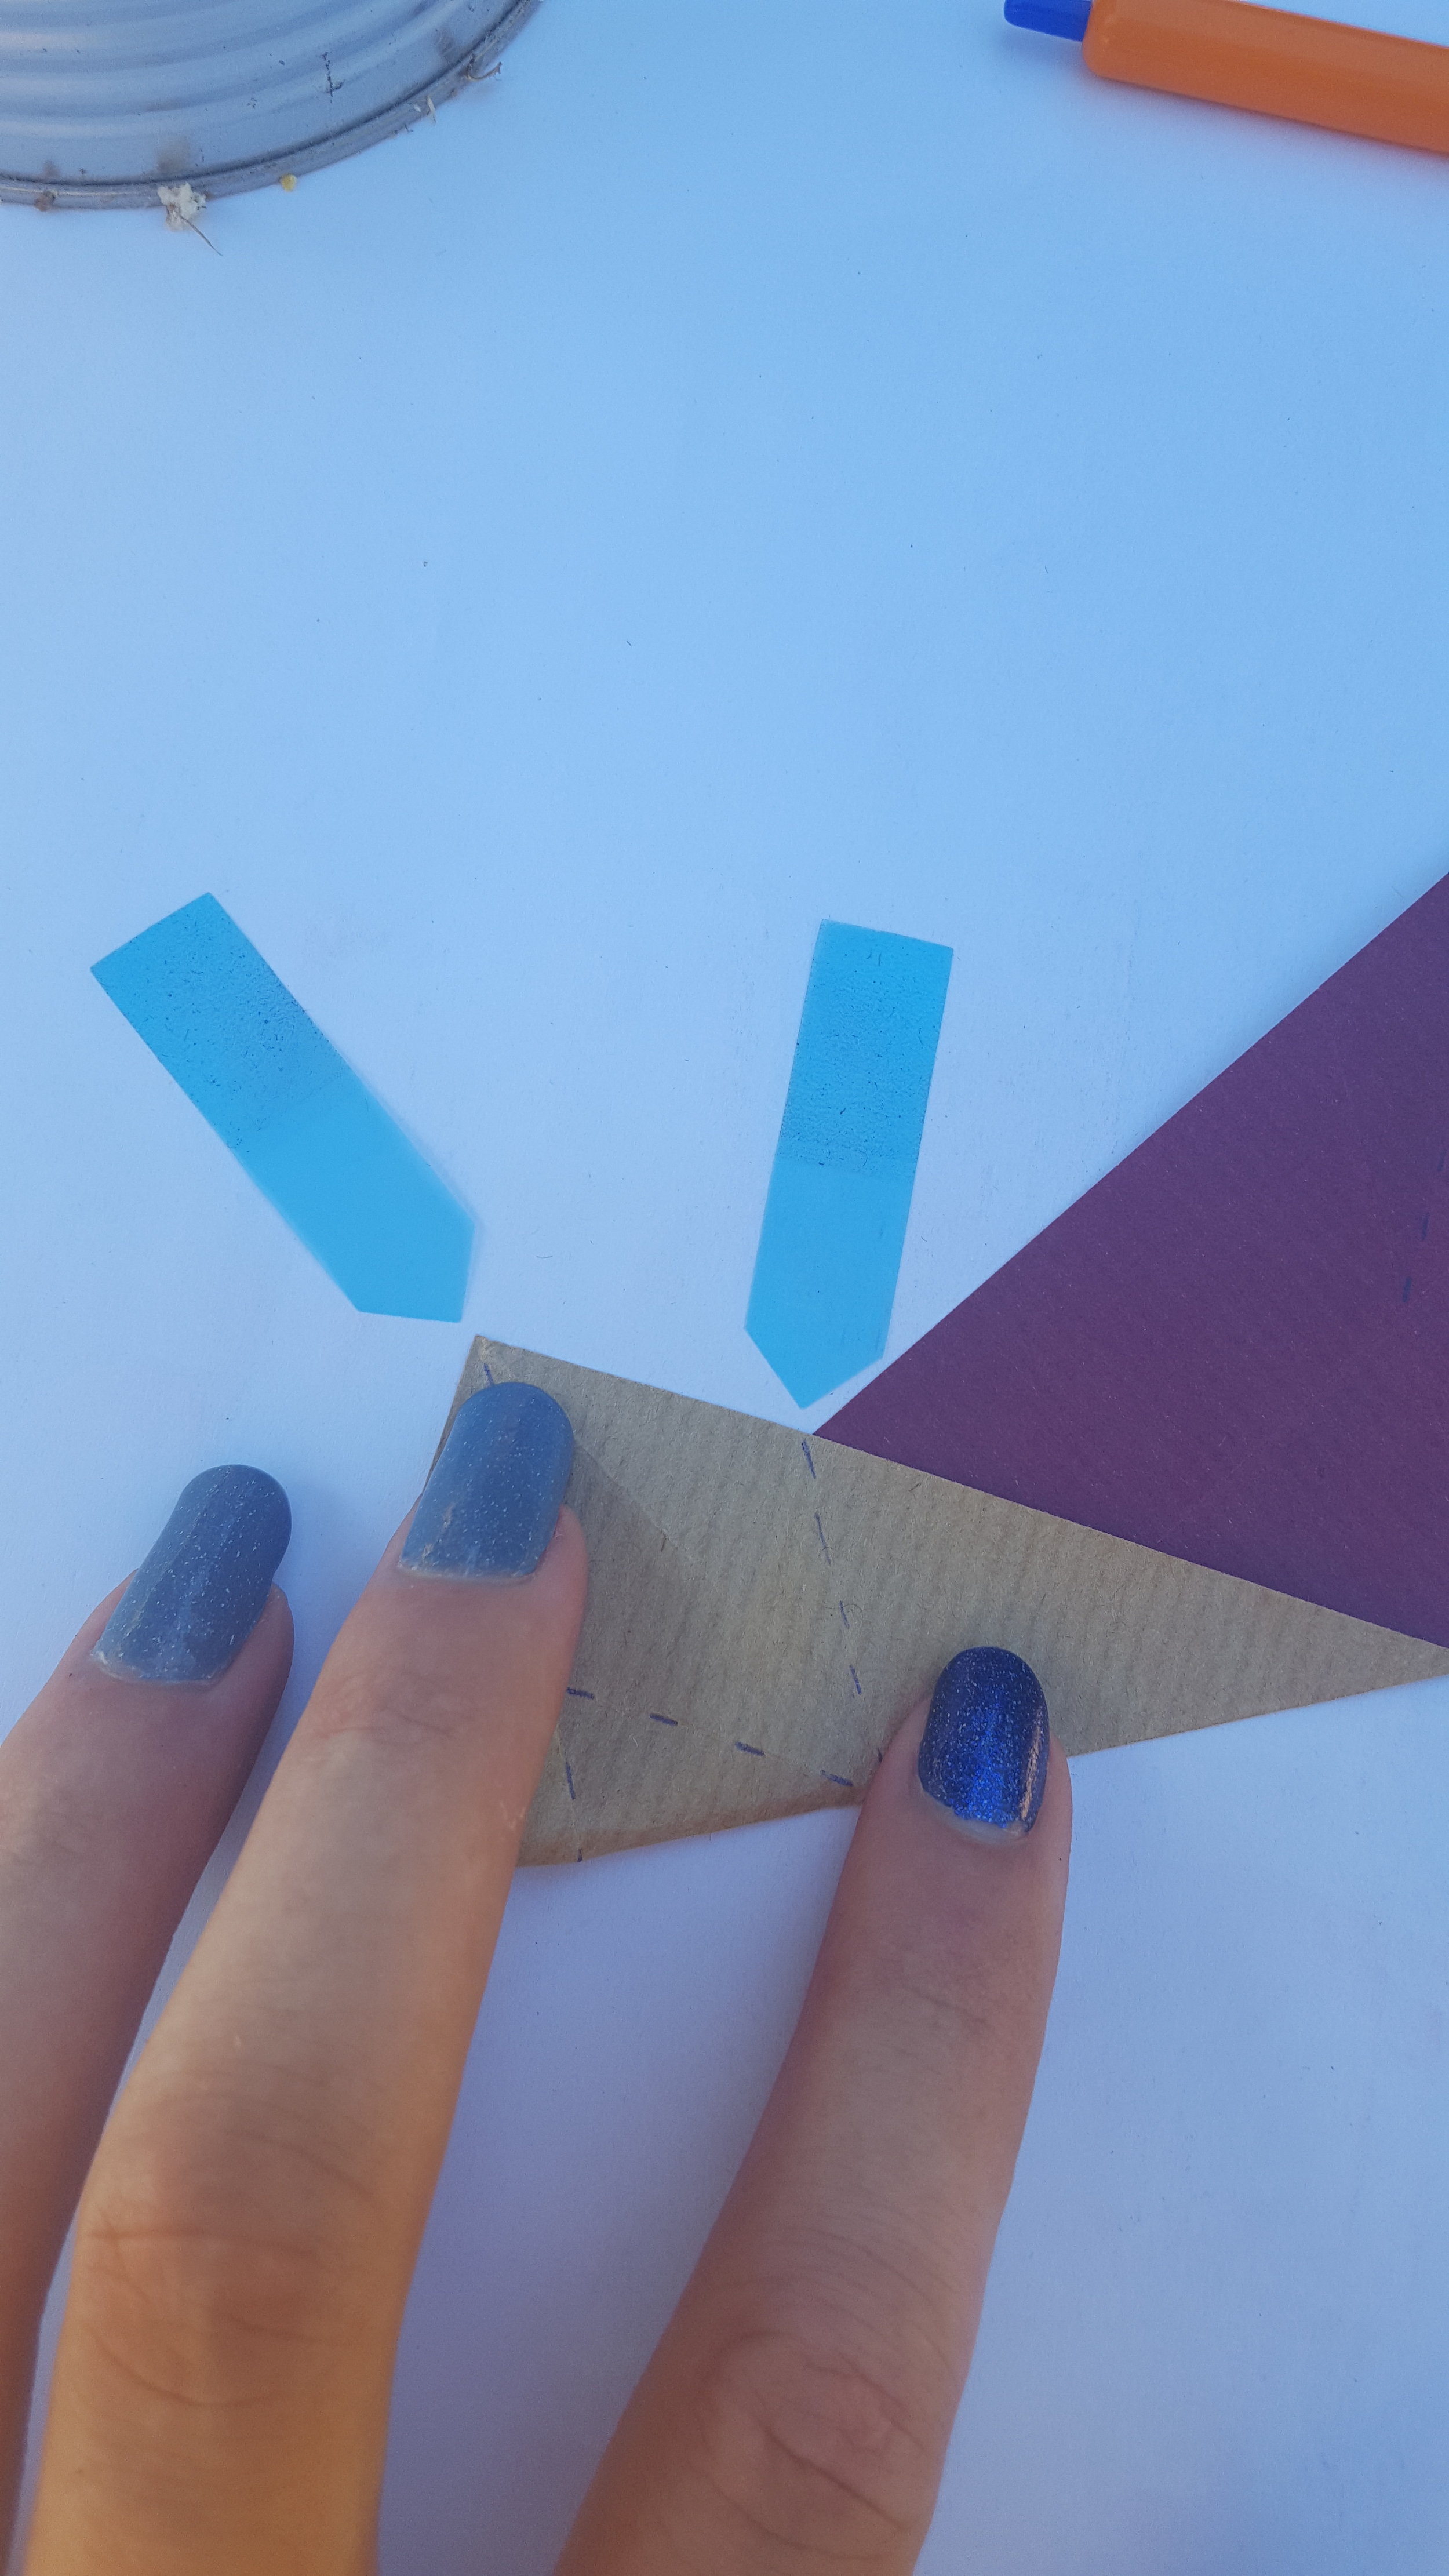
Step 4
Fold the bottom edge up again so that the corner lies on the centre line and the mid crease lies on the left edge (see blue arrows)

Step 5
Repeat the previous fold at the top of the paper. and then unfold back to step 3.

Step 6
Turn the paper over.

Step 7
Fold the bottom angled edge to meet the right side of the paper, but only make a crease up to the mid-line.

Step 8
Repeat at the top of the paper.

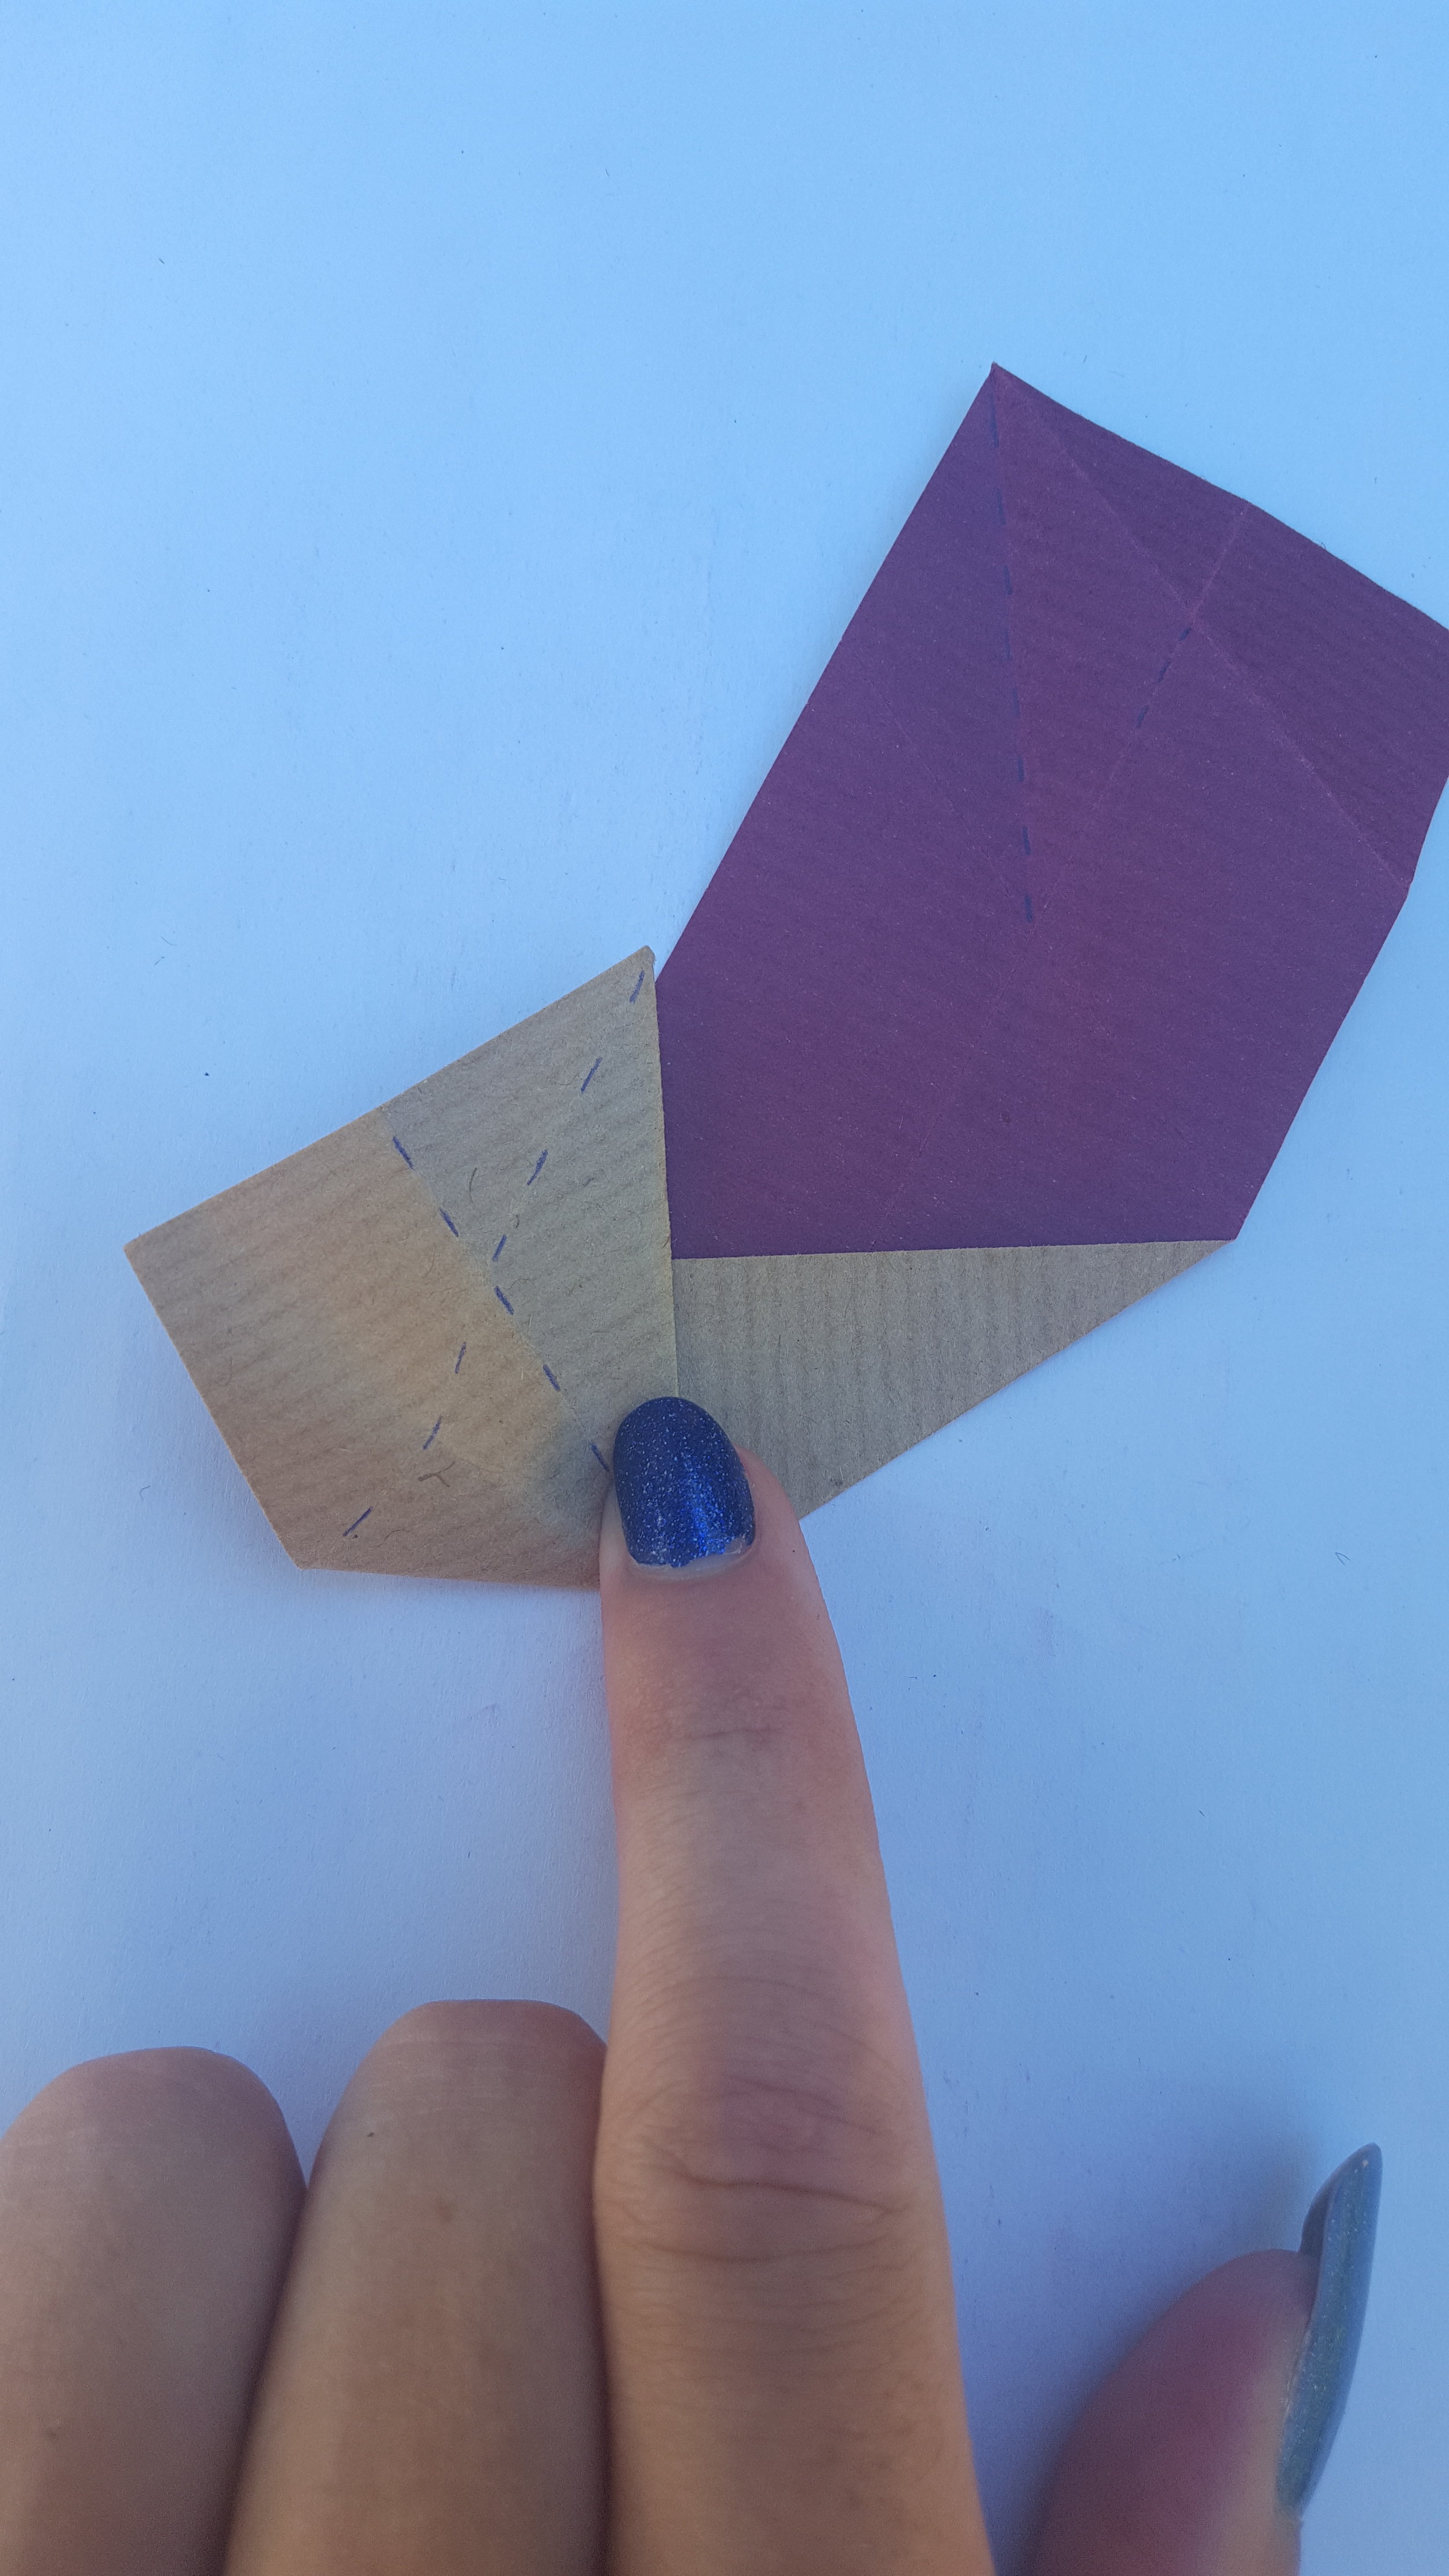
Step 9
Unfold the paper from behind. Note the ends of the crease made in step 4, bring these together in the next step.
Step 10
Only crease in the upper part of the paper. Swivel the top layer of paper using the mountain and valley folds indicated by the blue arrows.
Step 11
Once the paper has been swivelled crease the rest of the paper so it lies flat.

Step 12
Fold in the left triangle.

Step 13
Repeat steps 10-12 at the top of the paper.

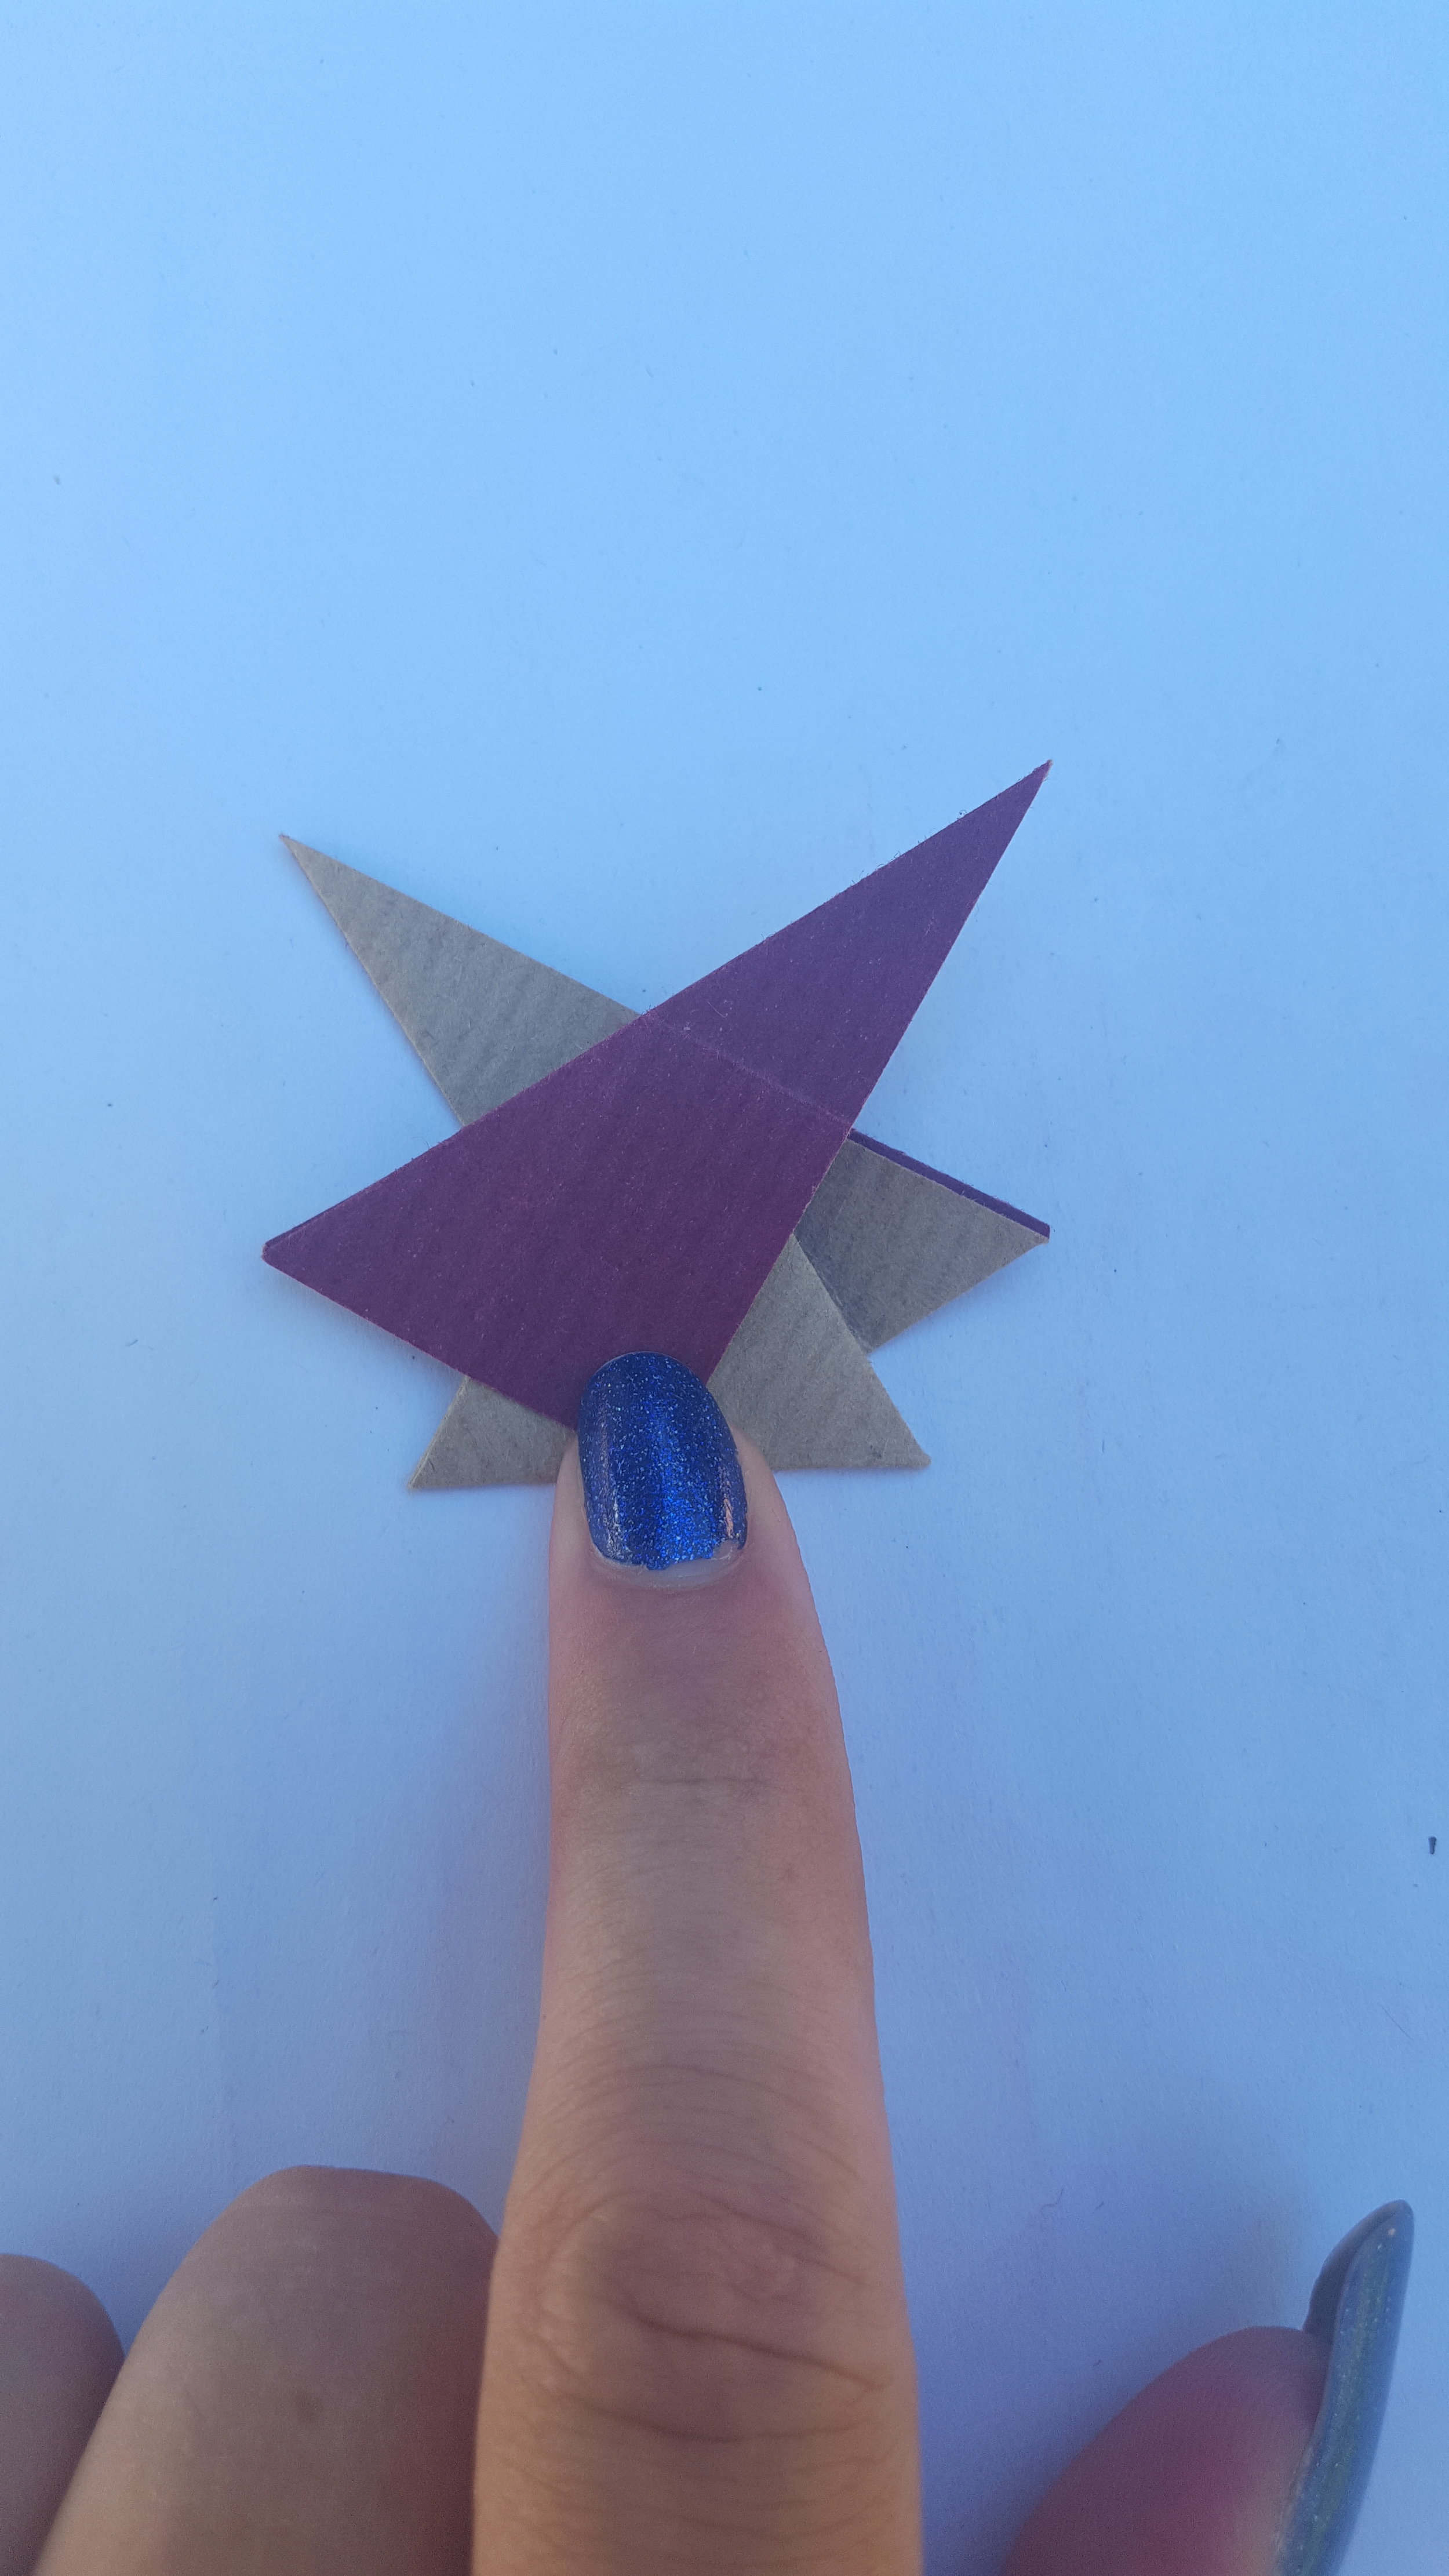
Step 14
Make a fold so the middle crease on the red triangles align, (see blue arrows)
Rotate the unit.

Step 15
Bring the top top right tip down so the right edges stay parallel and aligning the points shown.

Step 16
The result. Unfold this last crease.

Step 17
Now bring the top right corner over to the left aligning the points shown and forming the indicated crease. Allow the spike to move from behind - Do NOT fold through all layers.

Step 18
The result,
Step 19
Repeat steps 14-18 on the other side of the model and then your unit is complete. Unfold slightly to begin assembly,

Assembly
Insert the flap into the pocket in order to connect the units, Form 5 sided mountains for dodecahedral symmetry or 3 sided mountains for icosahedron symmetry.


Completed model with Dodecahedral symmetry.