
Rose Quartz Tutorial
This model is suitable for a variety of geometries, though each one presents its own challenges. The module is relatively easy to fold, but the assembly is moderately difficult so it is not a good model for a beginner folder.

Step 1
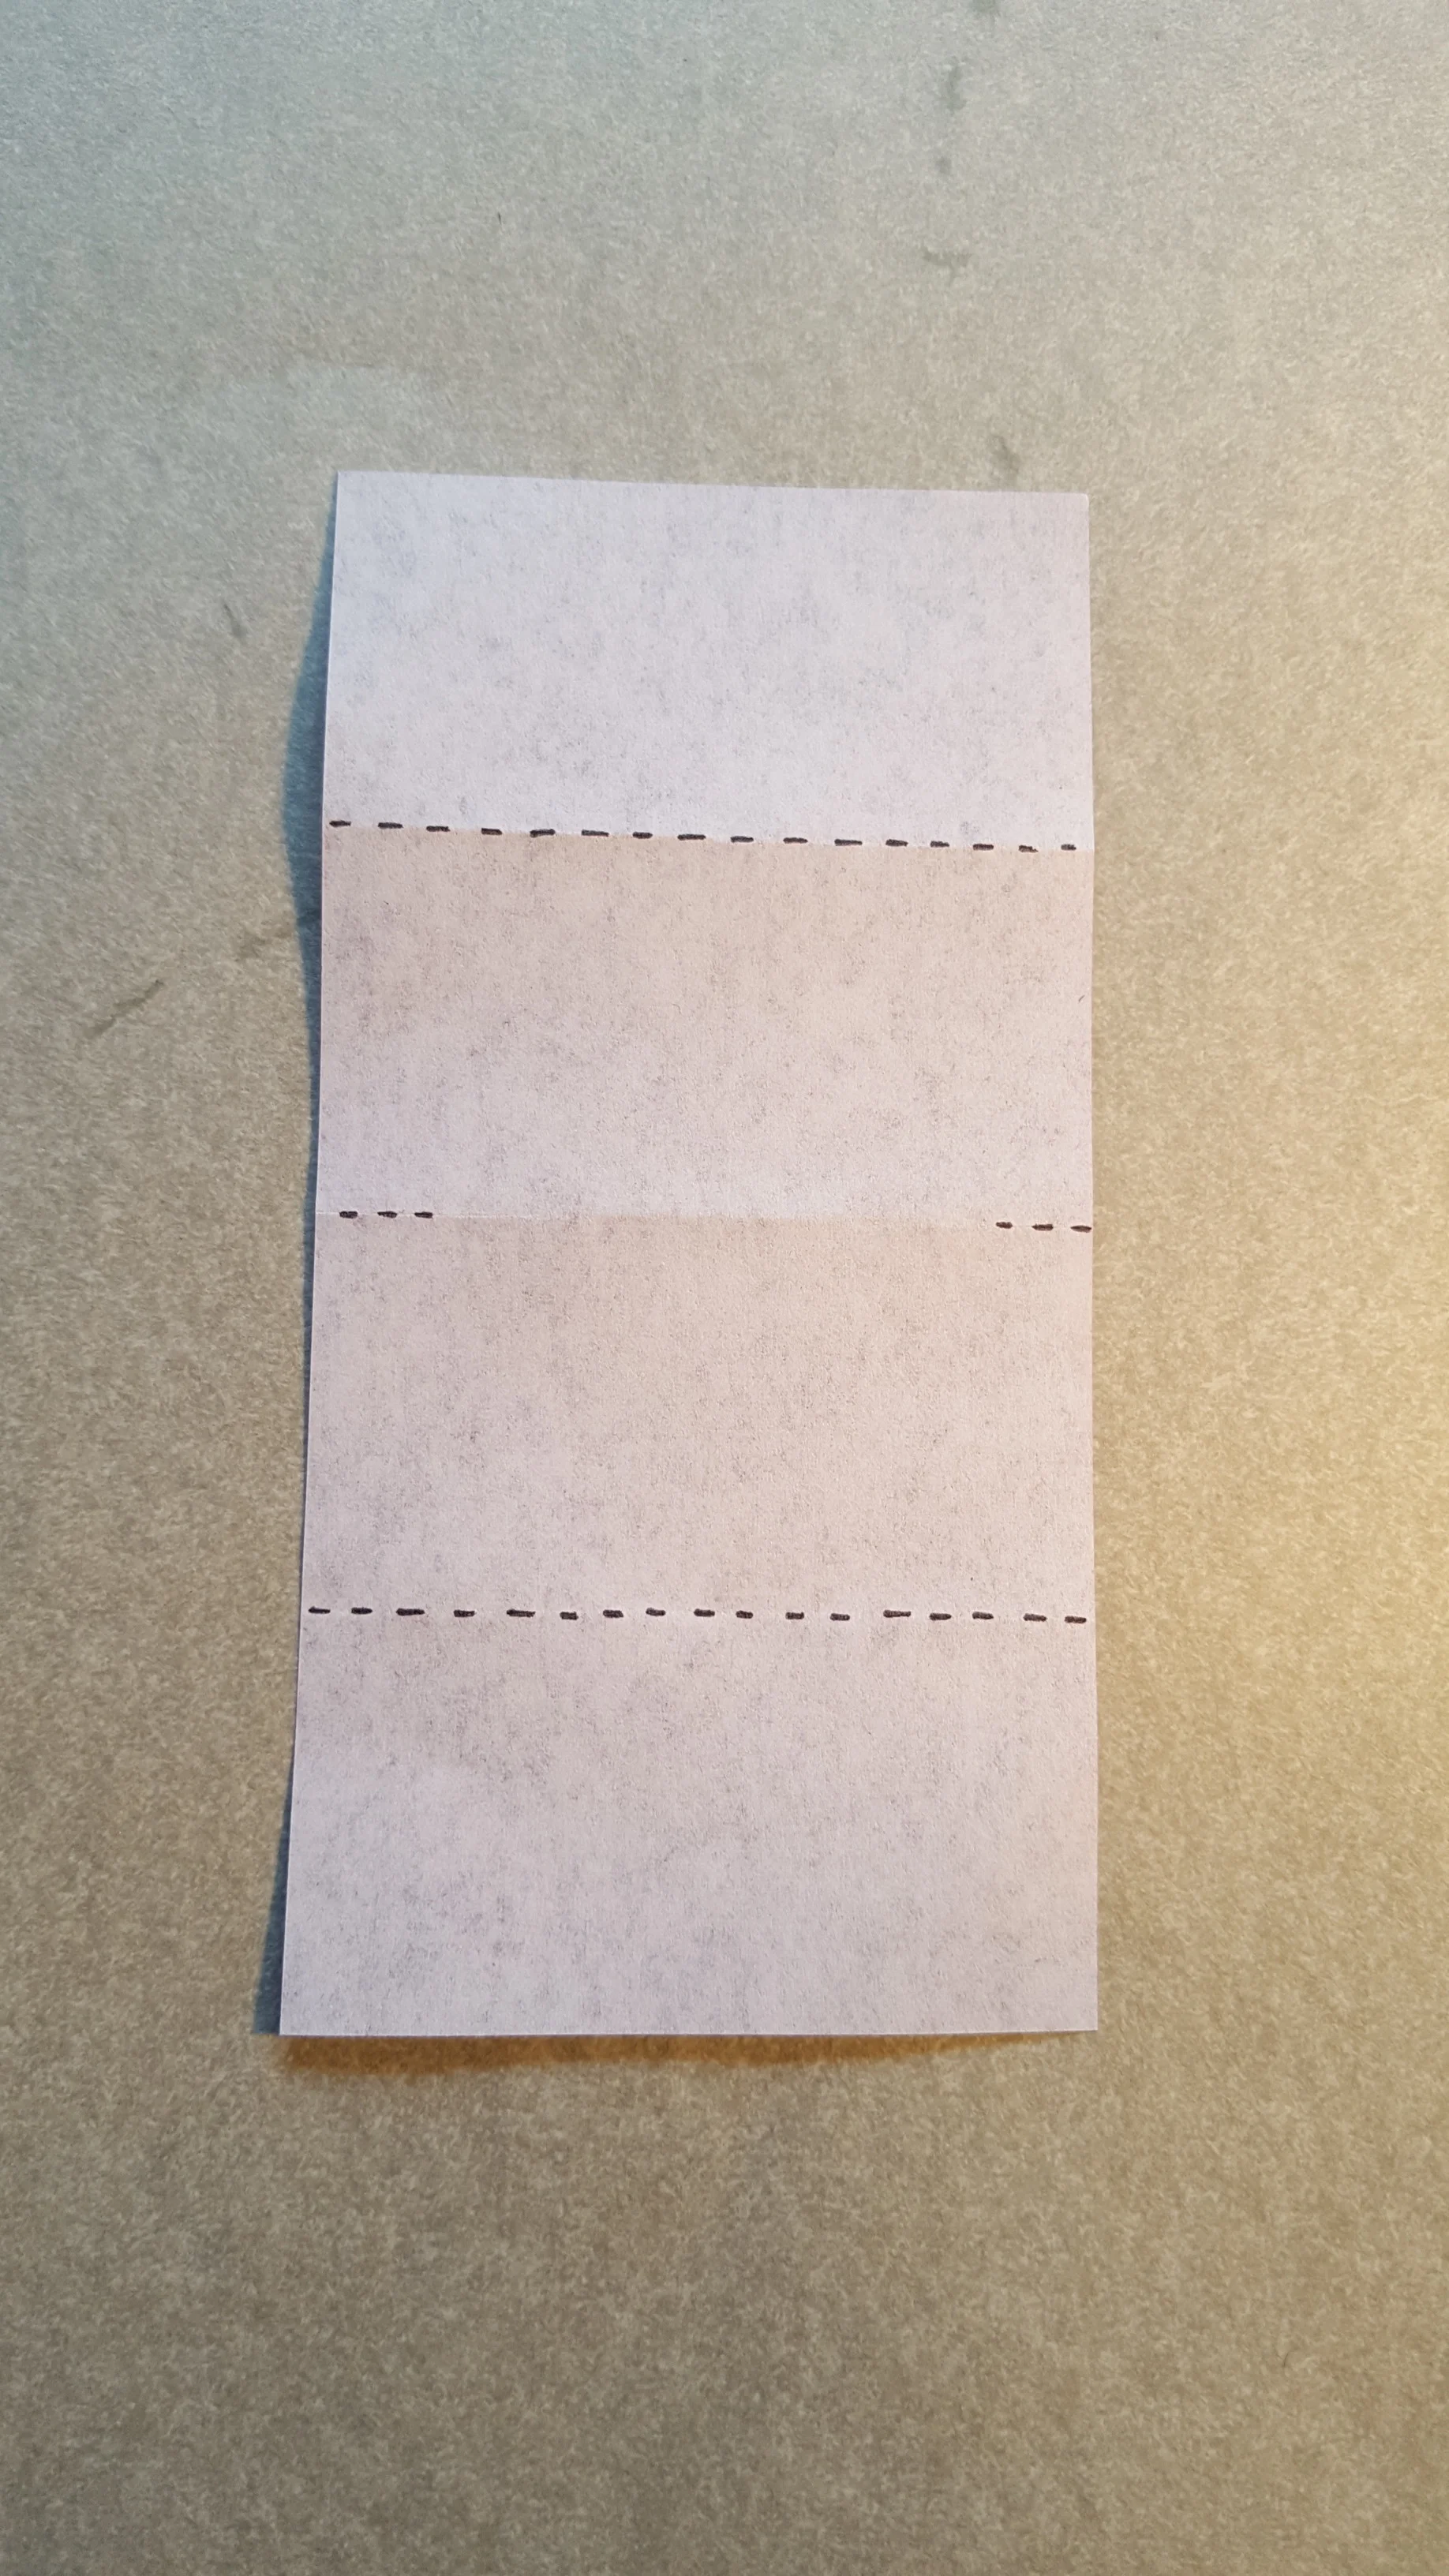
Start with a piece of paper in 1:2 proportions. If using paper with colour on one side start white side up.

Step 2
Fold and unfold the bottom edge to the top edge, only pinching the edges of this fold.

Step 3
Fold the top edge to the mid line which was lightly marked in the last step.

Step 4
Fold the bottom edge to also meet the middle of the paper.
Step 5
Unfold the paper and it should look like this so far.
Step 6
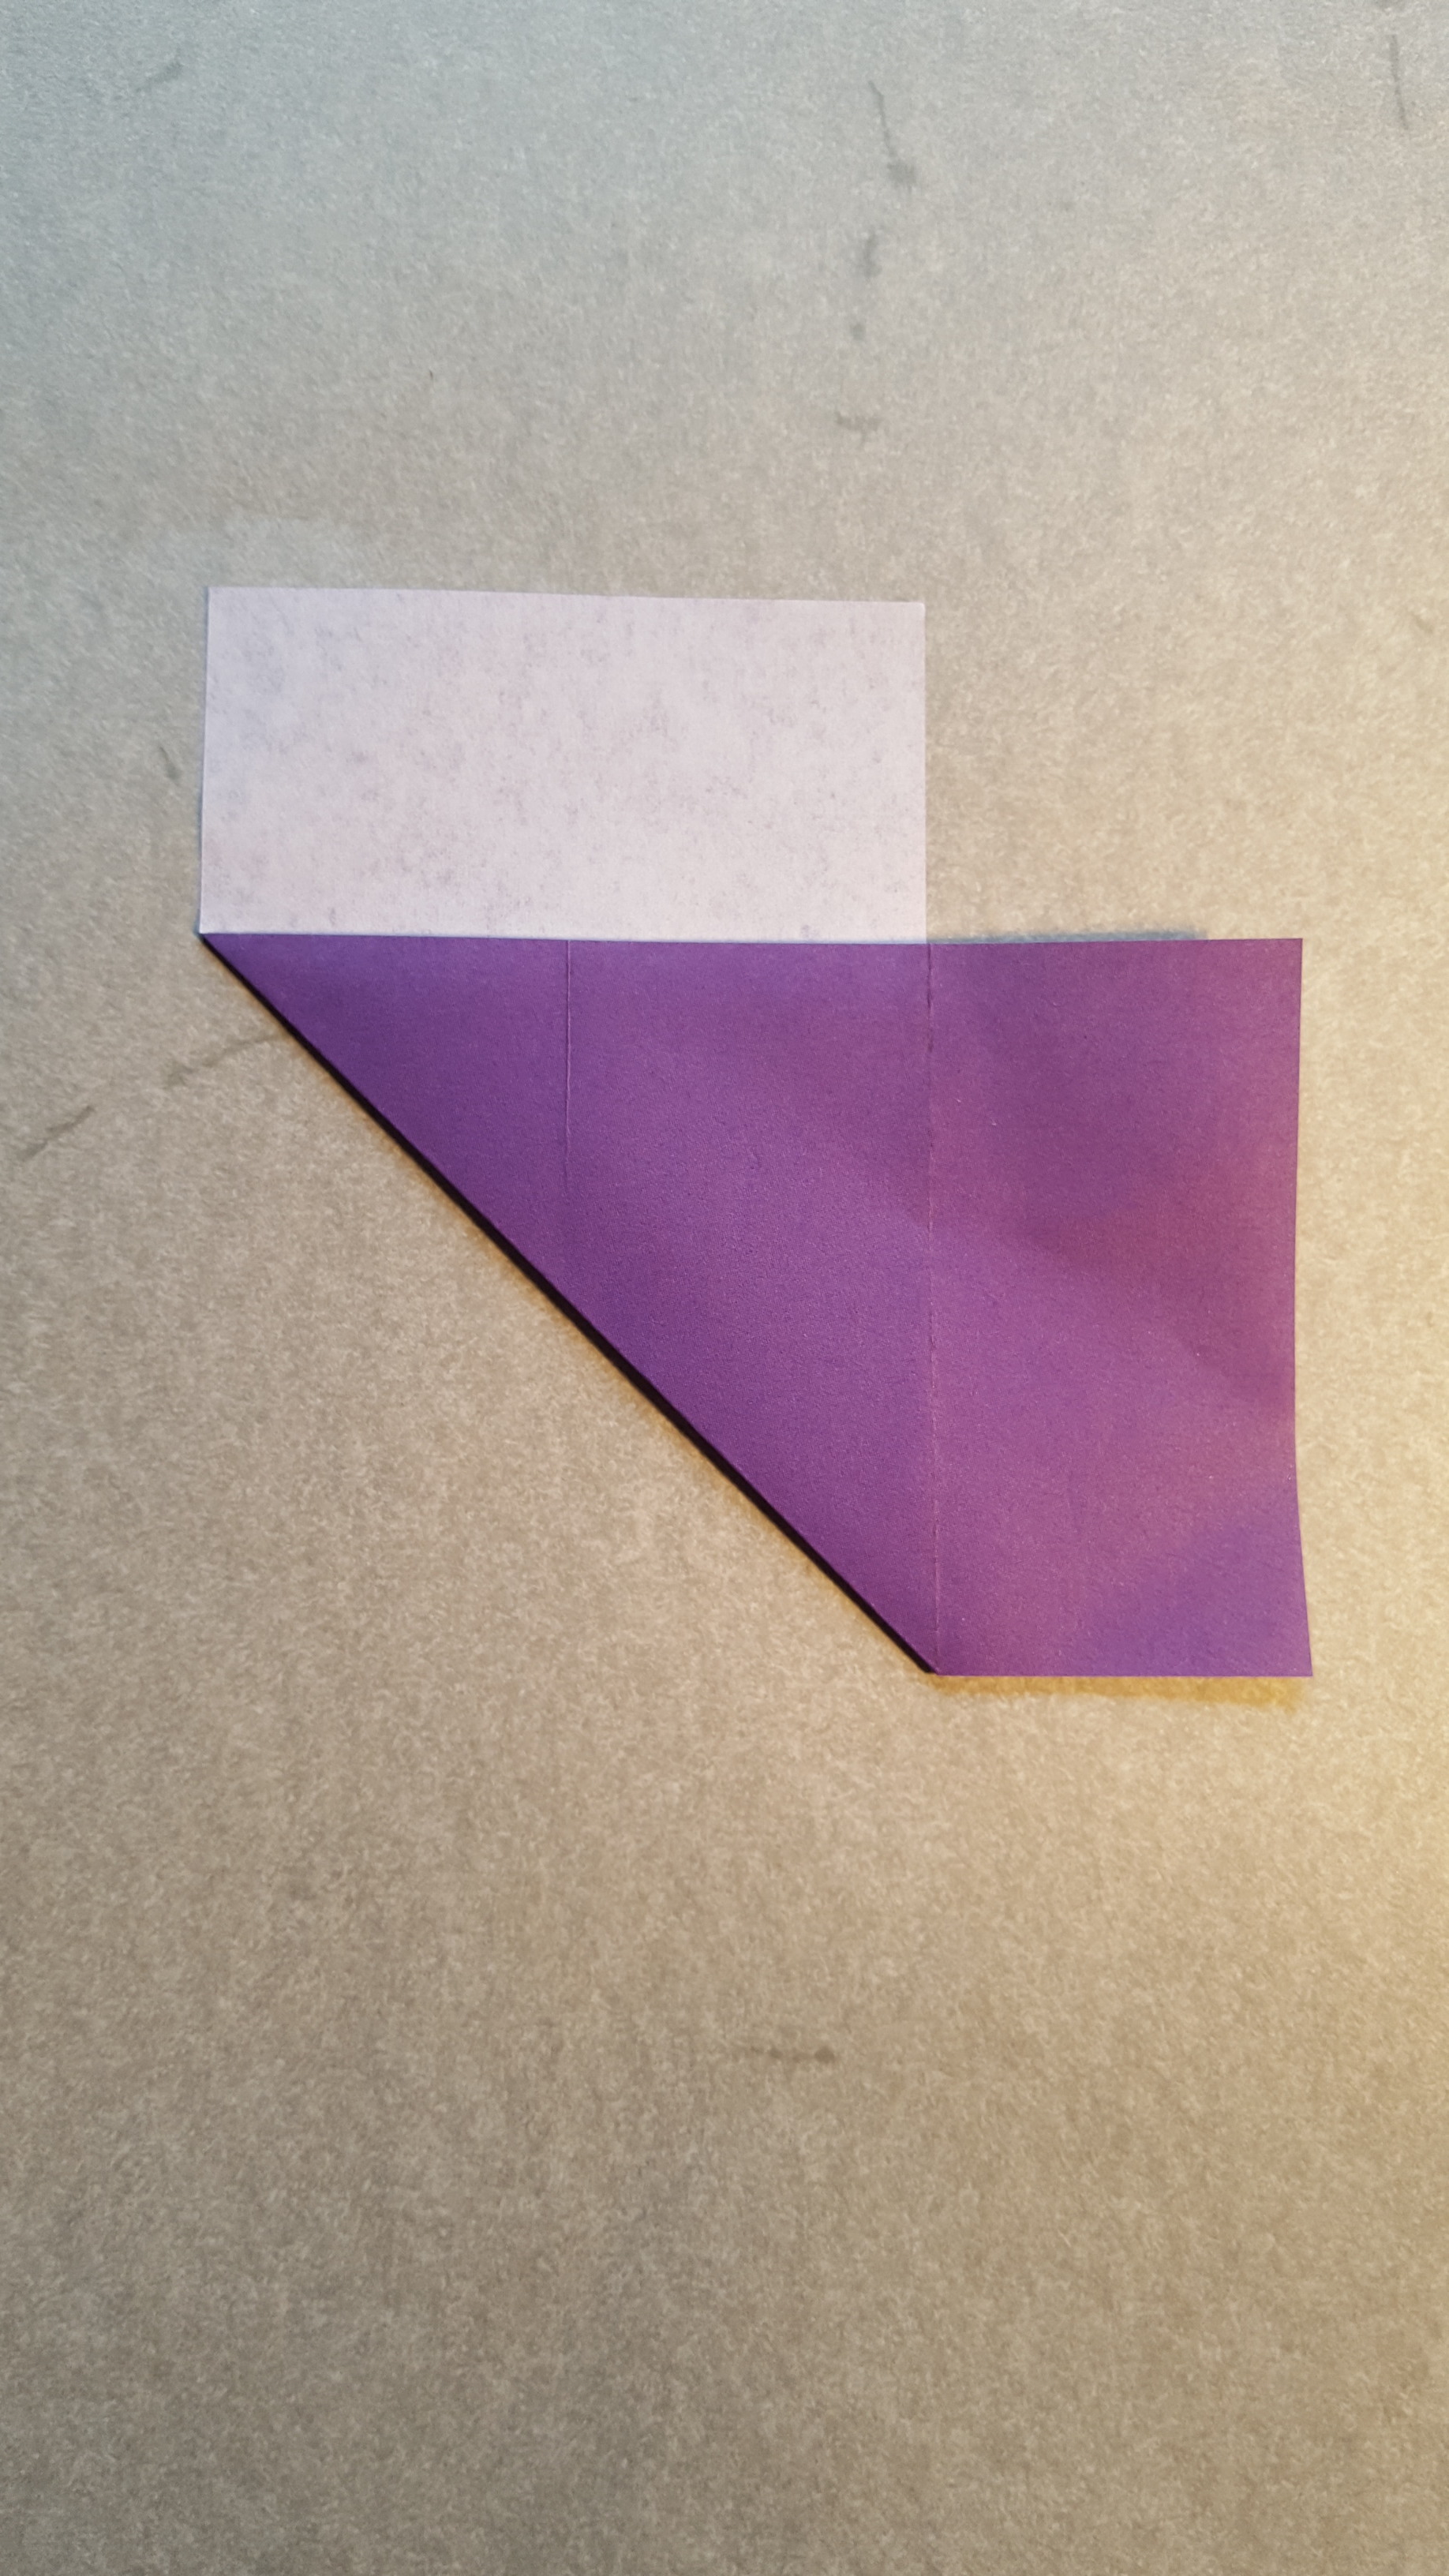
Fold the left edge to meet the topmost fold creating a diagonal crease.

Step 7
Unfold the paper.

Step 8
Now fold the right edge to meet the topmost edge like in step 6.

Step 9
Unfold and rotate the paper 90 degrees.

Step 10
Fold the bottom edge to meet the diagonal crease.

Step 11
Unfold the last step and the paper should have the creases shown.

Step 12
Turn over and rotate the paper again.

Step 13
Partially fold the lower horizontal crease.

Step 14
Pull this folded crease to meet the diagonal line and crease the paper underneath.

Step 15
Fold the bottom part of the paper up to the midline we pincher earlier

Step 16
Note this little coloured triangle. Bring this down which unfolds one crease.

Step 17
This is where the paper will end up.

Step 18
Fold the bottom diagonal edge to meet the folded paper.

Step 19
Unfold the paper and you should have these three creases.

Step 20
Repeat steps 10-19 on the other half of the paper and return to the white side of the paper.

Step 21
Fold the left edge so that the bottom edge lies on the diagonal line. All 3 folds on purple side should match up with a fold on the white side.

Step 22
Fold the bottom edge to the diagonal line along existing creases.
Step 23
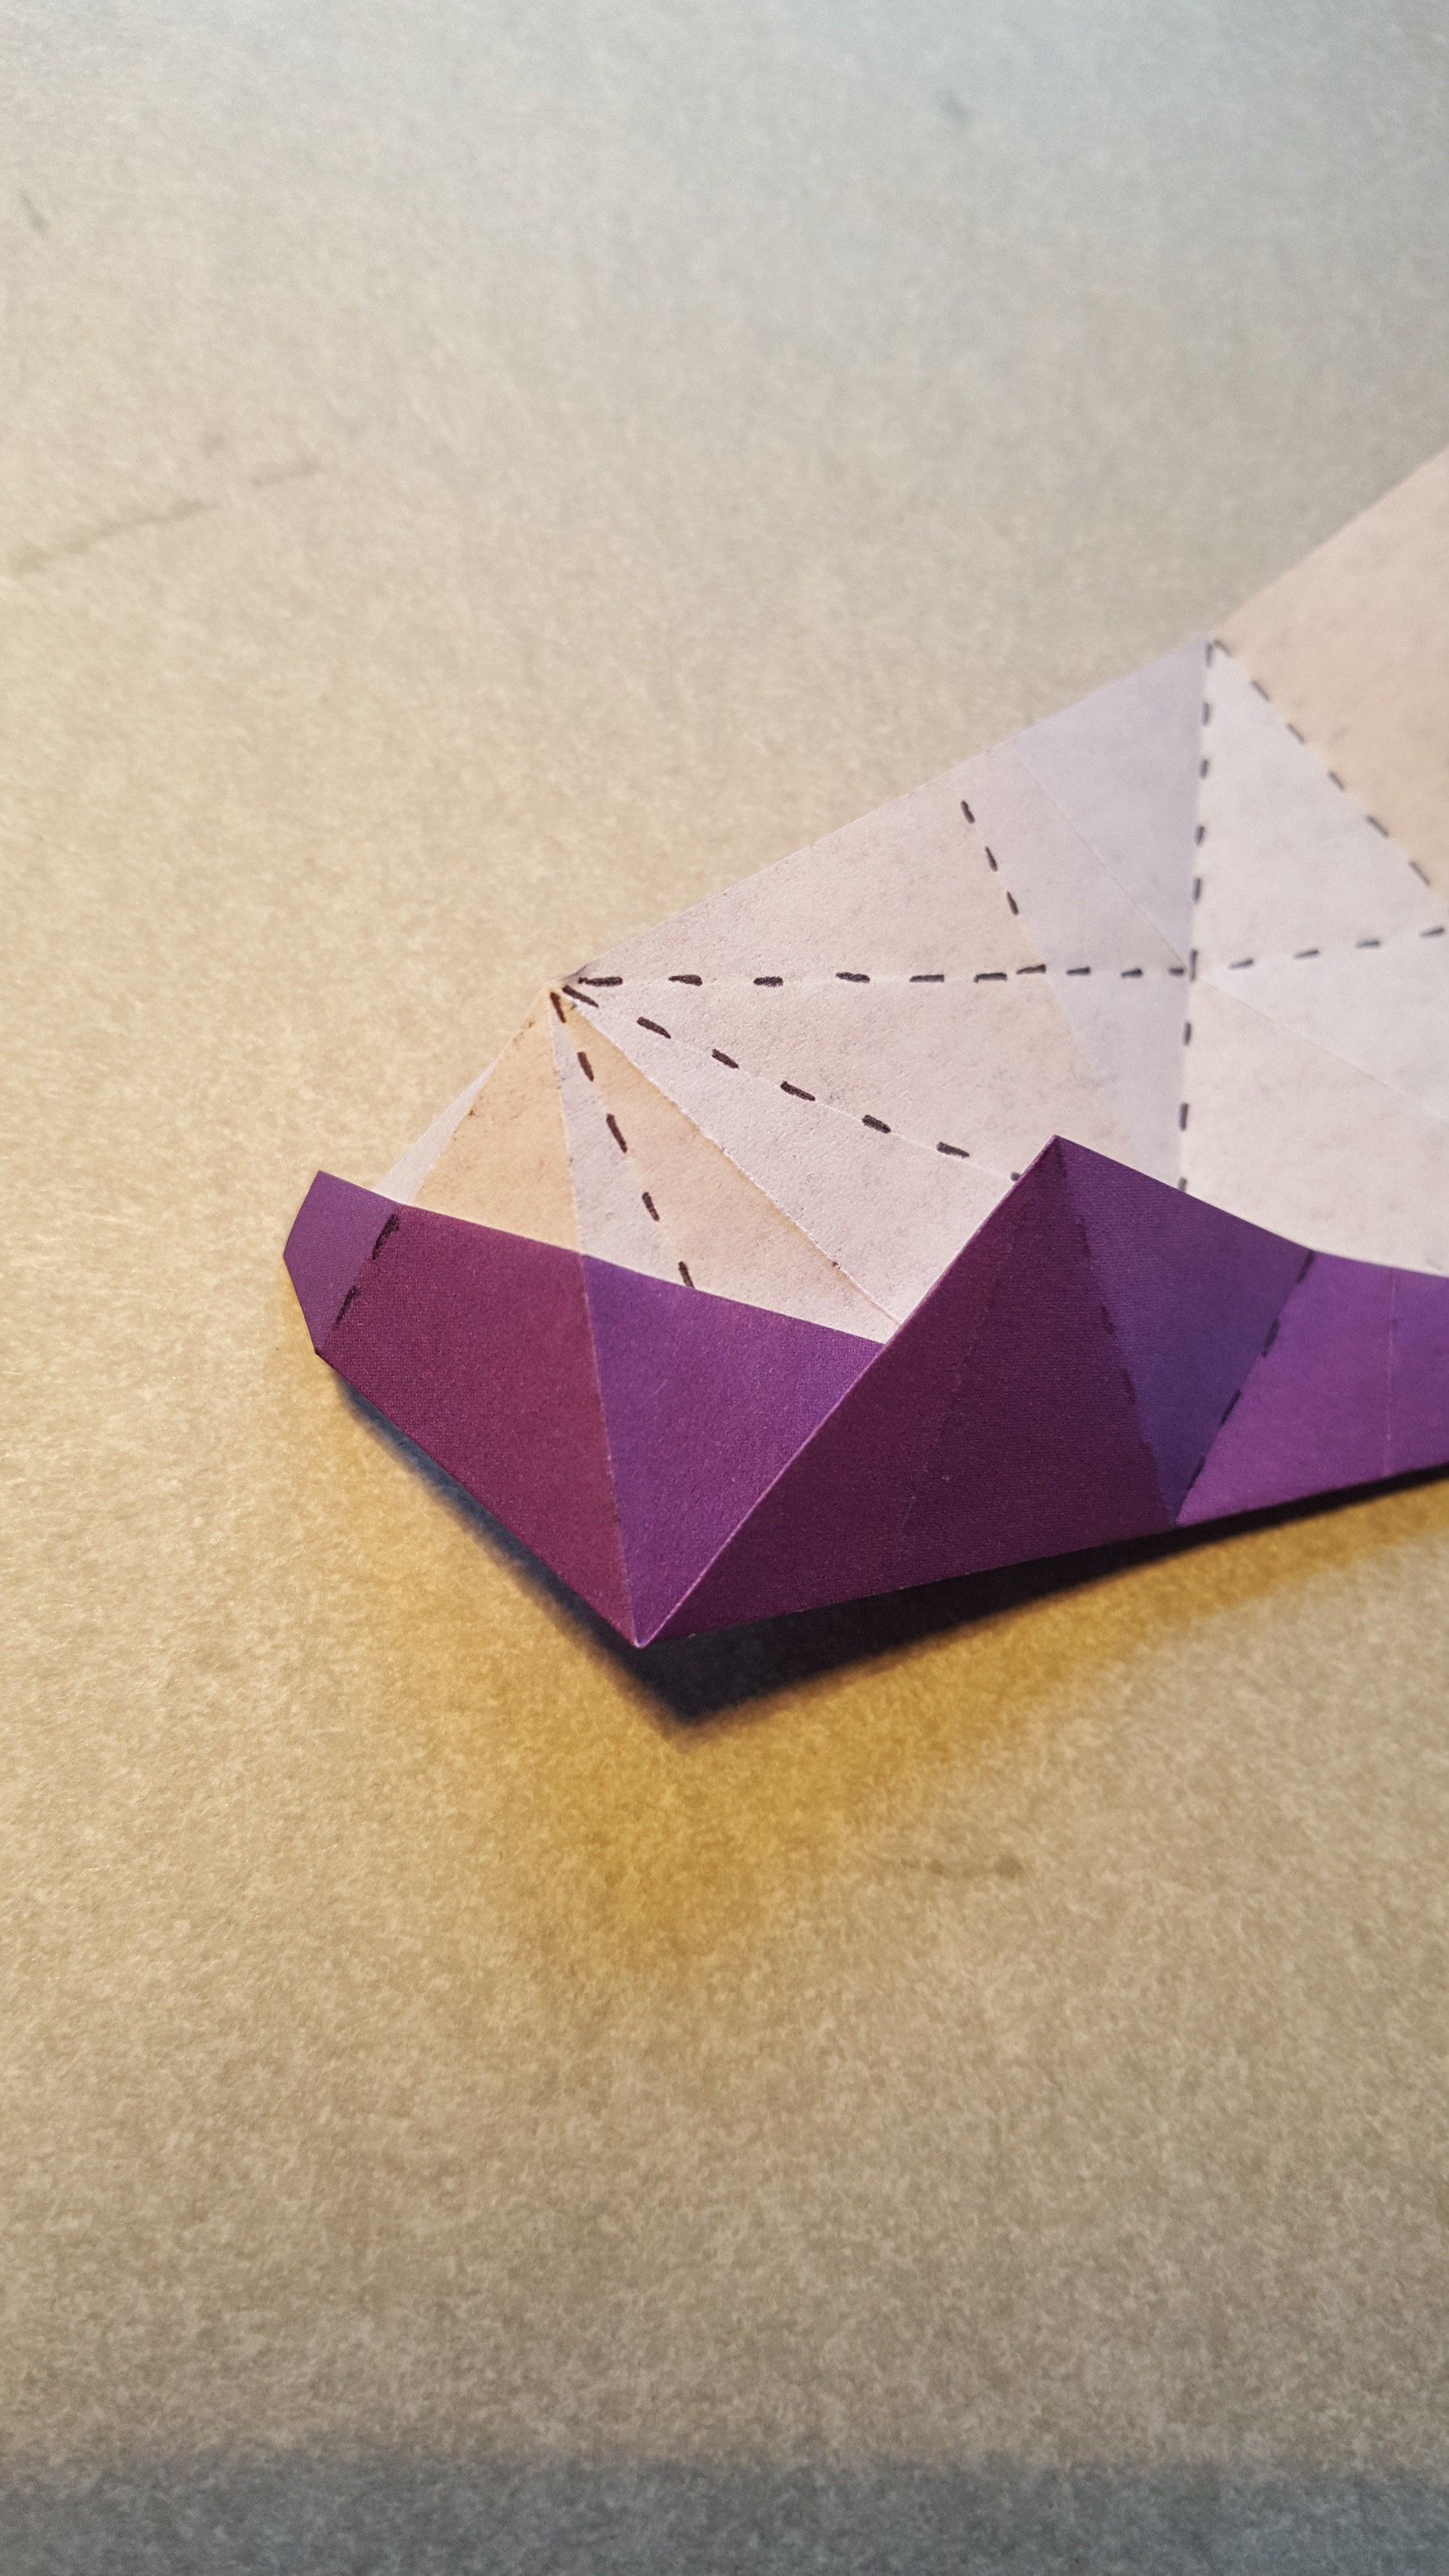
Reinforce the two mountain folds near the top left corner of the paper.

Step 24
Rotate the paper 180 degrees and repeat steps 21-23 so the paper now looks like this.

Step 25
Begin to fold the other diagonal, but let the excess paper rise up along the existing creases. Also fold along the mountain which can be seen folding here.
Step 26
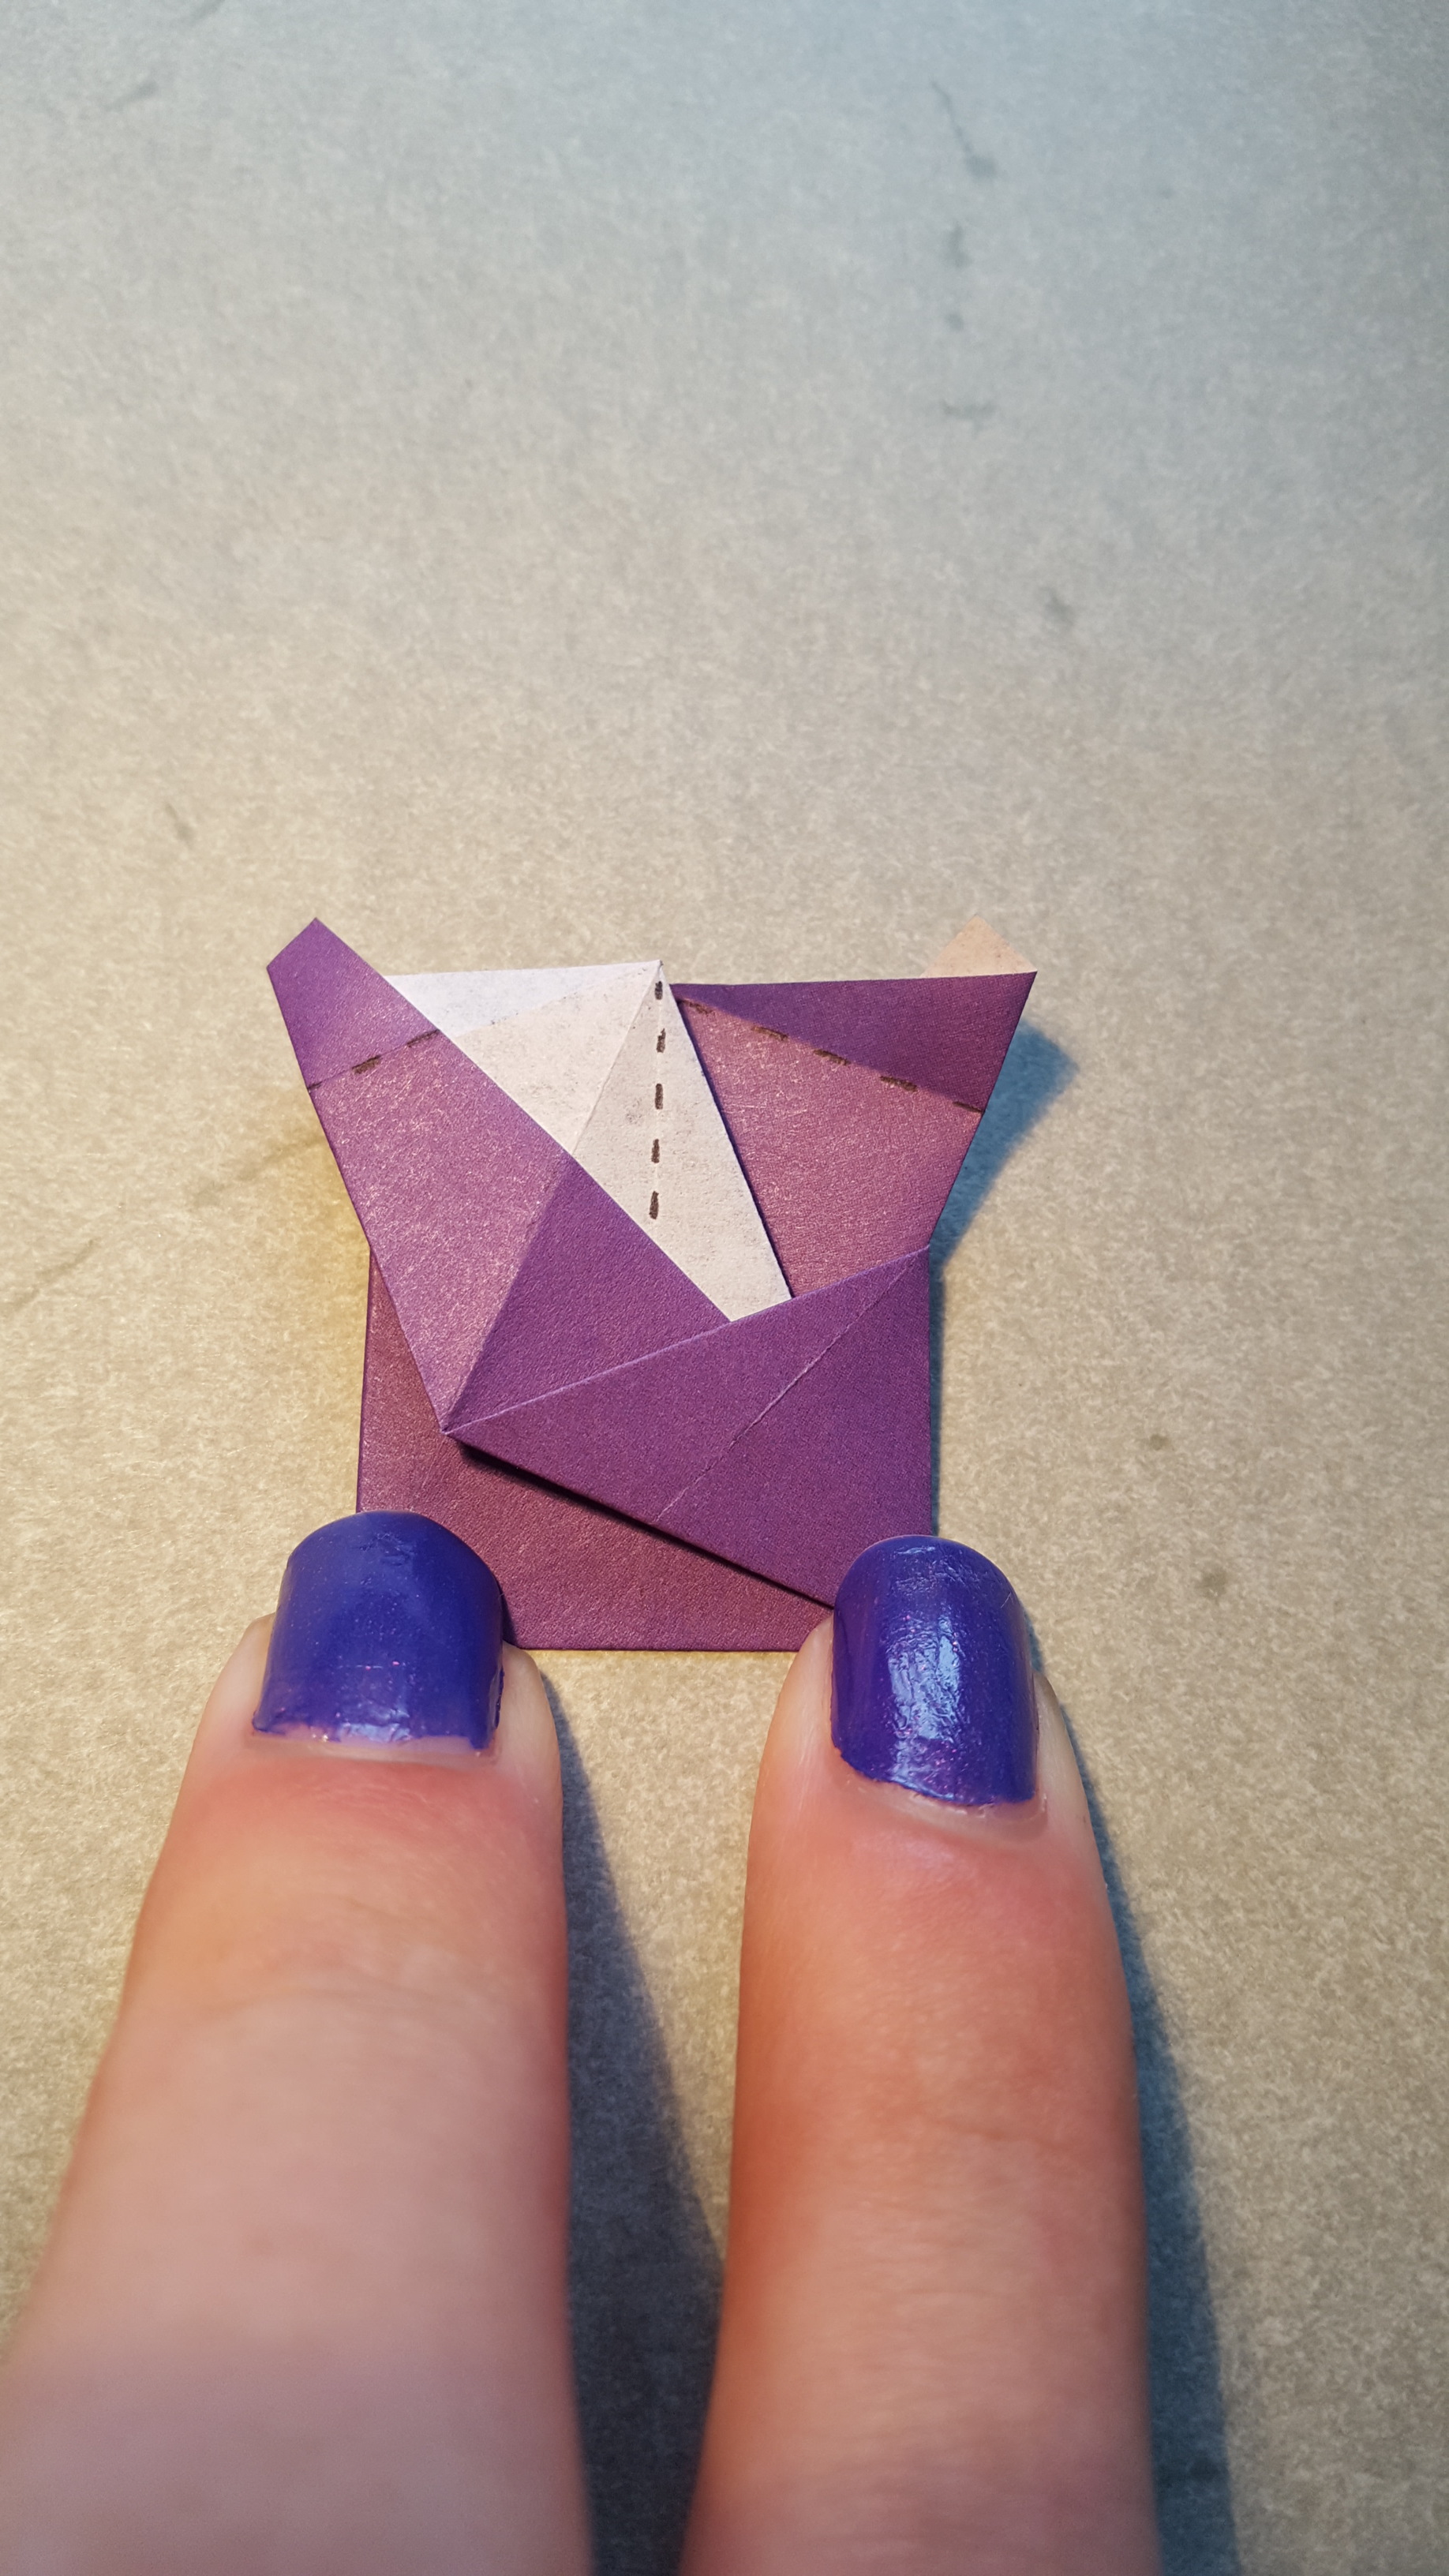
Fully flatten the folds in the last step and the model should look like this.

Step 27
Stretch out the paper a little and one unit is finished.


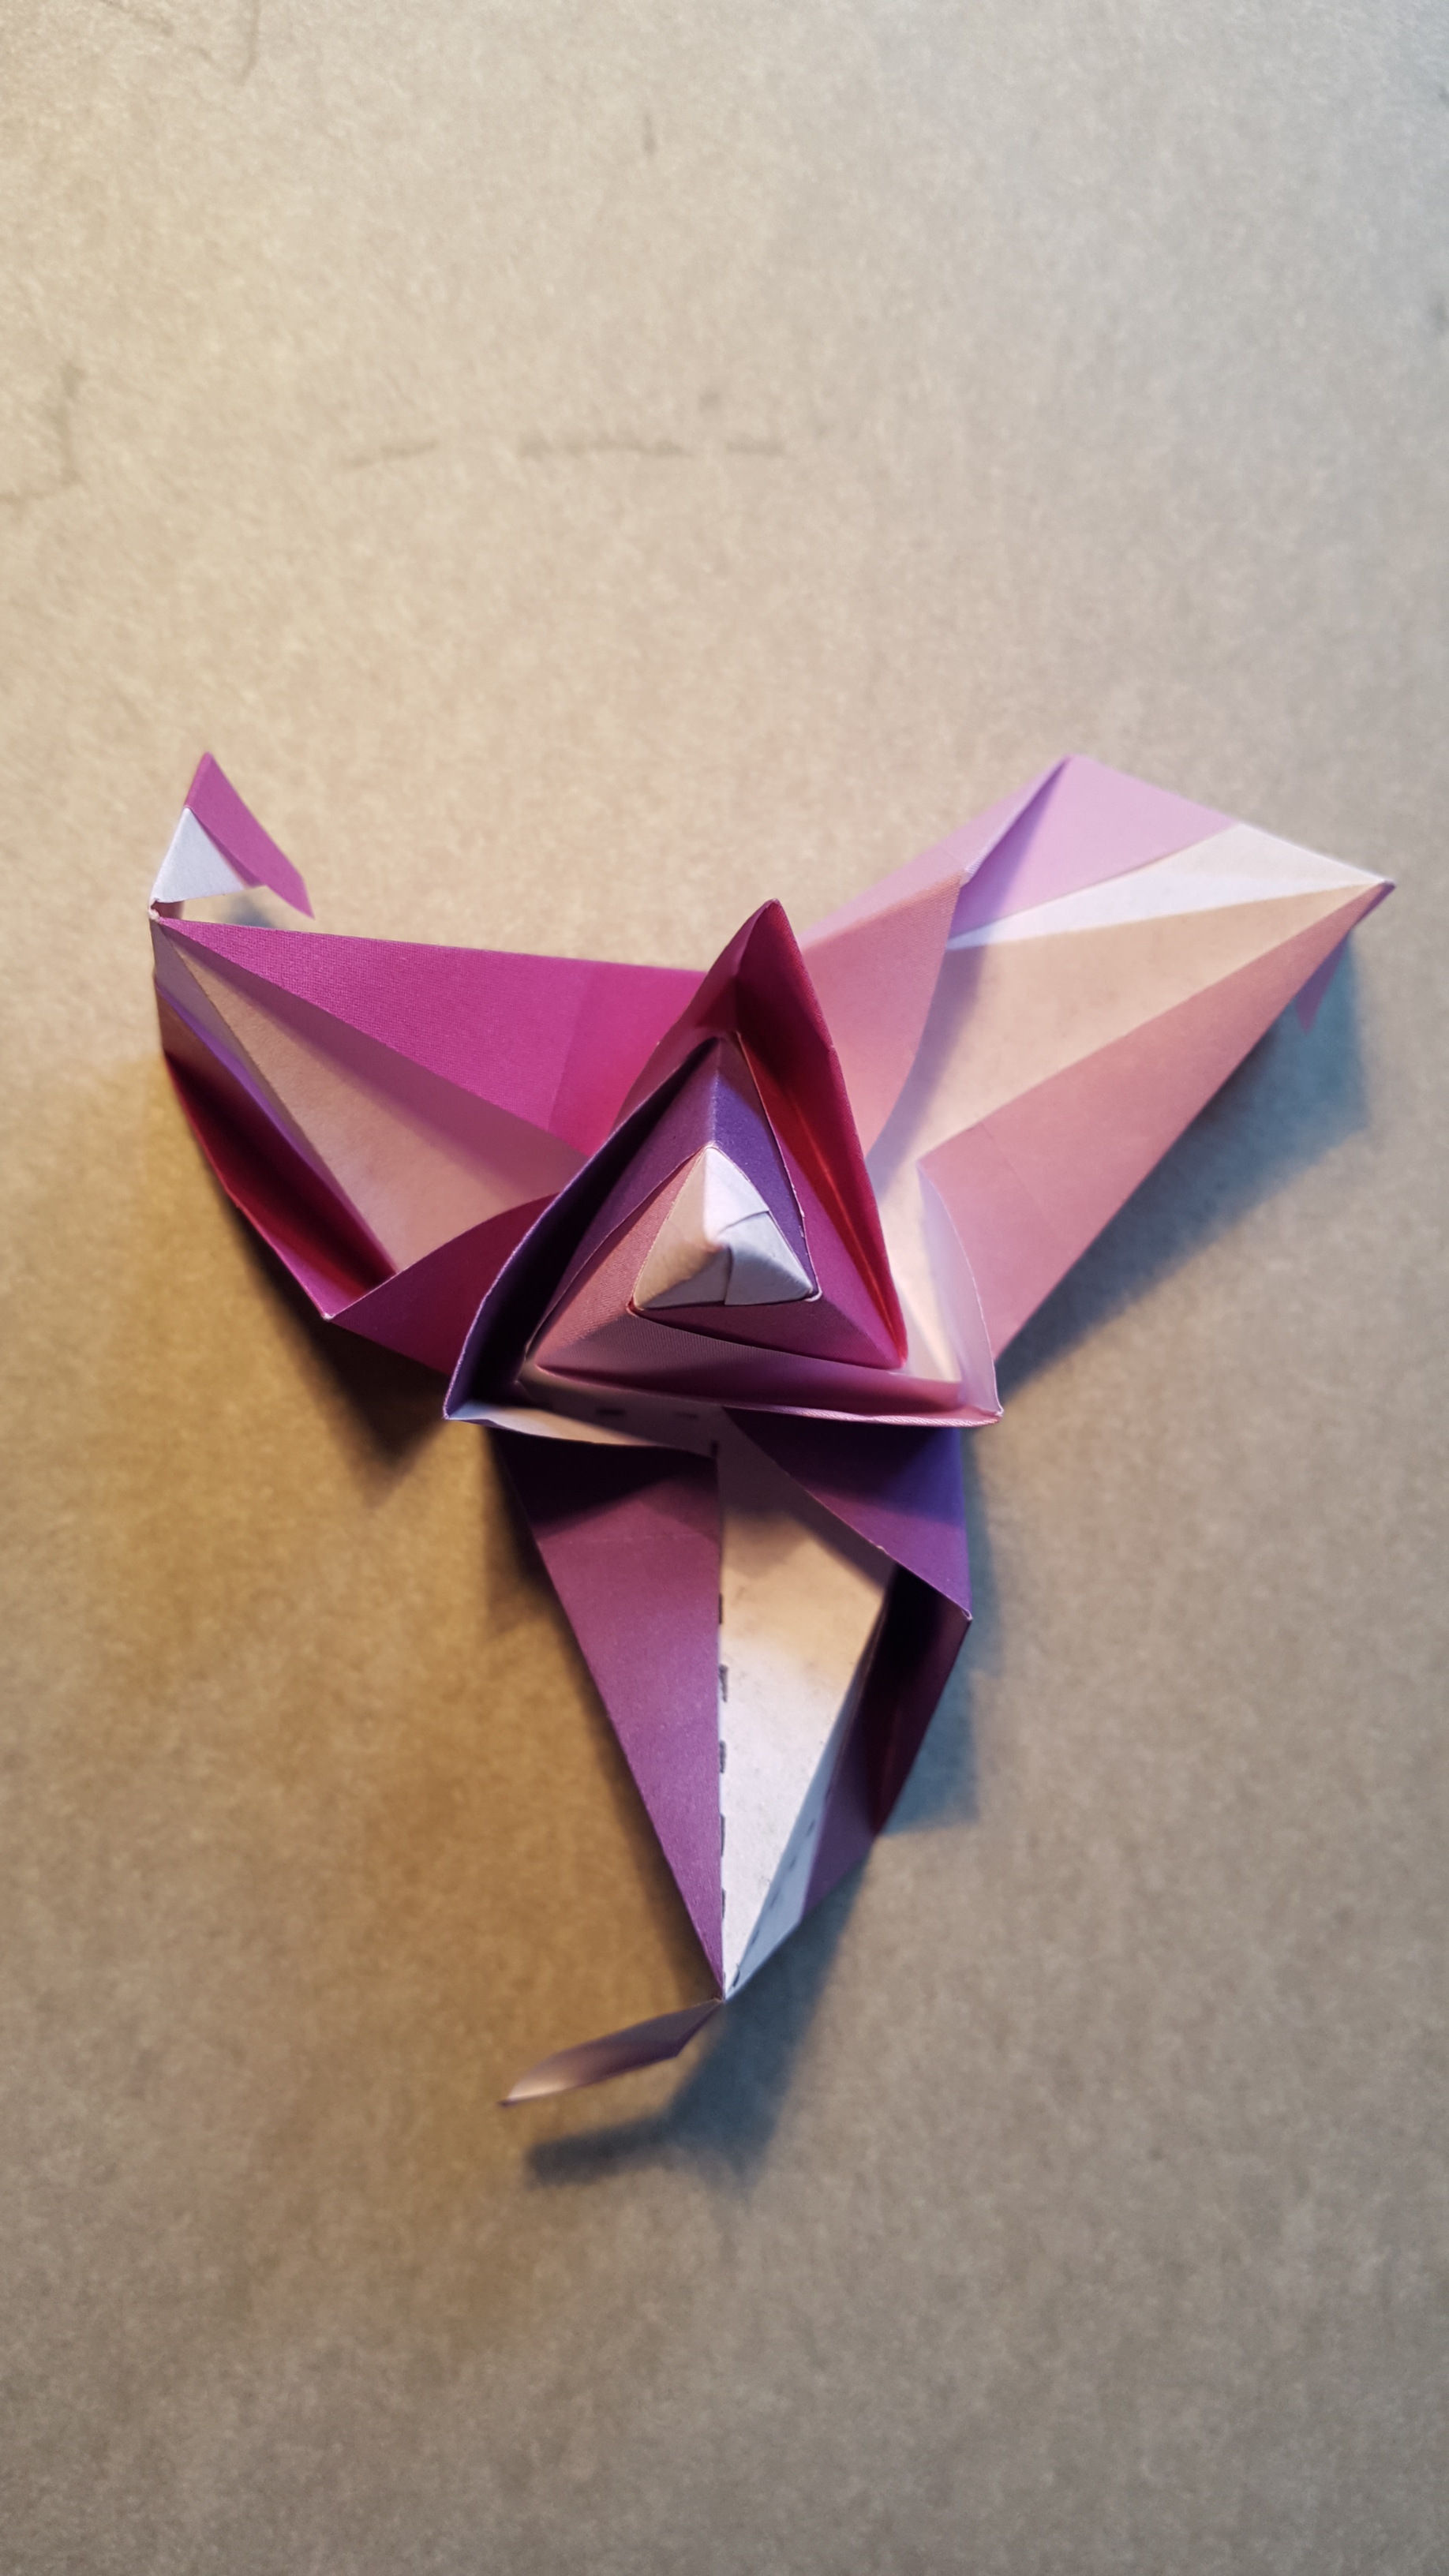
This is how you connect the units. Choosing a geometry is difficult as they all present challenges. The modules are quite tight so forming a three unit pyramid (like in the third picture) is tricky, but once formed it is very stable. On the other hand if you go for a dodecahedron and form five sided mountains then they are easy to put together, but they also come apart more easily. You will need to use mini clothes pegs or paper clips while assembling, but it is stable once complete. It should also be possible to make a 90 unit version, but I have not tried that yet - proceed at your own risk!