
Muna TUtorial
This is a pleasing shaped kusudama, but it is somewhat difficult to assemble as it is not stable until totally finished. If you don't have clothes pegs or paper clips you may want to practice your black magic before starting.

Step 1
Start with 1:2 paper.

Step 2
Fold and unfold the midline.

Step 3
Fold the top and bottom edge to meet the midline and unfold.

Step 4
Turn the paper and arrange the paper so that the corner lies on the 3/4 line and halfway along the short edge lies on the long edge. Crease the middle part.

Step 5
Unfold the paper and it will look like this.

Step 6
Repeat step 4 on the other end of the paper. The corner will pretty much hit the intersection of the last folds (but not exactly).

Step 7
Unfold and turn over. Note the marked intersection points.

Step 8
Fold the top and bottom edges to this intersection point.

Step 9
Turn over and rotate the paper.

Step 10
Refold the cupboard fold (step 3).

Step 11
Fold using the precreases in the back layer (step 4).

Step 12
Unfold part of the cupboard.

Step 13
Push in the paper folded on step 11.

Step 14
Refold the cupboard (reverse part of it).
Step 15
Repeat on the other end.

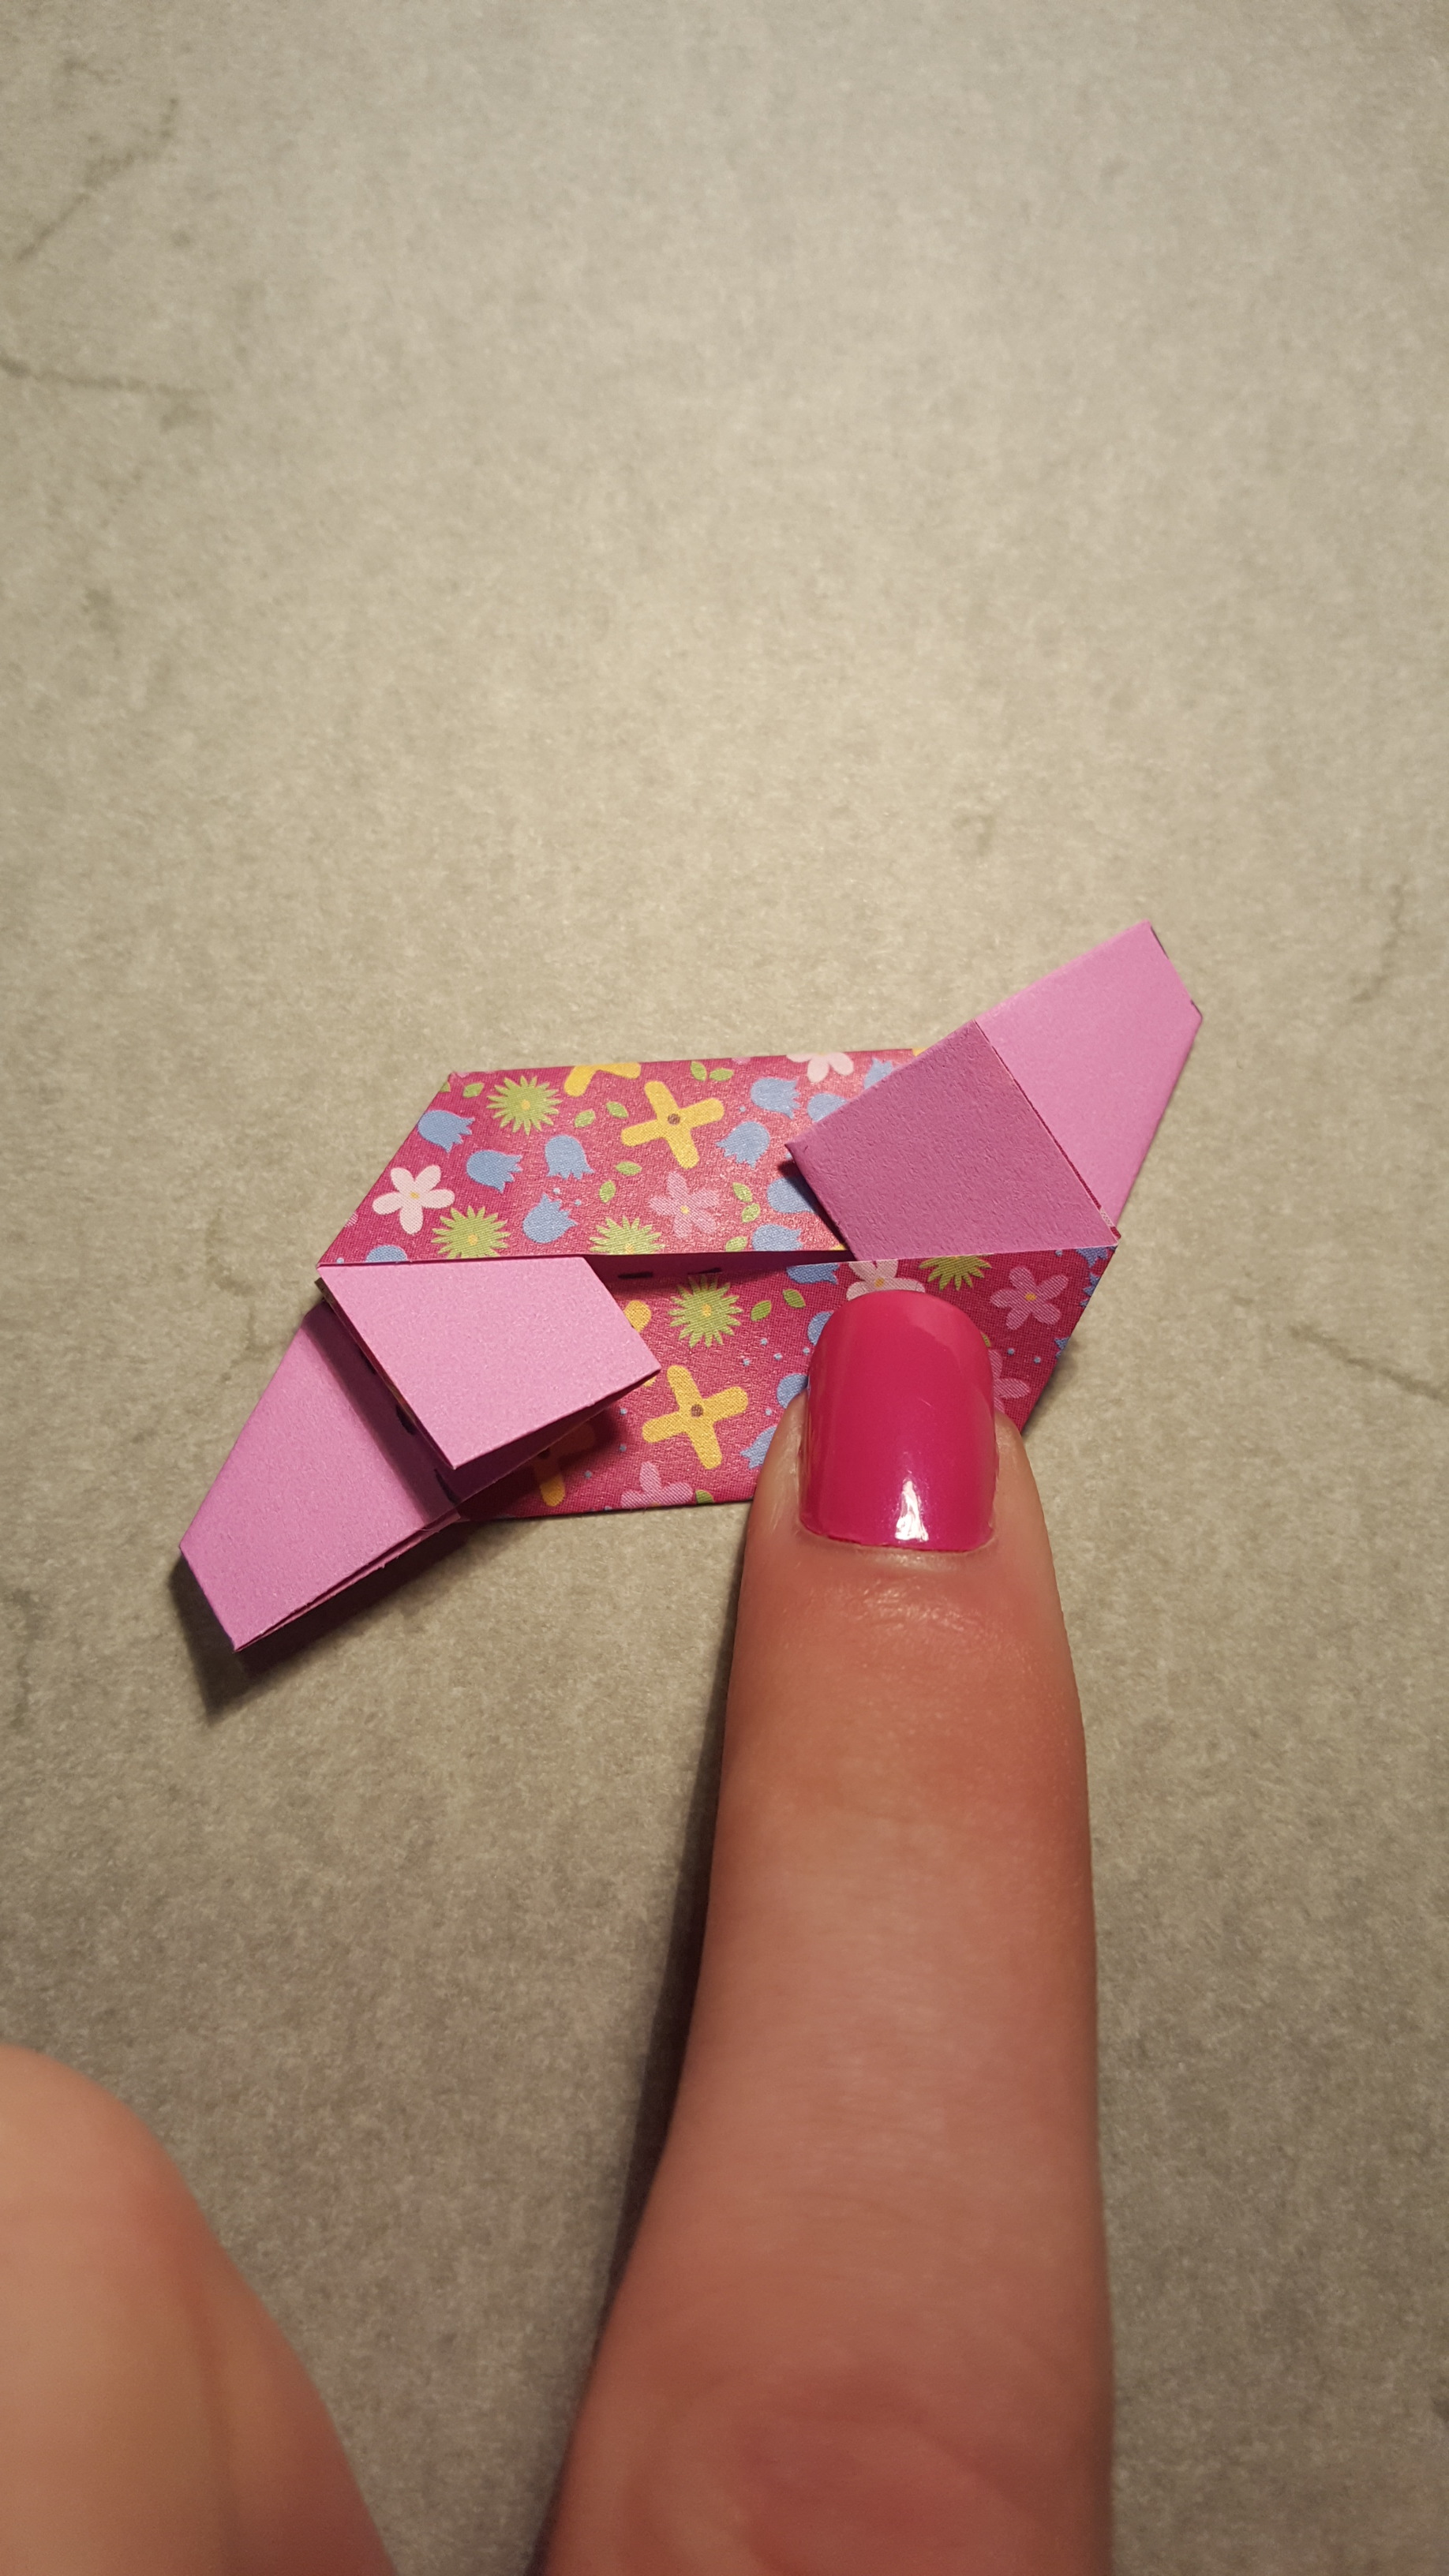
Step 16
Mountain fold the midline, letting the light pink part rise up.

Step 17
Flatten the model and view from the side.
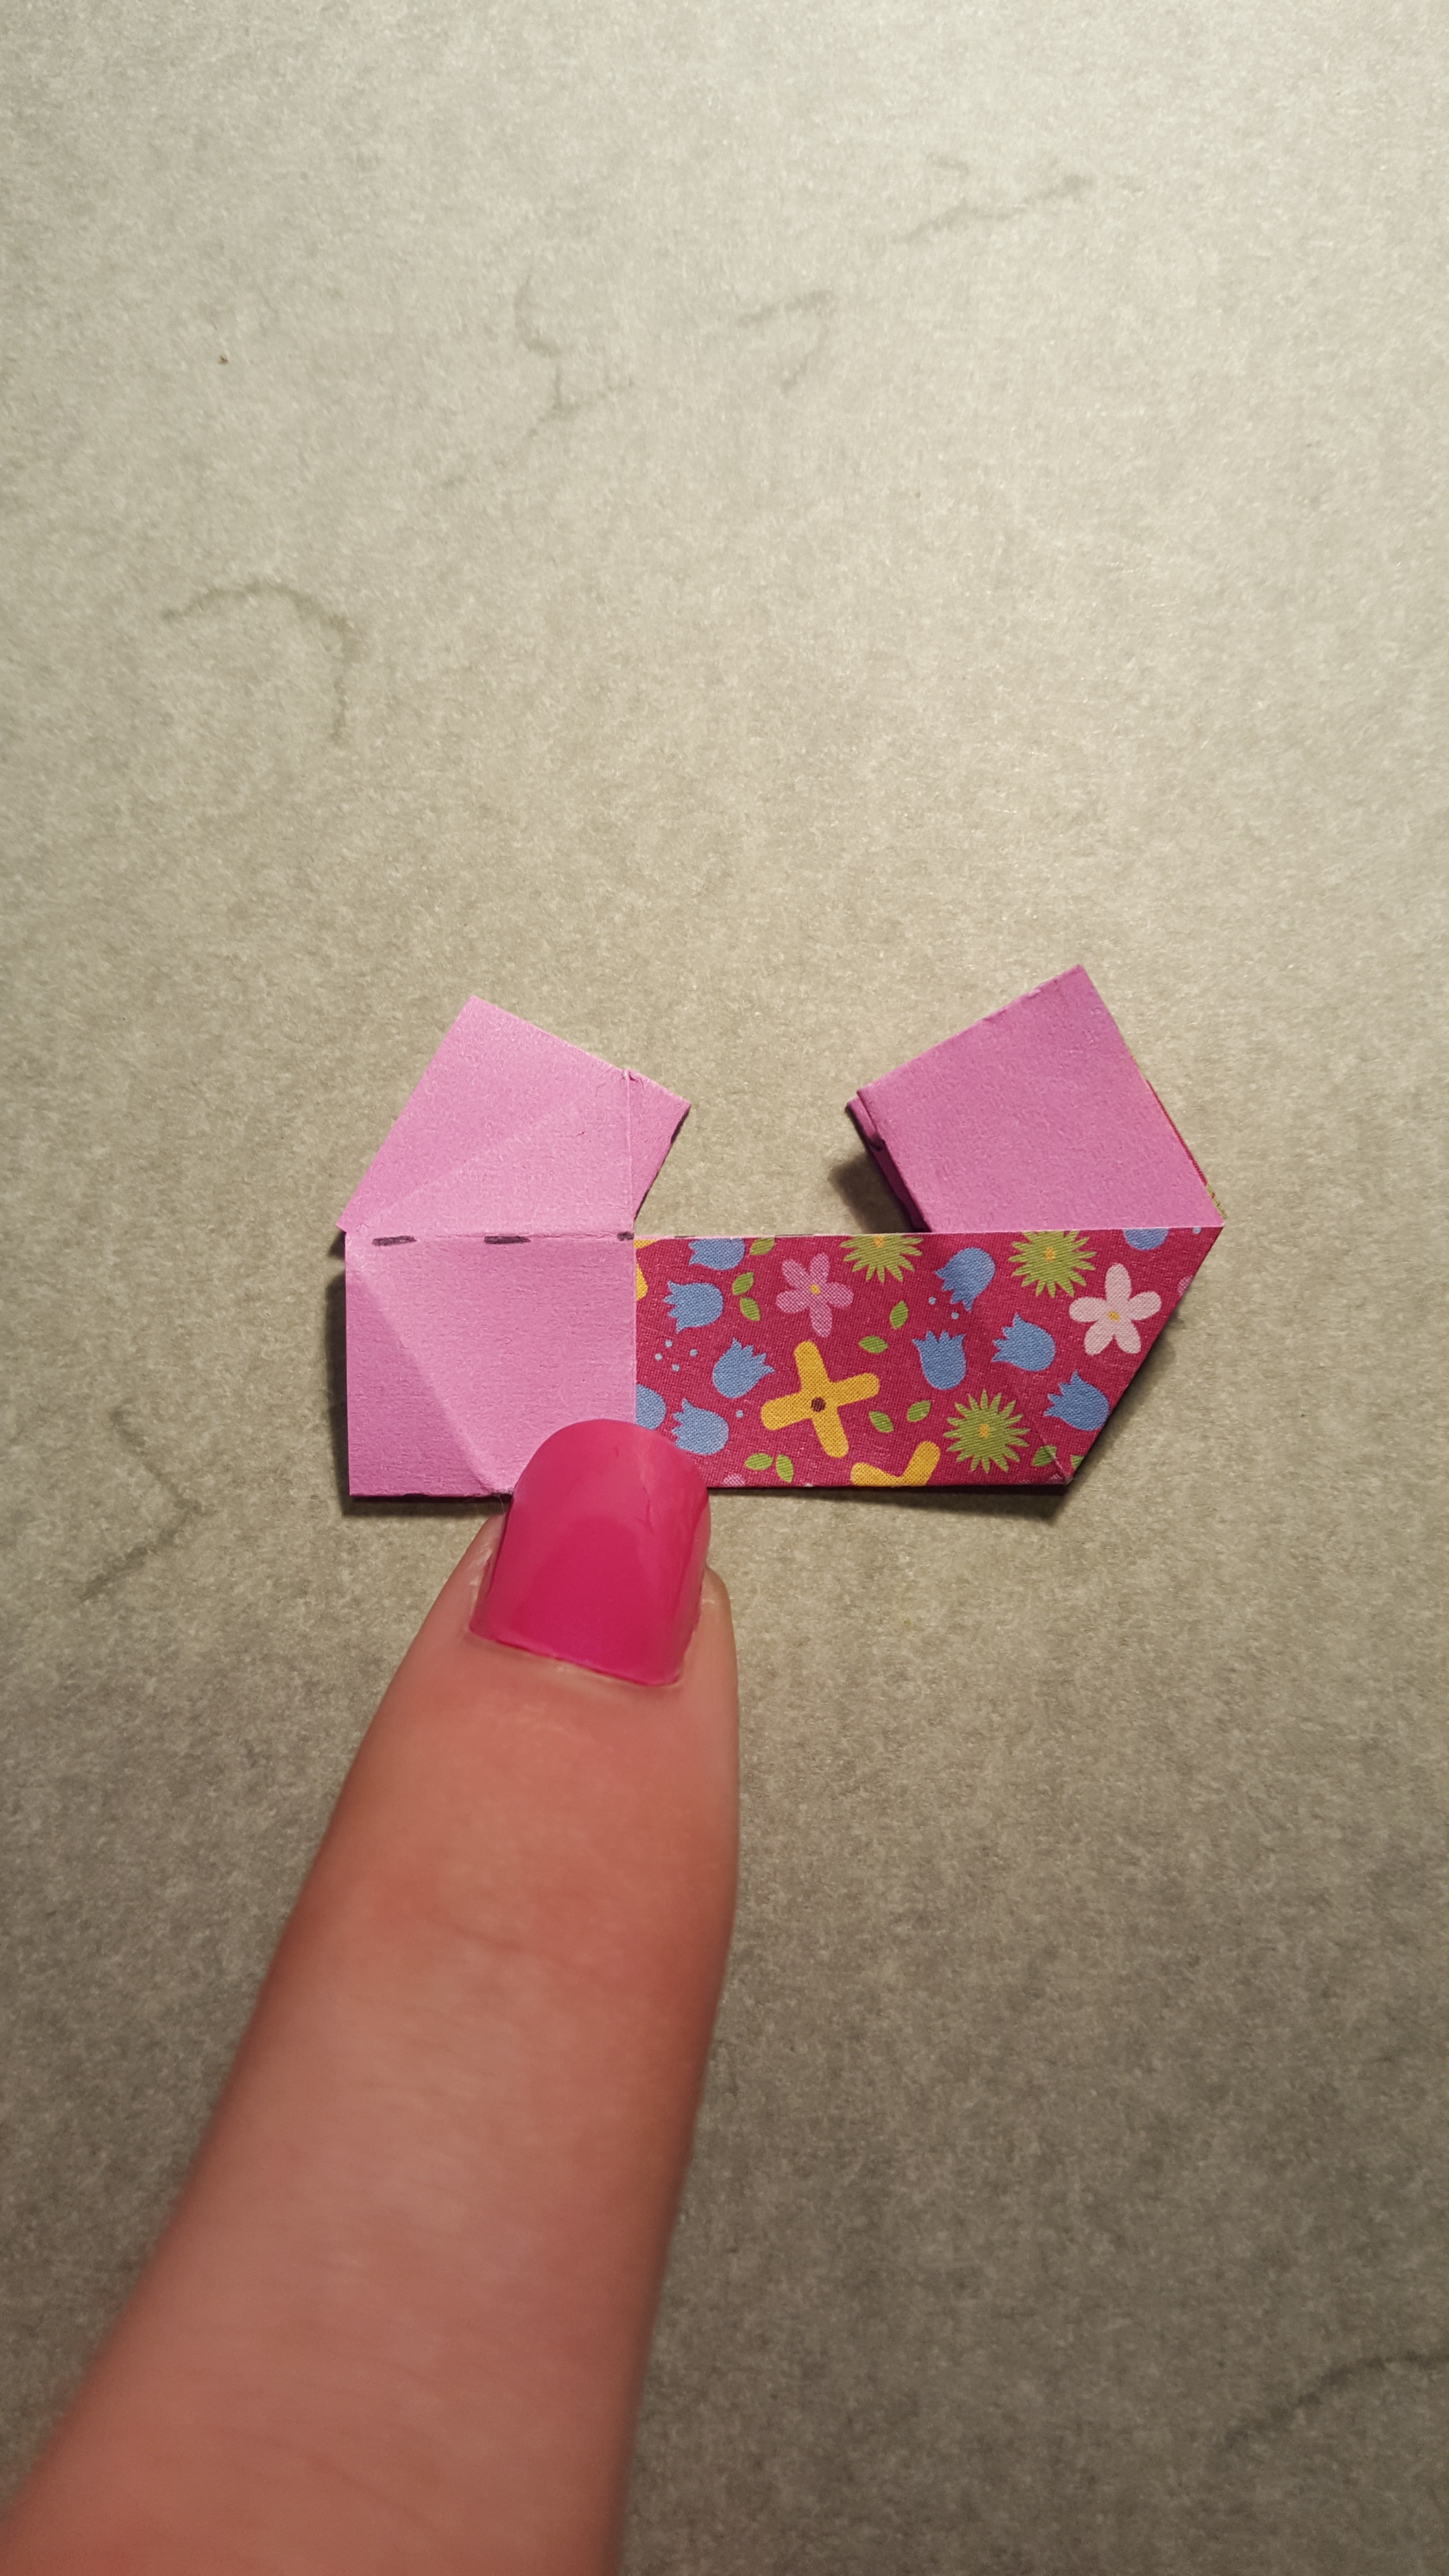
Step 18
Pull the front layer so it aligns with the base and crease the angled top fold.
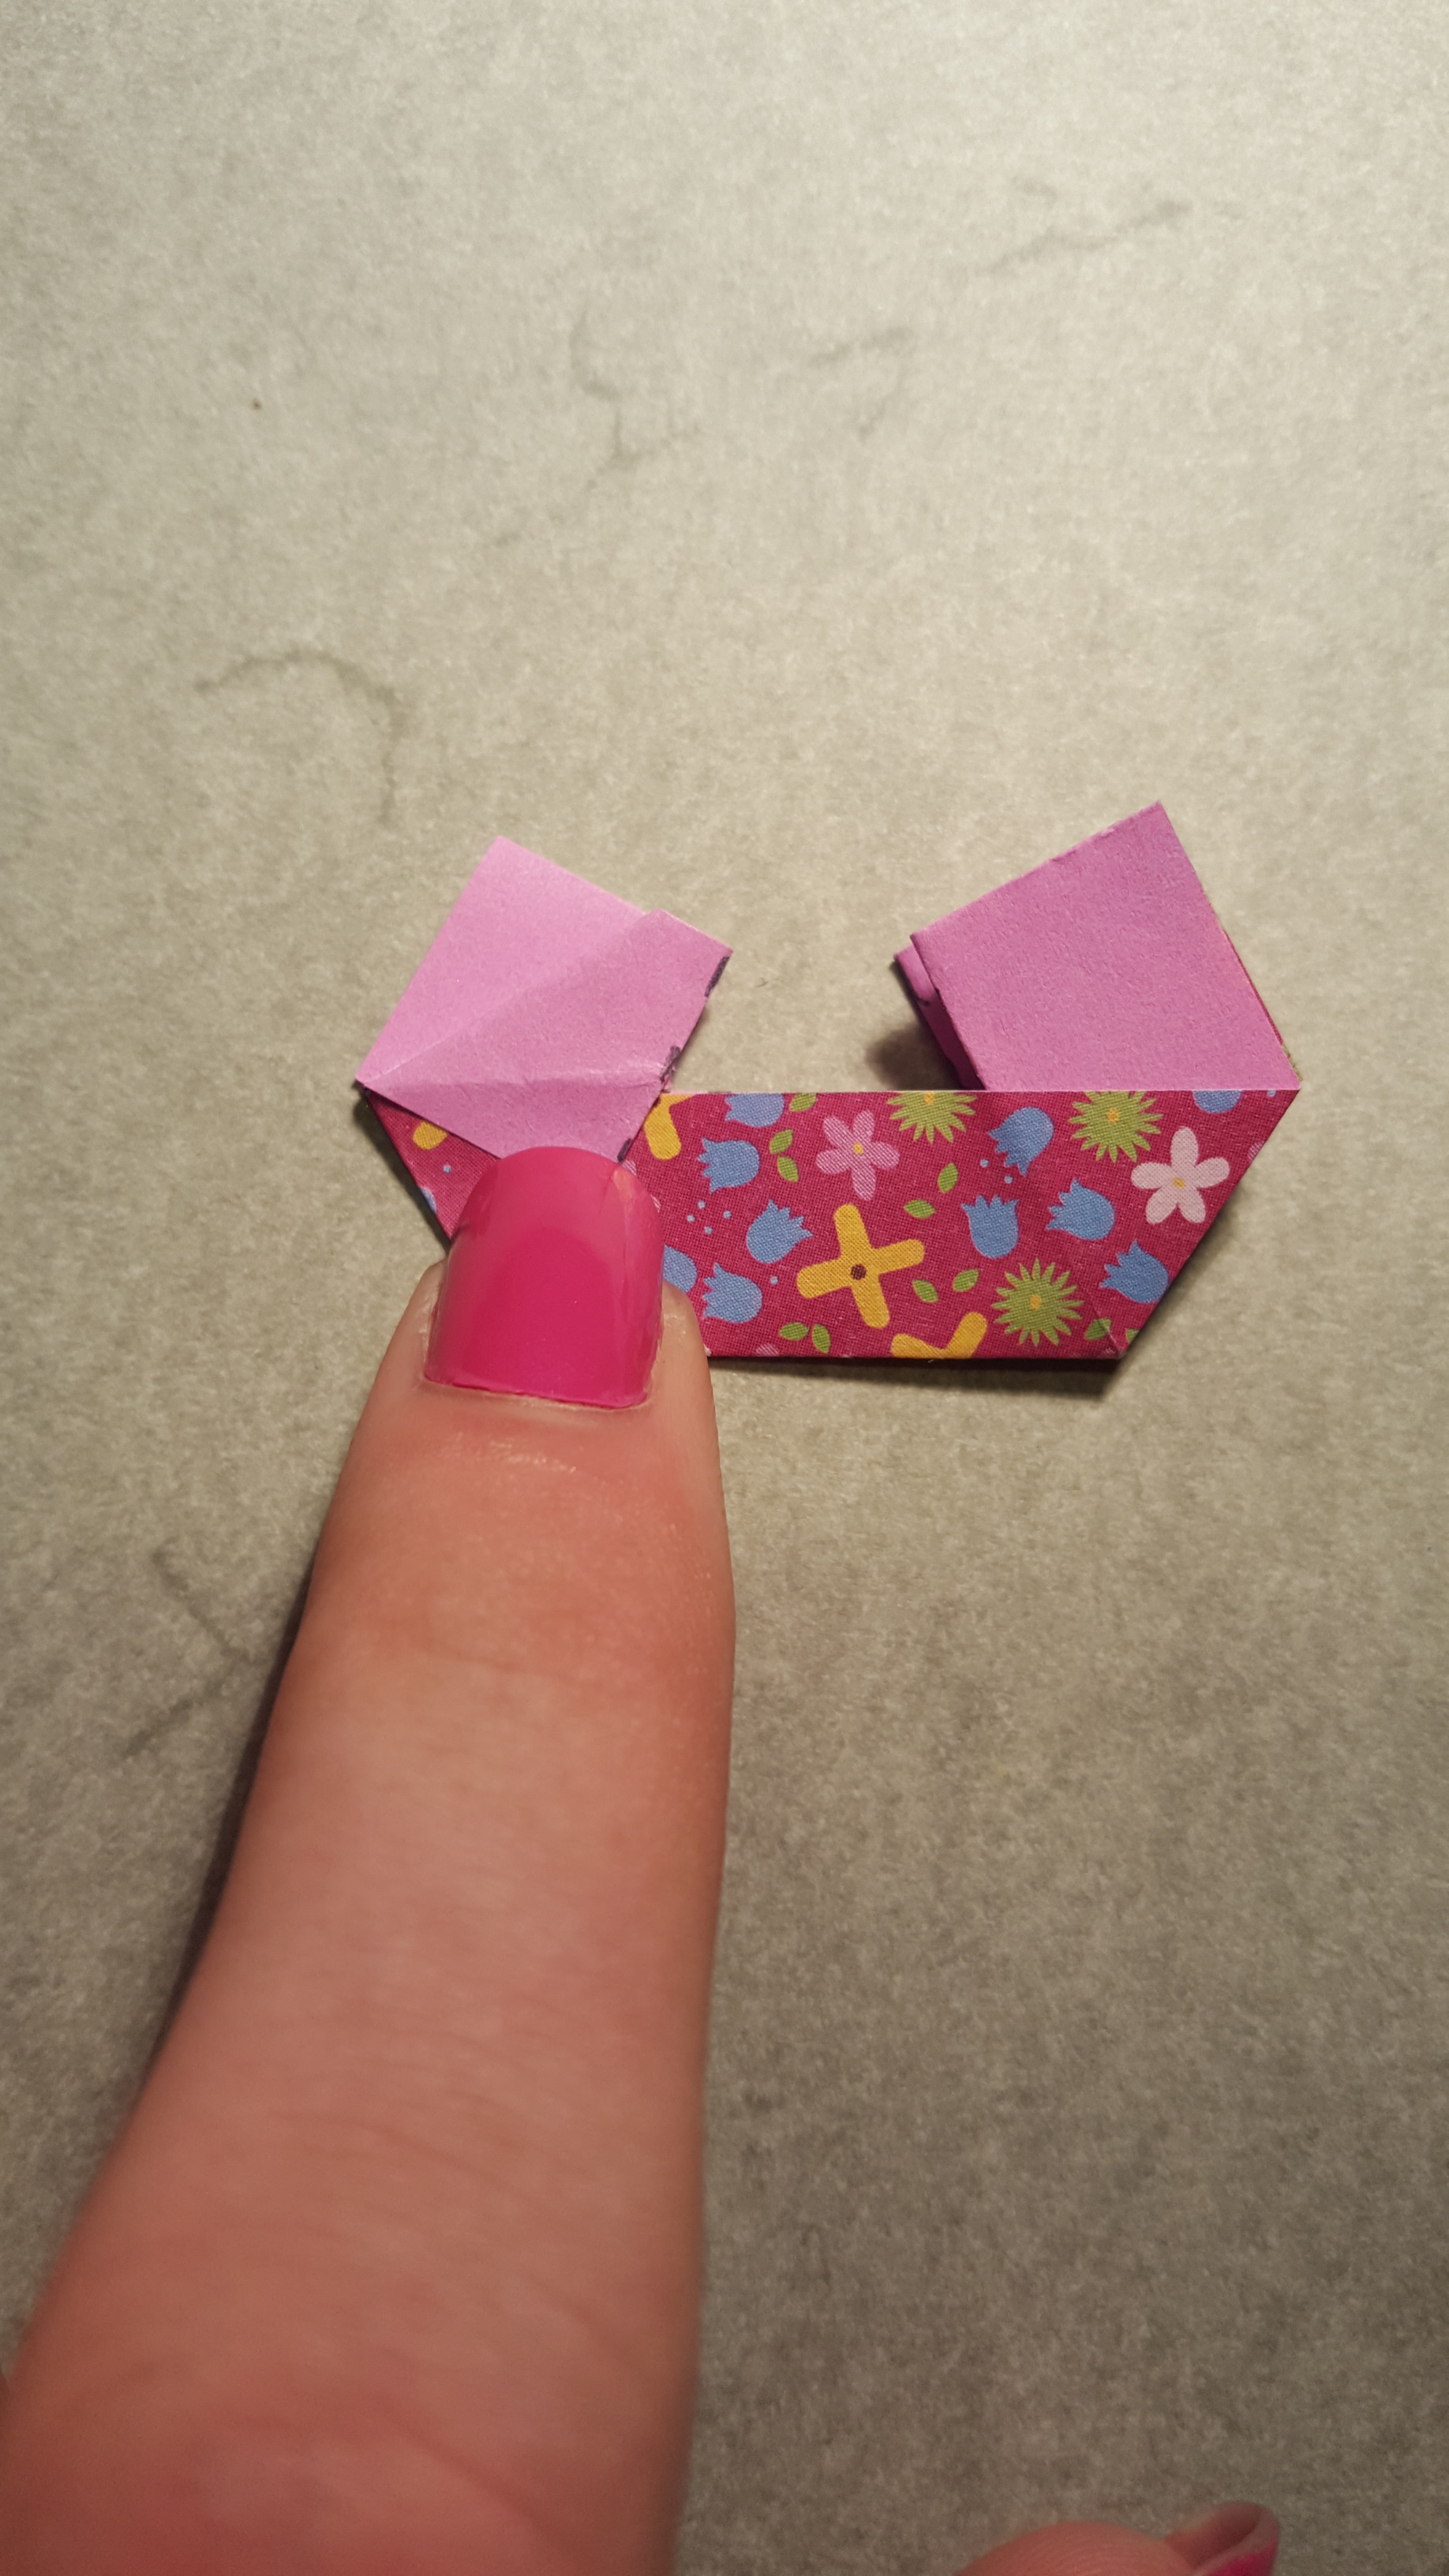
Step 19
Push up along the dotted line in the last photo and mountain fold creating a 90 degree angle between the left and top edge.

Step 20
On the right side fold the front edge to meet the other colour (this is the angle created in the previous steps, it is hard to see in the photos sorry).

Step 21
Repeat steps 18-20 on the other side and the module is complete.

Assembling two pieces: slide together like so.

Once two pieces are together secure with a clip. Once all 30 pieces are assembled into an icosahedron the model will be stable and you can remove the clips.