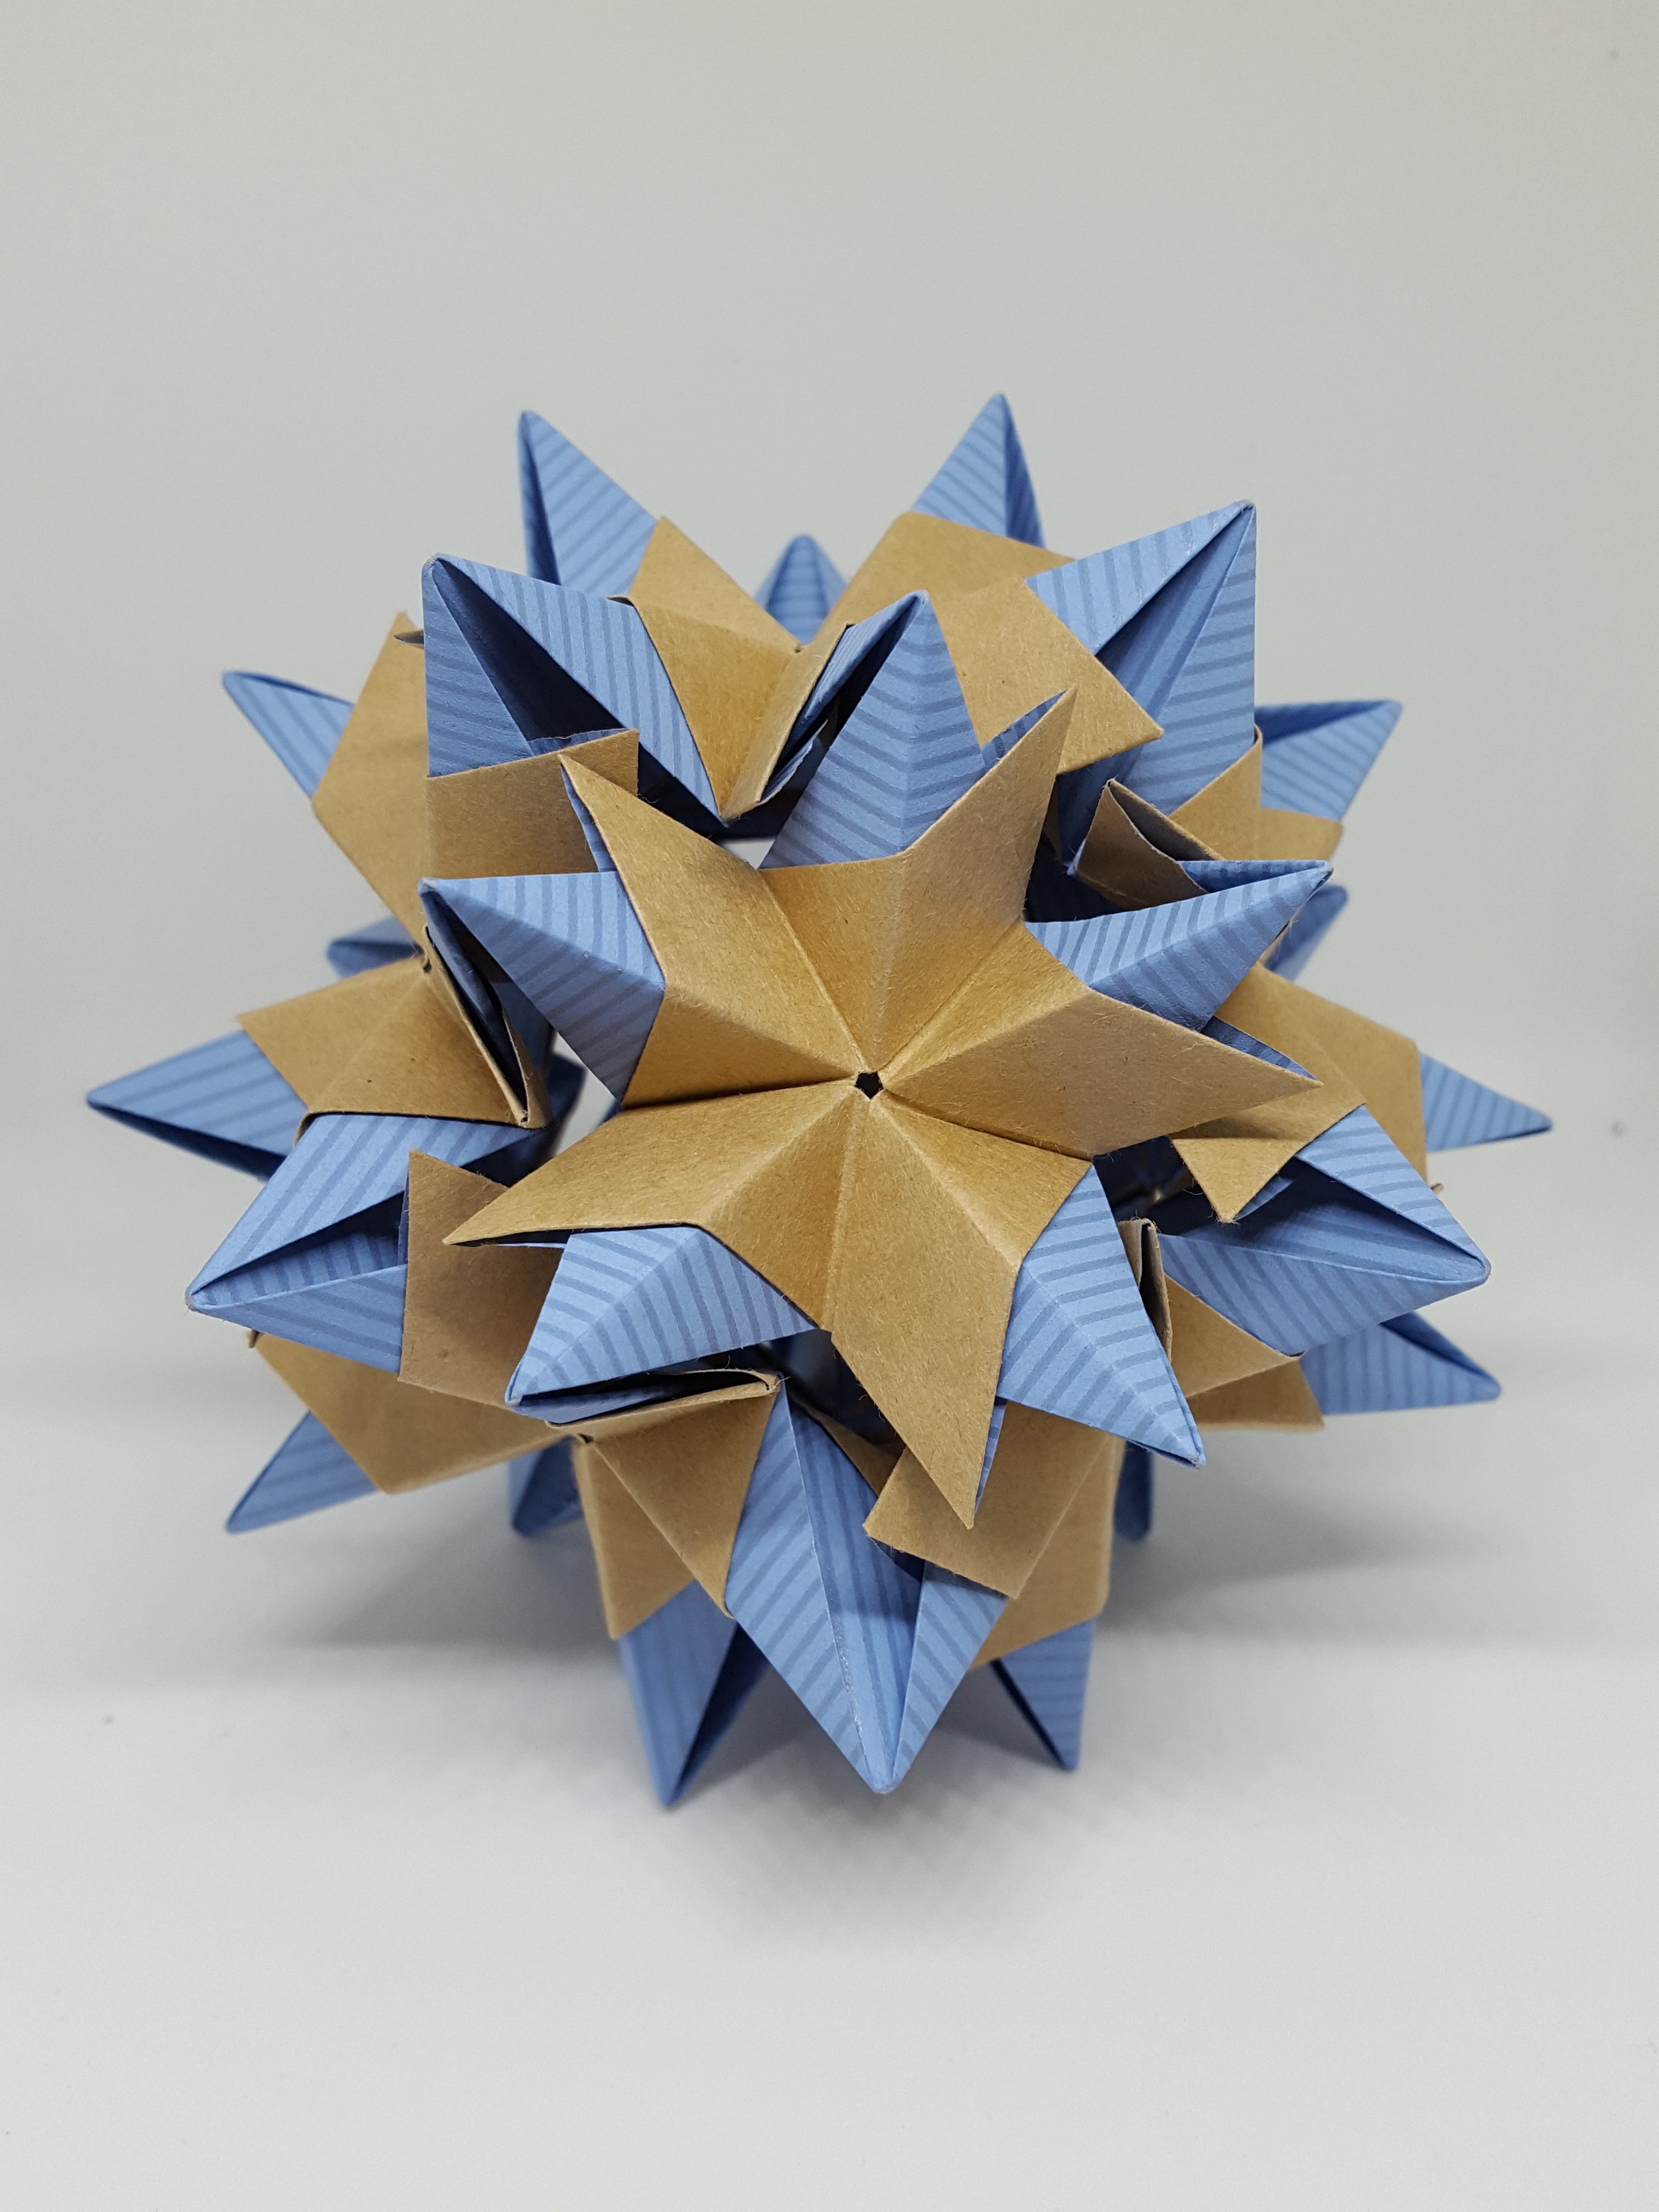
Marceline Tutorial
An embellished design using 30 modules. The individual pieces are somewhat time consuming, but the assembly process does not require pegs.

Step 1
Start with a piece of paper in 1:√3 proportions.

Step 2
Fold the bottom left corner to the top right corner.

Step 3
Unfold and you should have one crease as shown.

Step 4
Fold the bottom right corner to the top left corner and unfold.

Step 5
Fold the bottom left and top right corners to the centre of the paper. (where the creases intersect)
Step 6
Unfold the last step.
Step 7
Fold the bottom right and top left corners to the centre.

Step 8
Turn over and rotate the paper.

Step 9
Fold the bottom right corner to the top left.

Step 10
Unfold and then fold the bottom edge to meet the top edge.

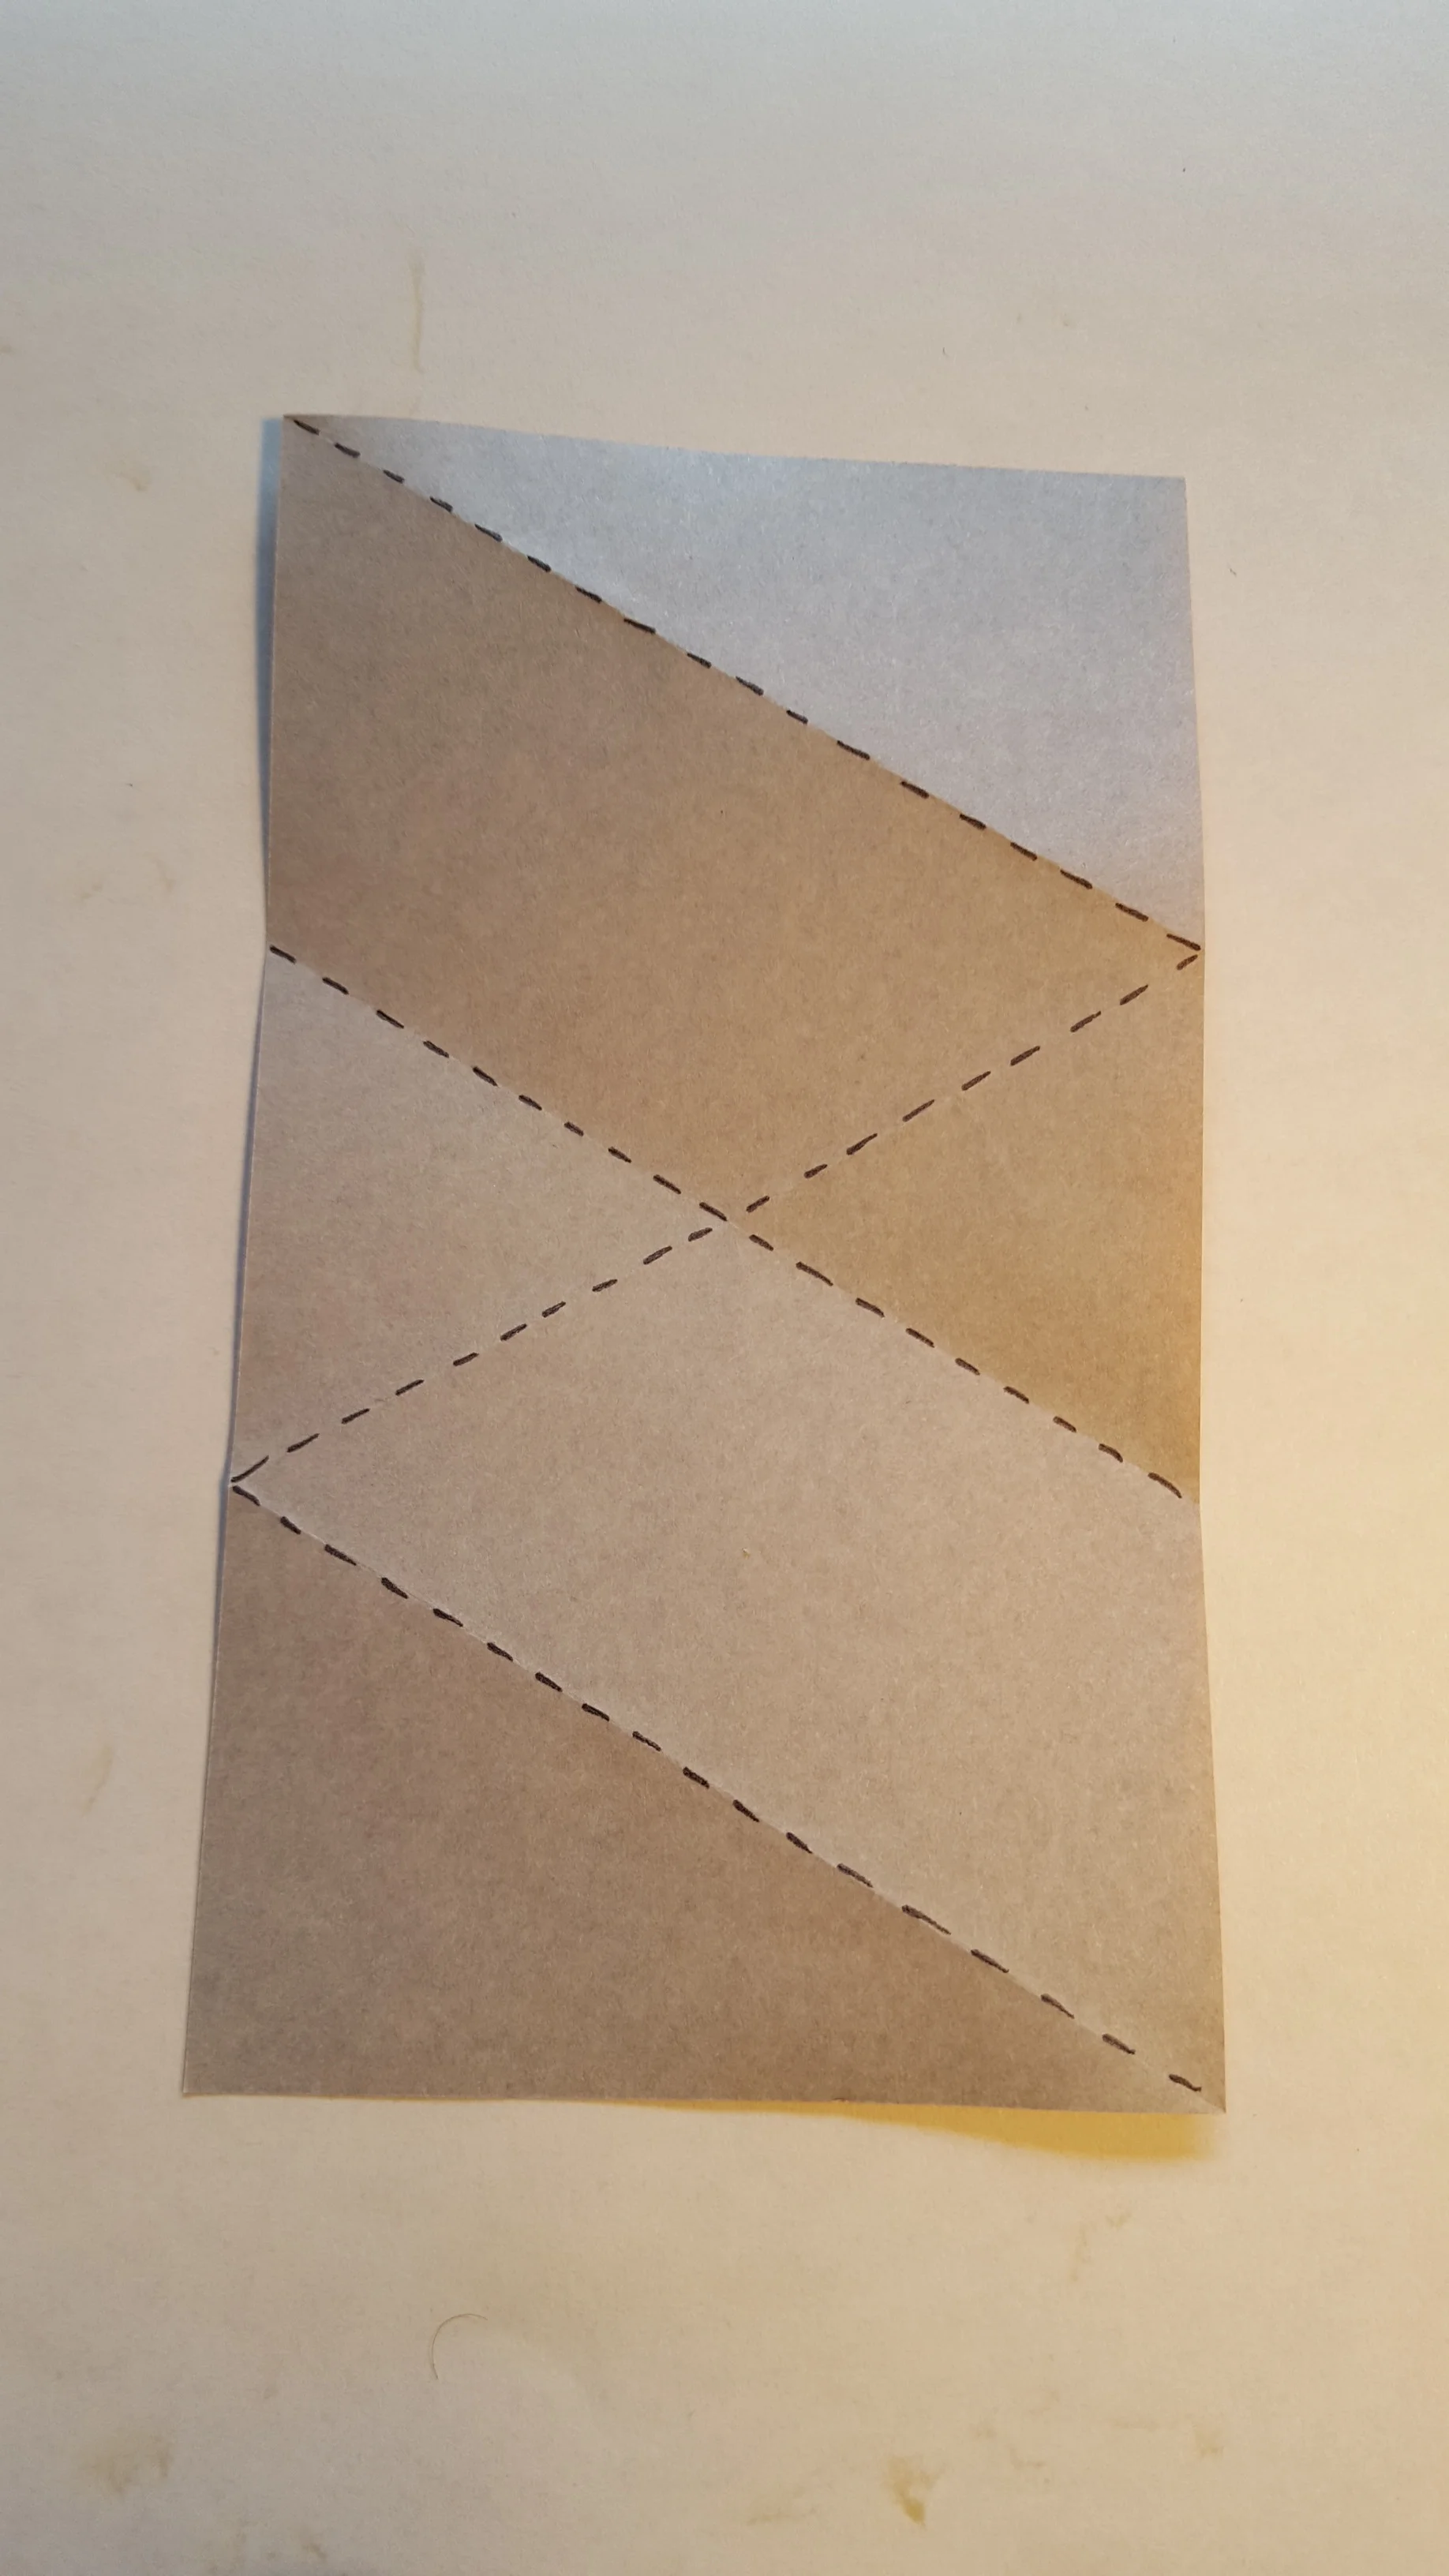
Step 11
Unfold and you will have the following two creases. Also note the marked crease intersections on the top and bottom edge.

Step 12
Fold the bottom marked point to the top marked point.

Step 13
Unfold the last step.

Step 14
Turn over the paper and fully unfold.

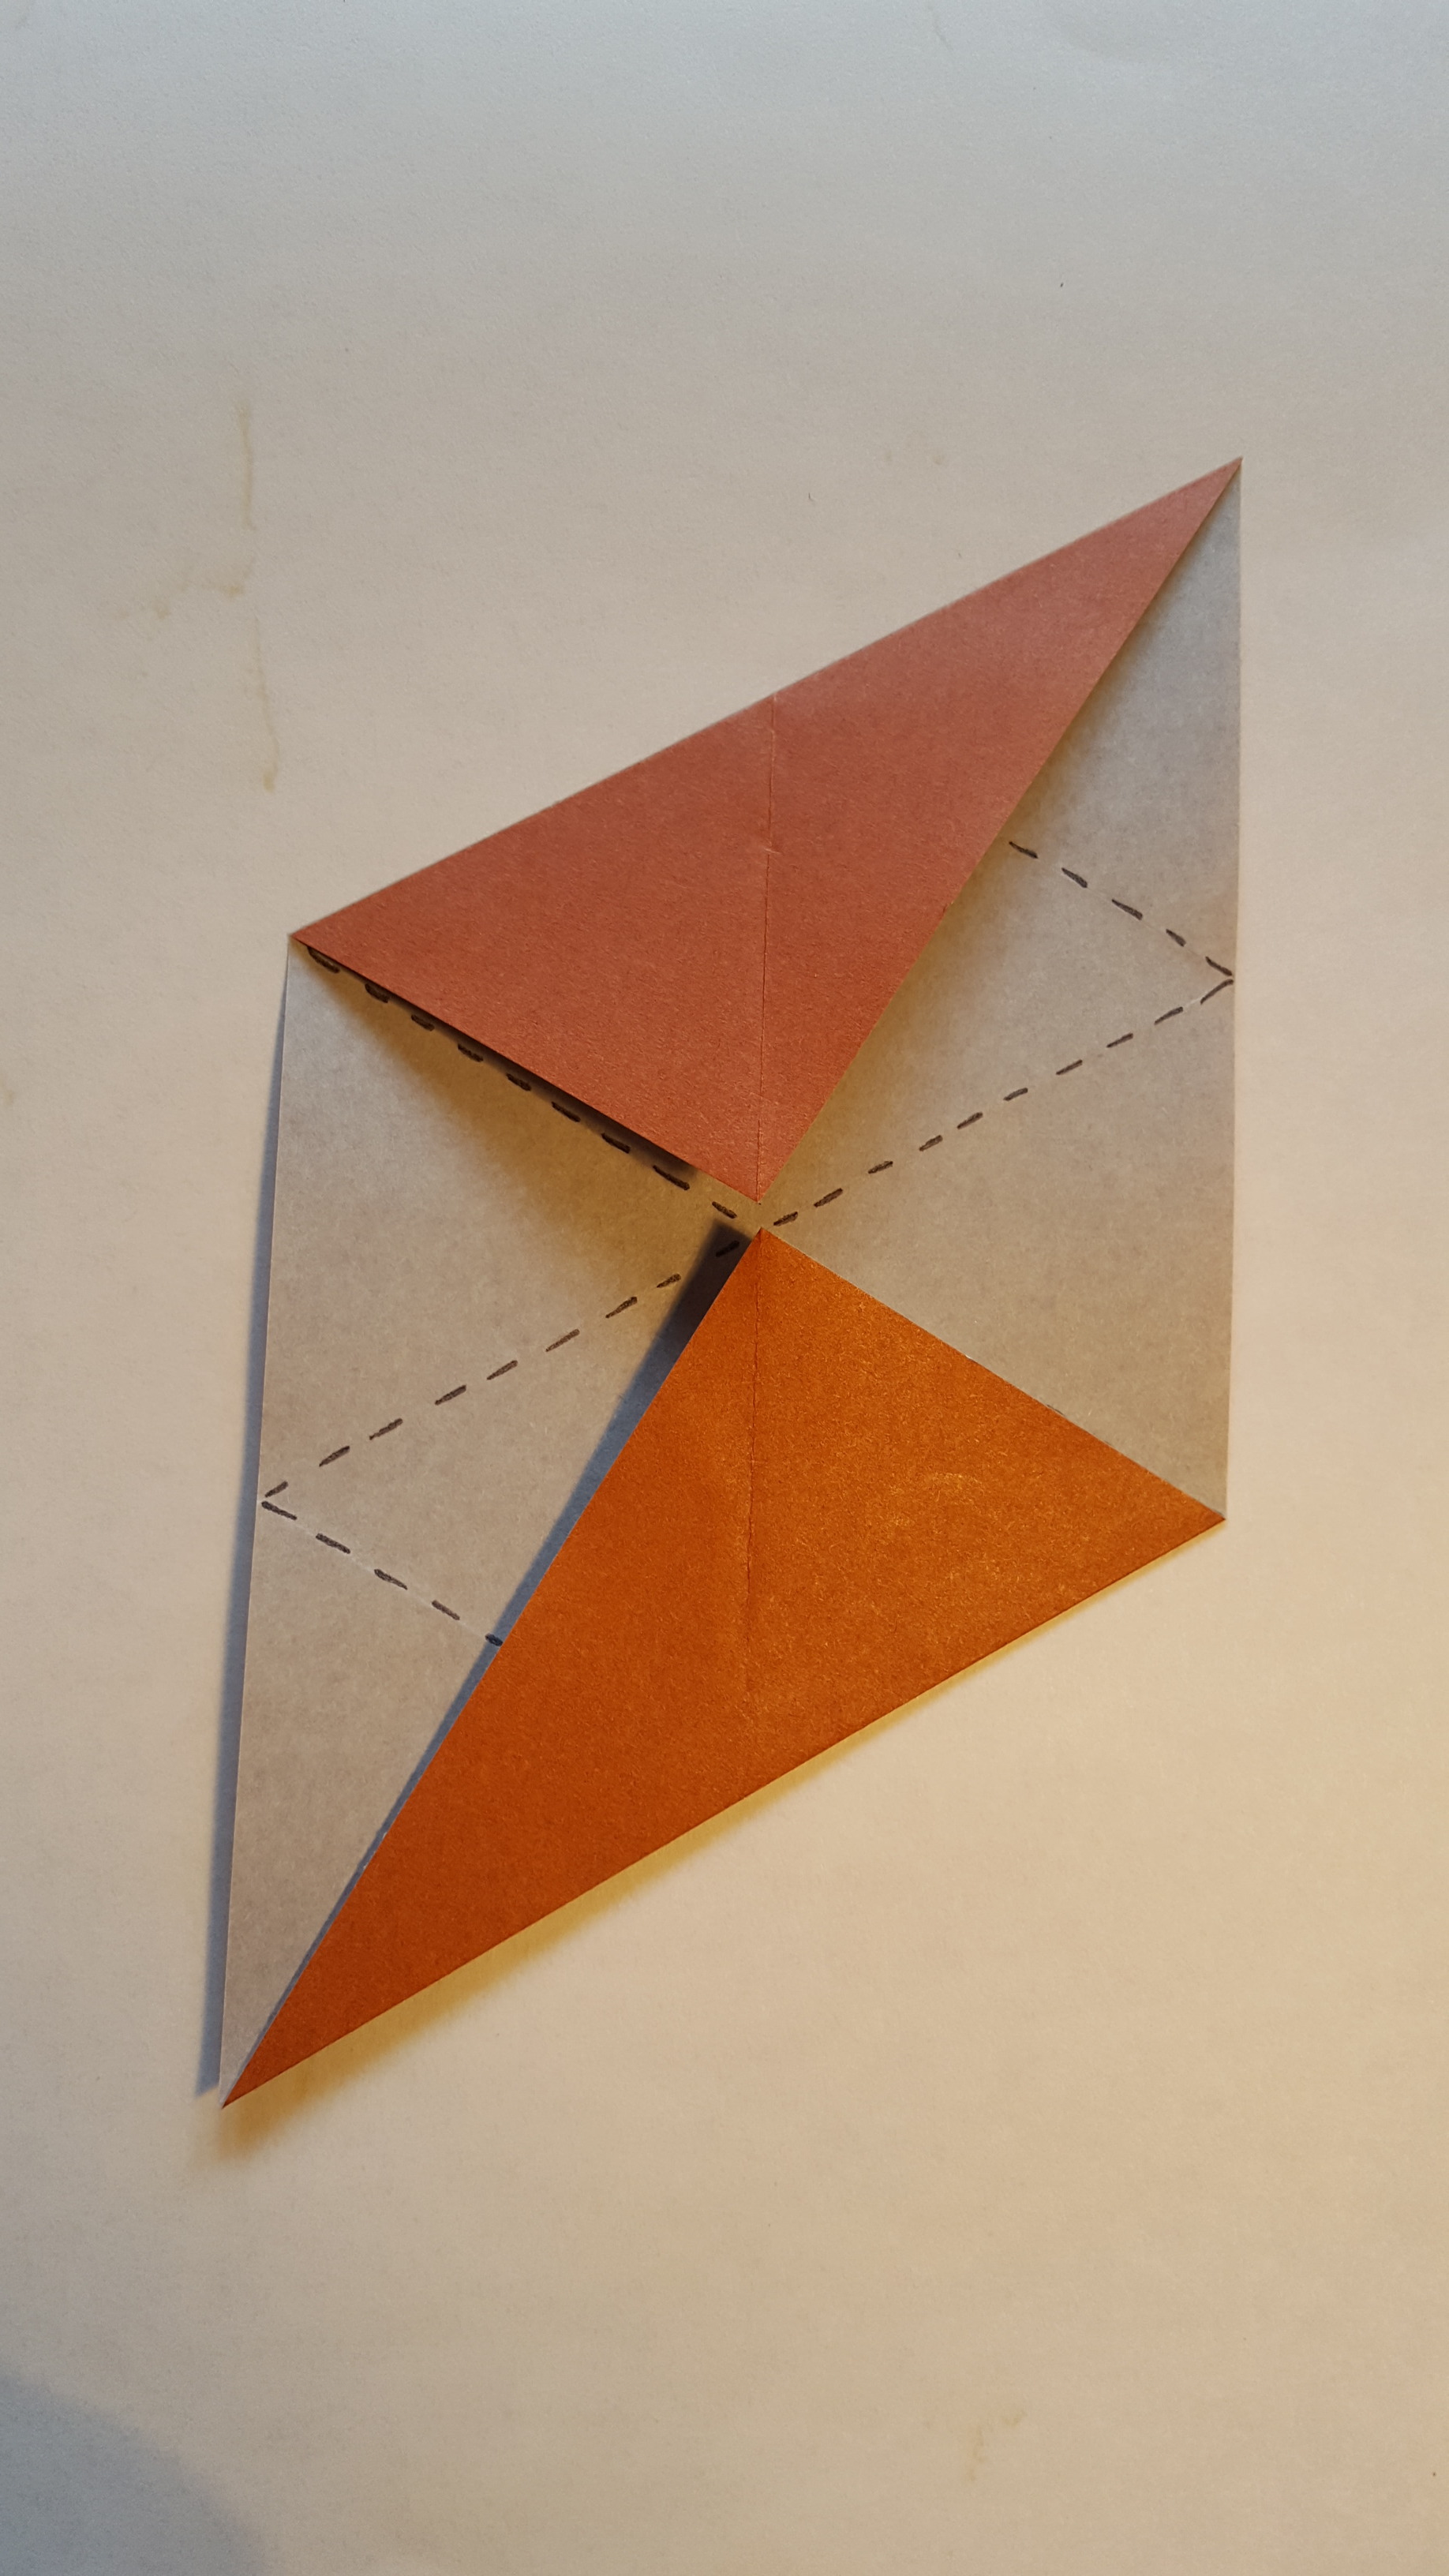
Step 15
Fold the top left and bottom right corners in to meet the crease intersection shown.

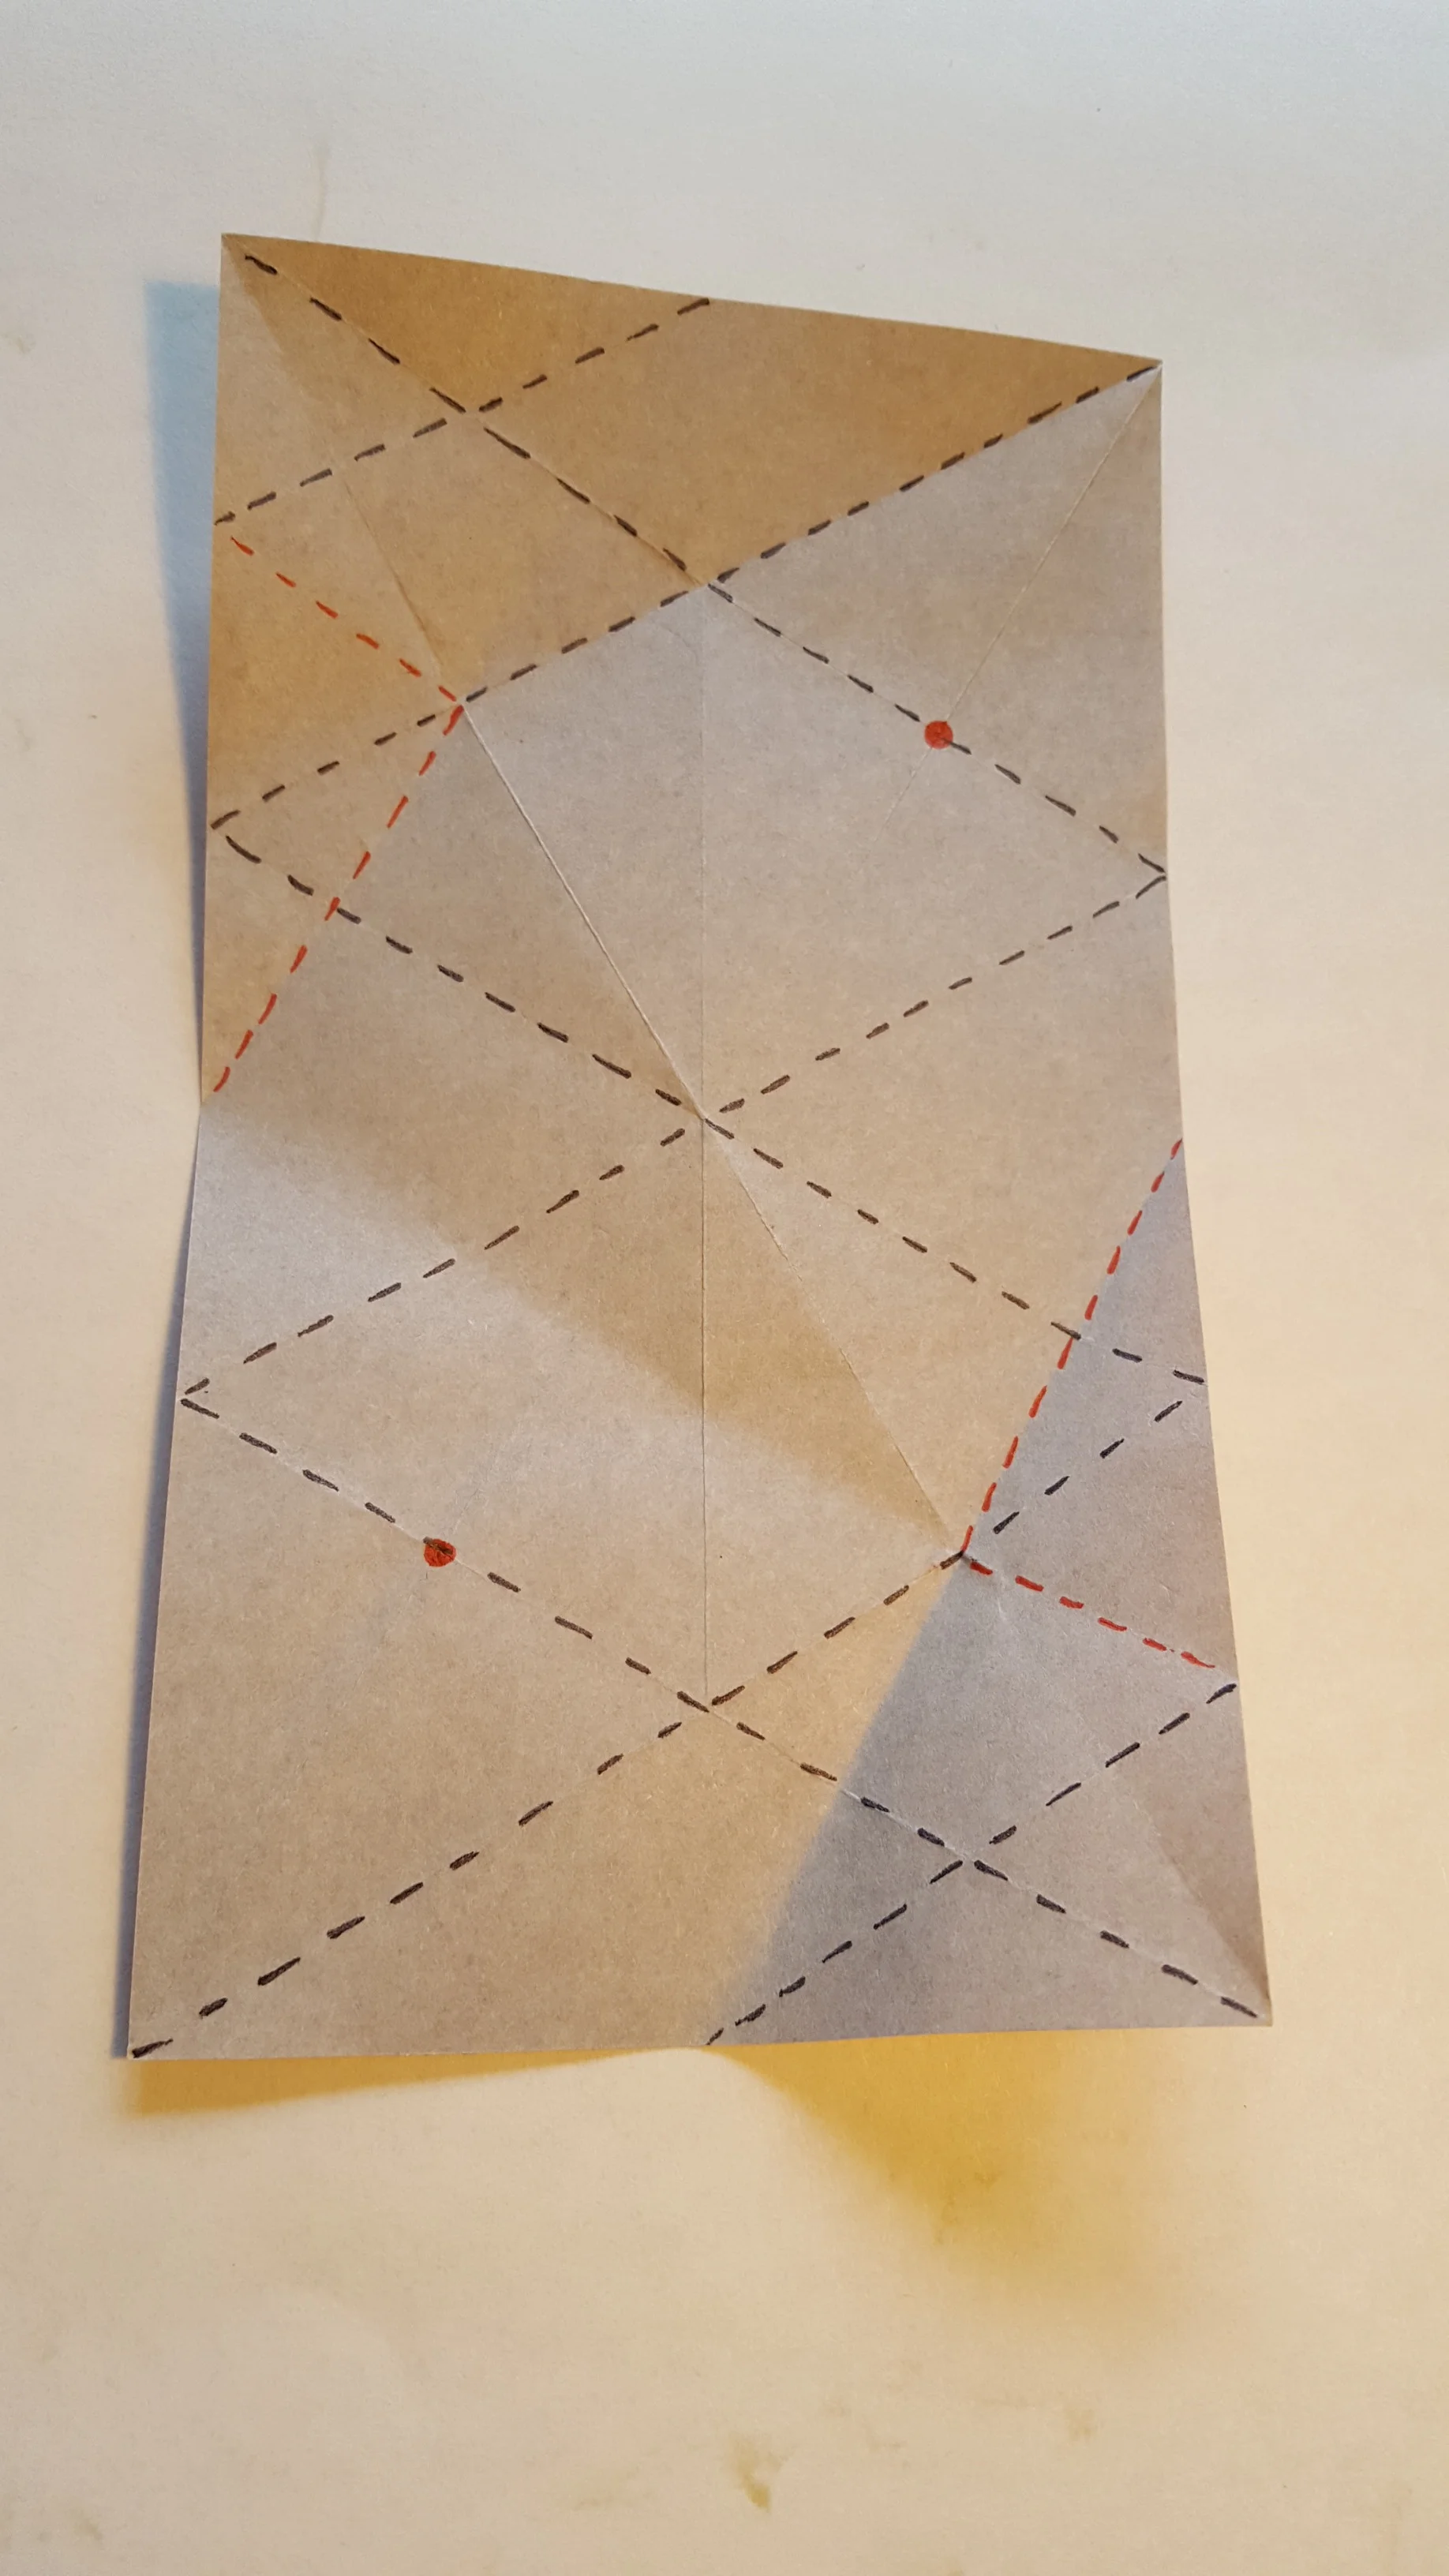
Step 16
Unfold. Now is marked the red folds which need to be folded and the red dots show the intersection used.
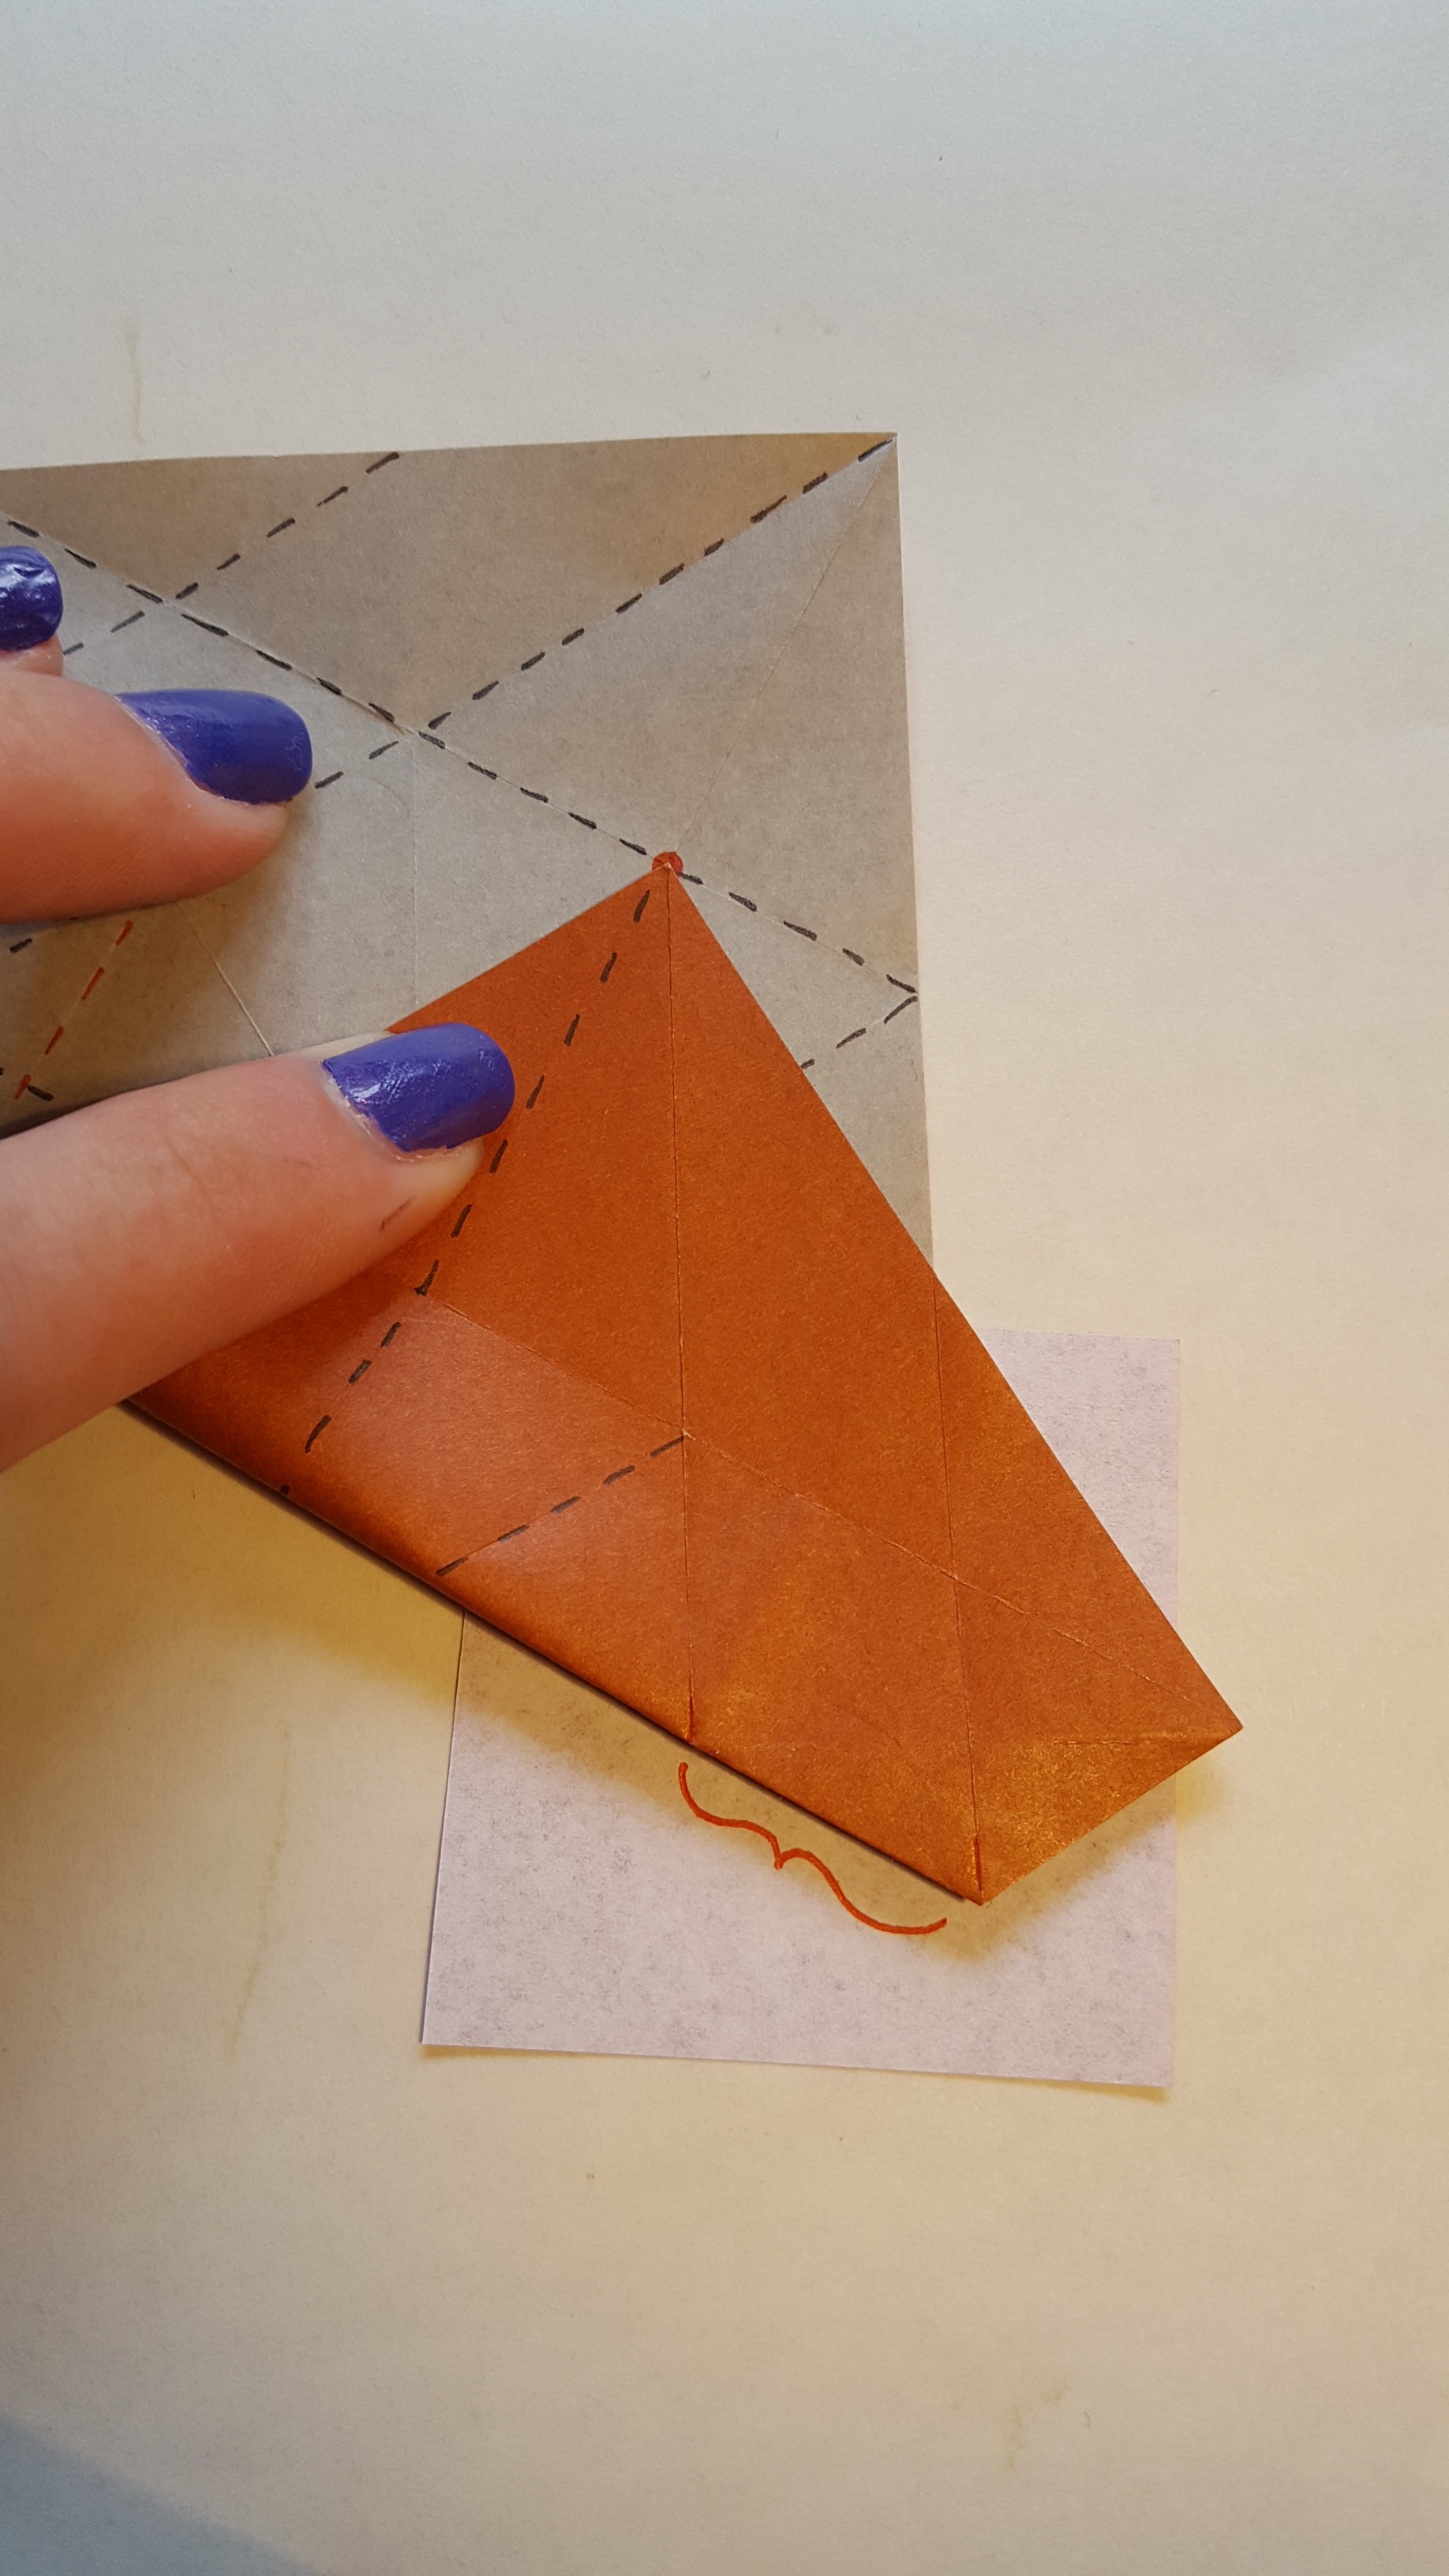
Step 17
Bring the left bottom corner to the top red intersection, but only crease in the shown area.

Step 18
Bring the bottom right corner to the lower red intersection and again only crease the marked area.
Step 19
Unfold the paper and repeat steps 17 and 18 at the other end of the paper to fold the remaining two red creases. .

Step 20
Refold step 15.

Step 21
Fold the corners in again as shown.

Step 22
Gently shape the existing mountain folds allowing the red folds to take form.
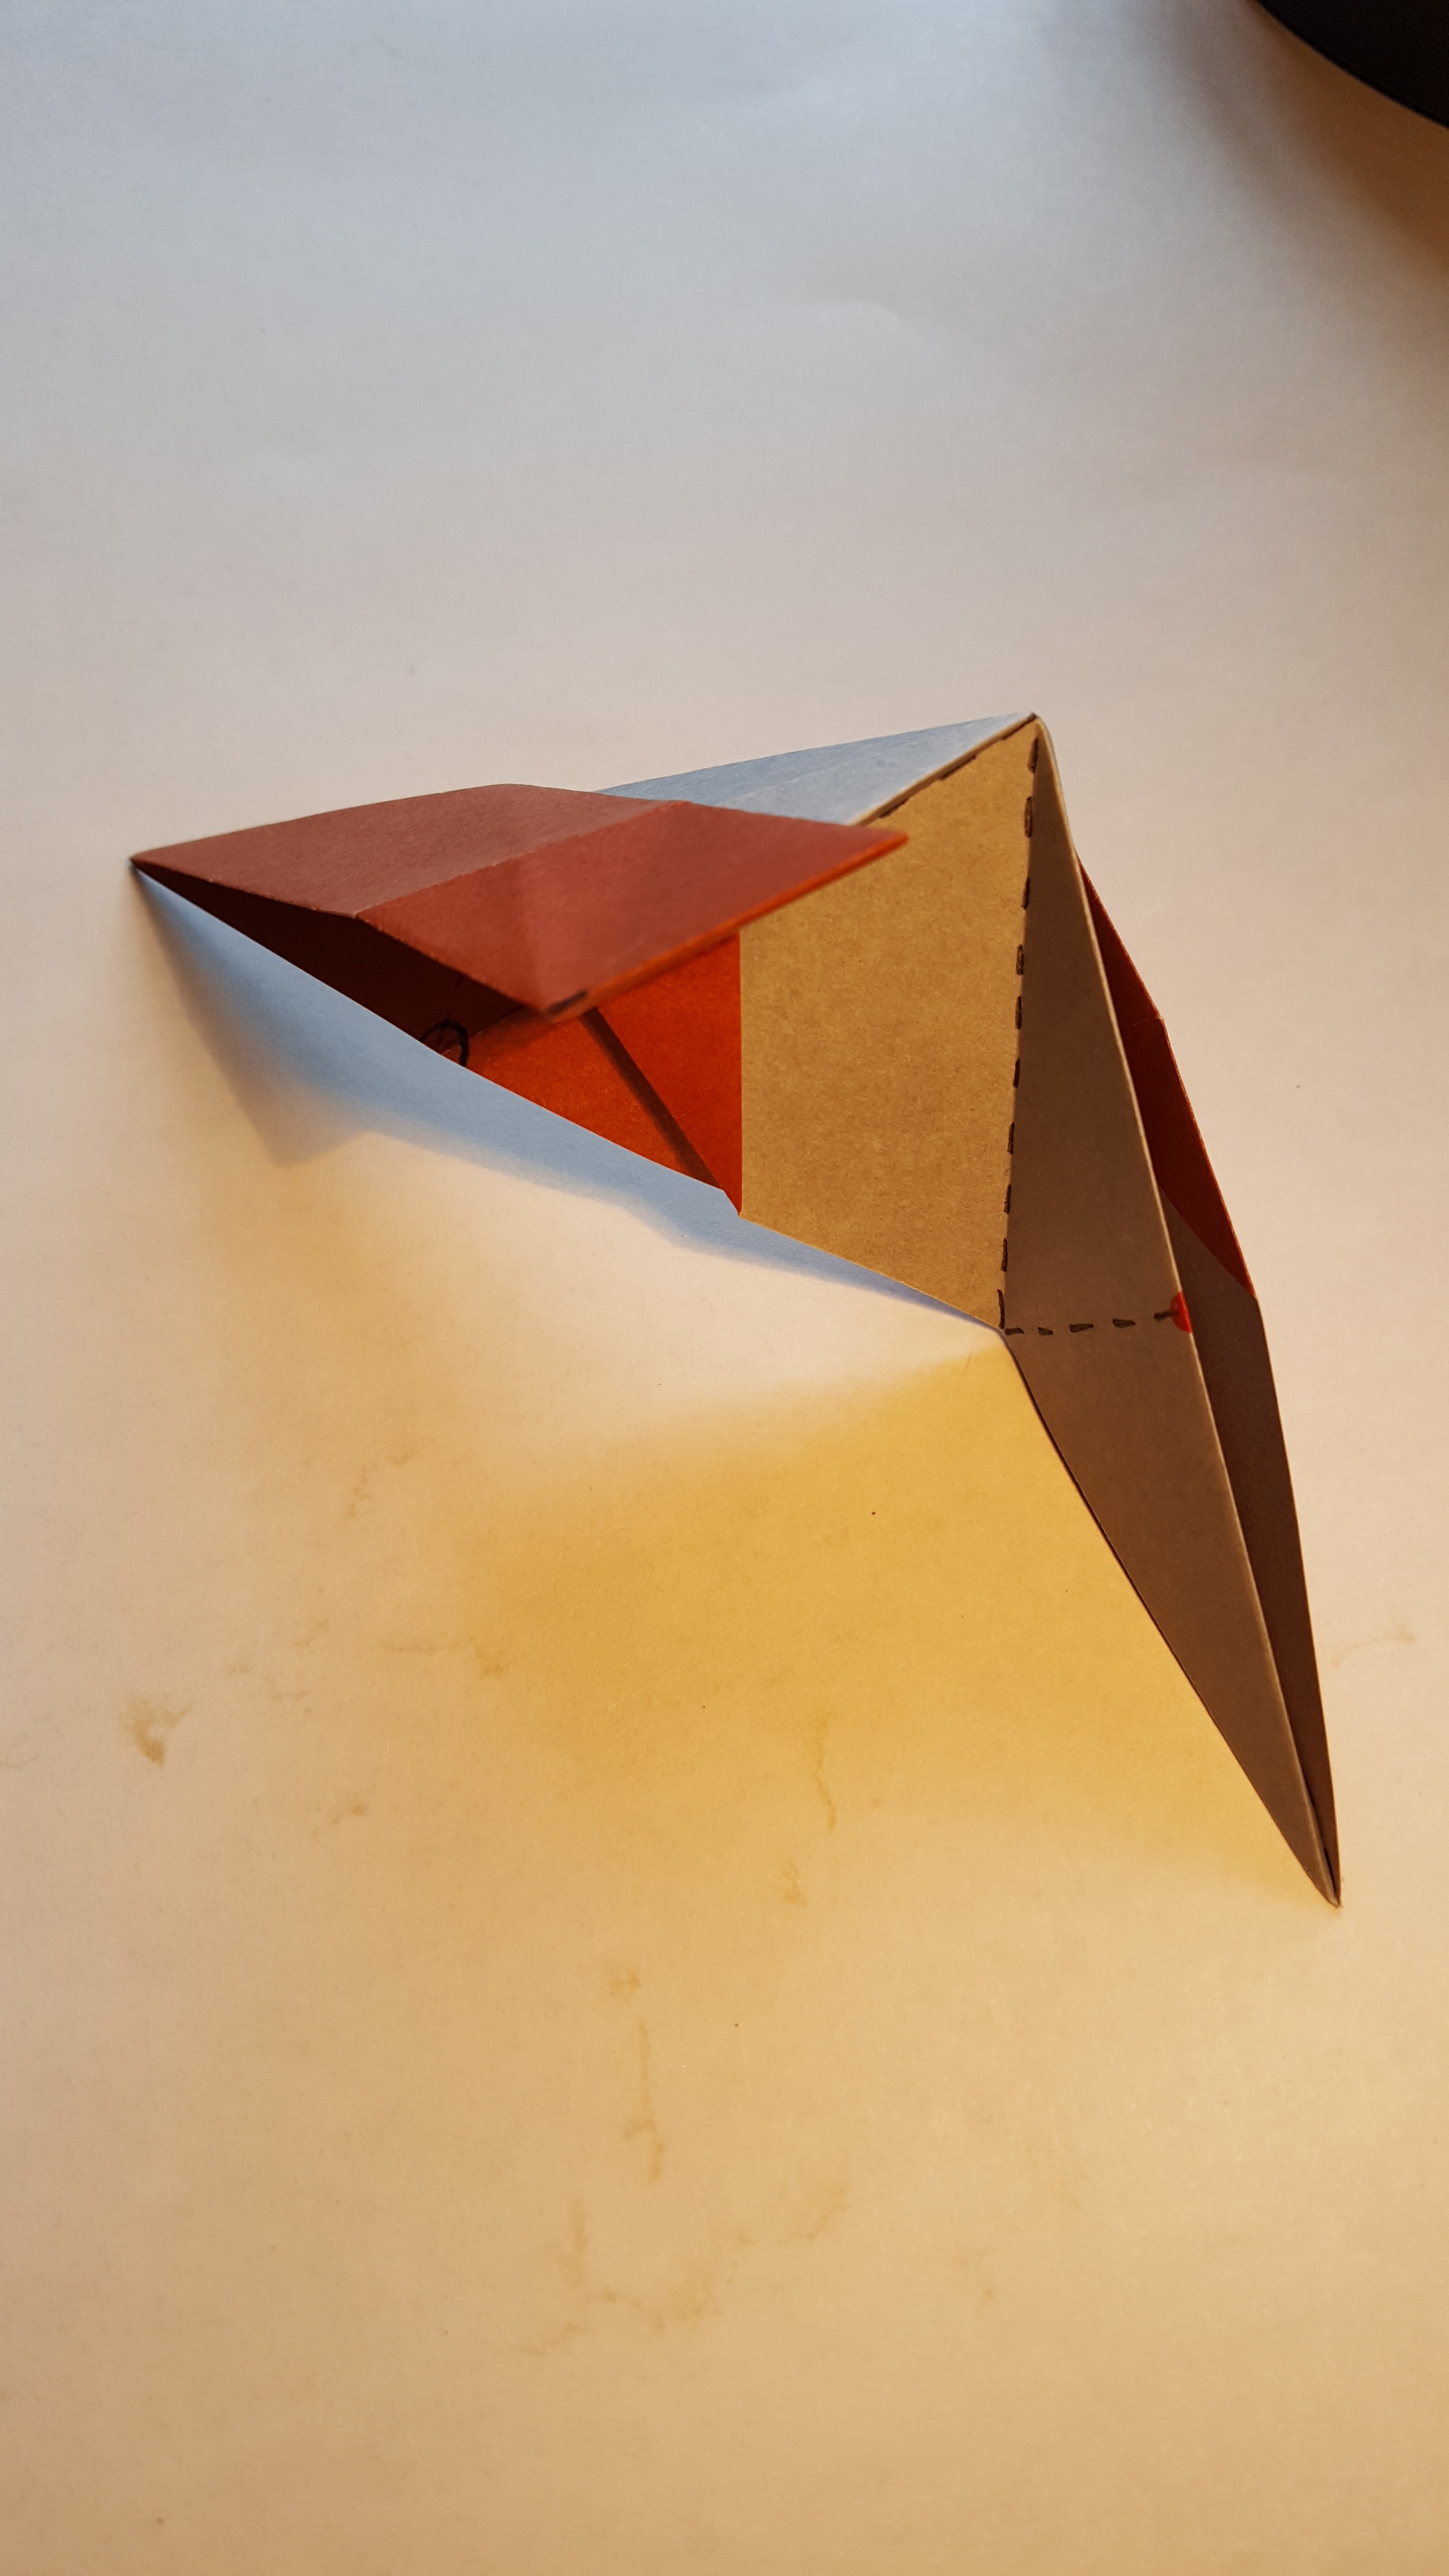
Step 23
Keep shaping using the valley and mountain folds made previously.

Step 24
Flatten the module like so.
Step 25
Fold the bottom point up and crease. (You can stop here and use this spike as a tab instead if you prefer - the connection will be easier to assemble, but not as strong)

Step 26
Open the layers in the triangle just folded.

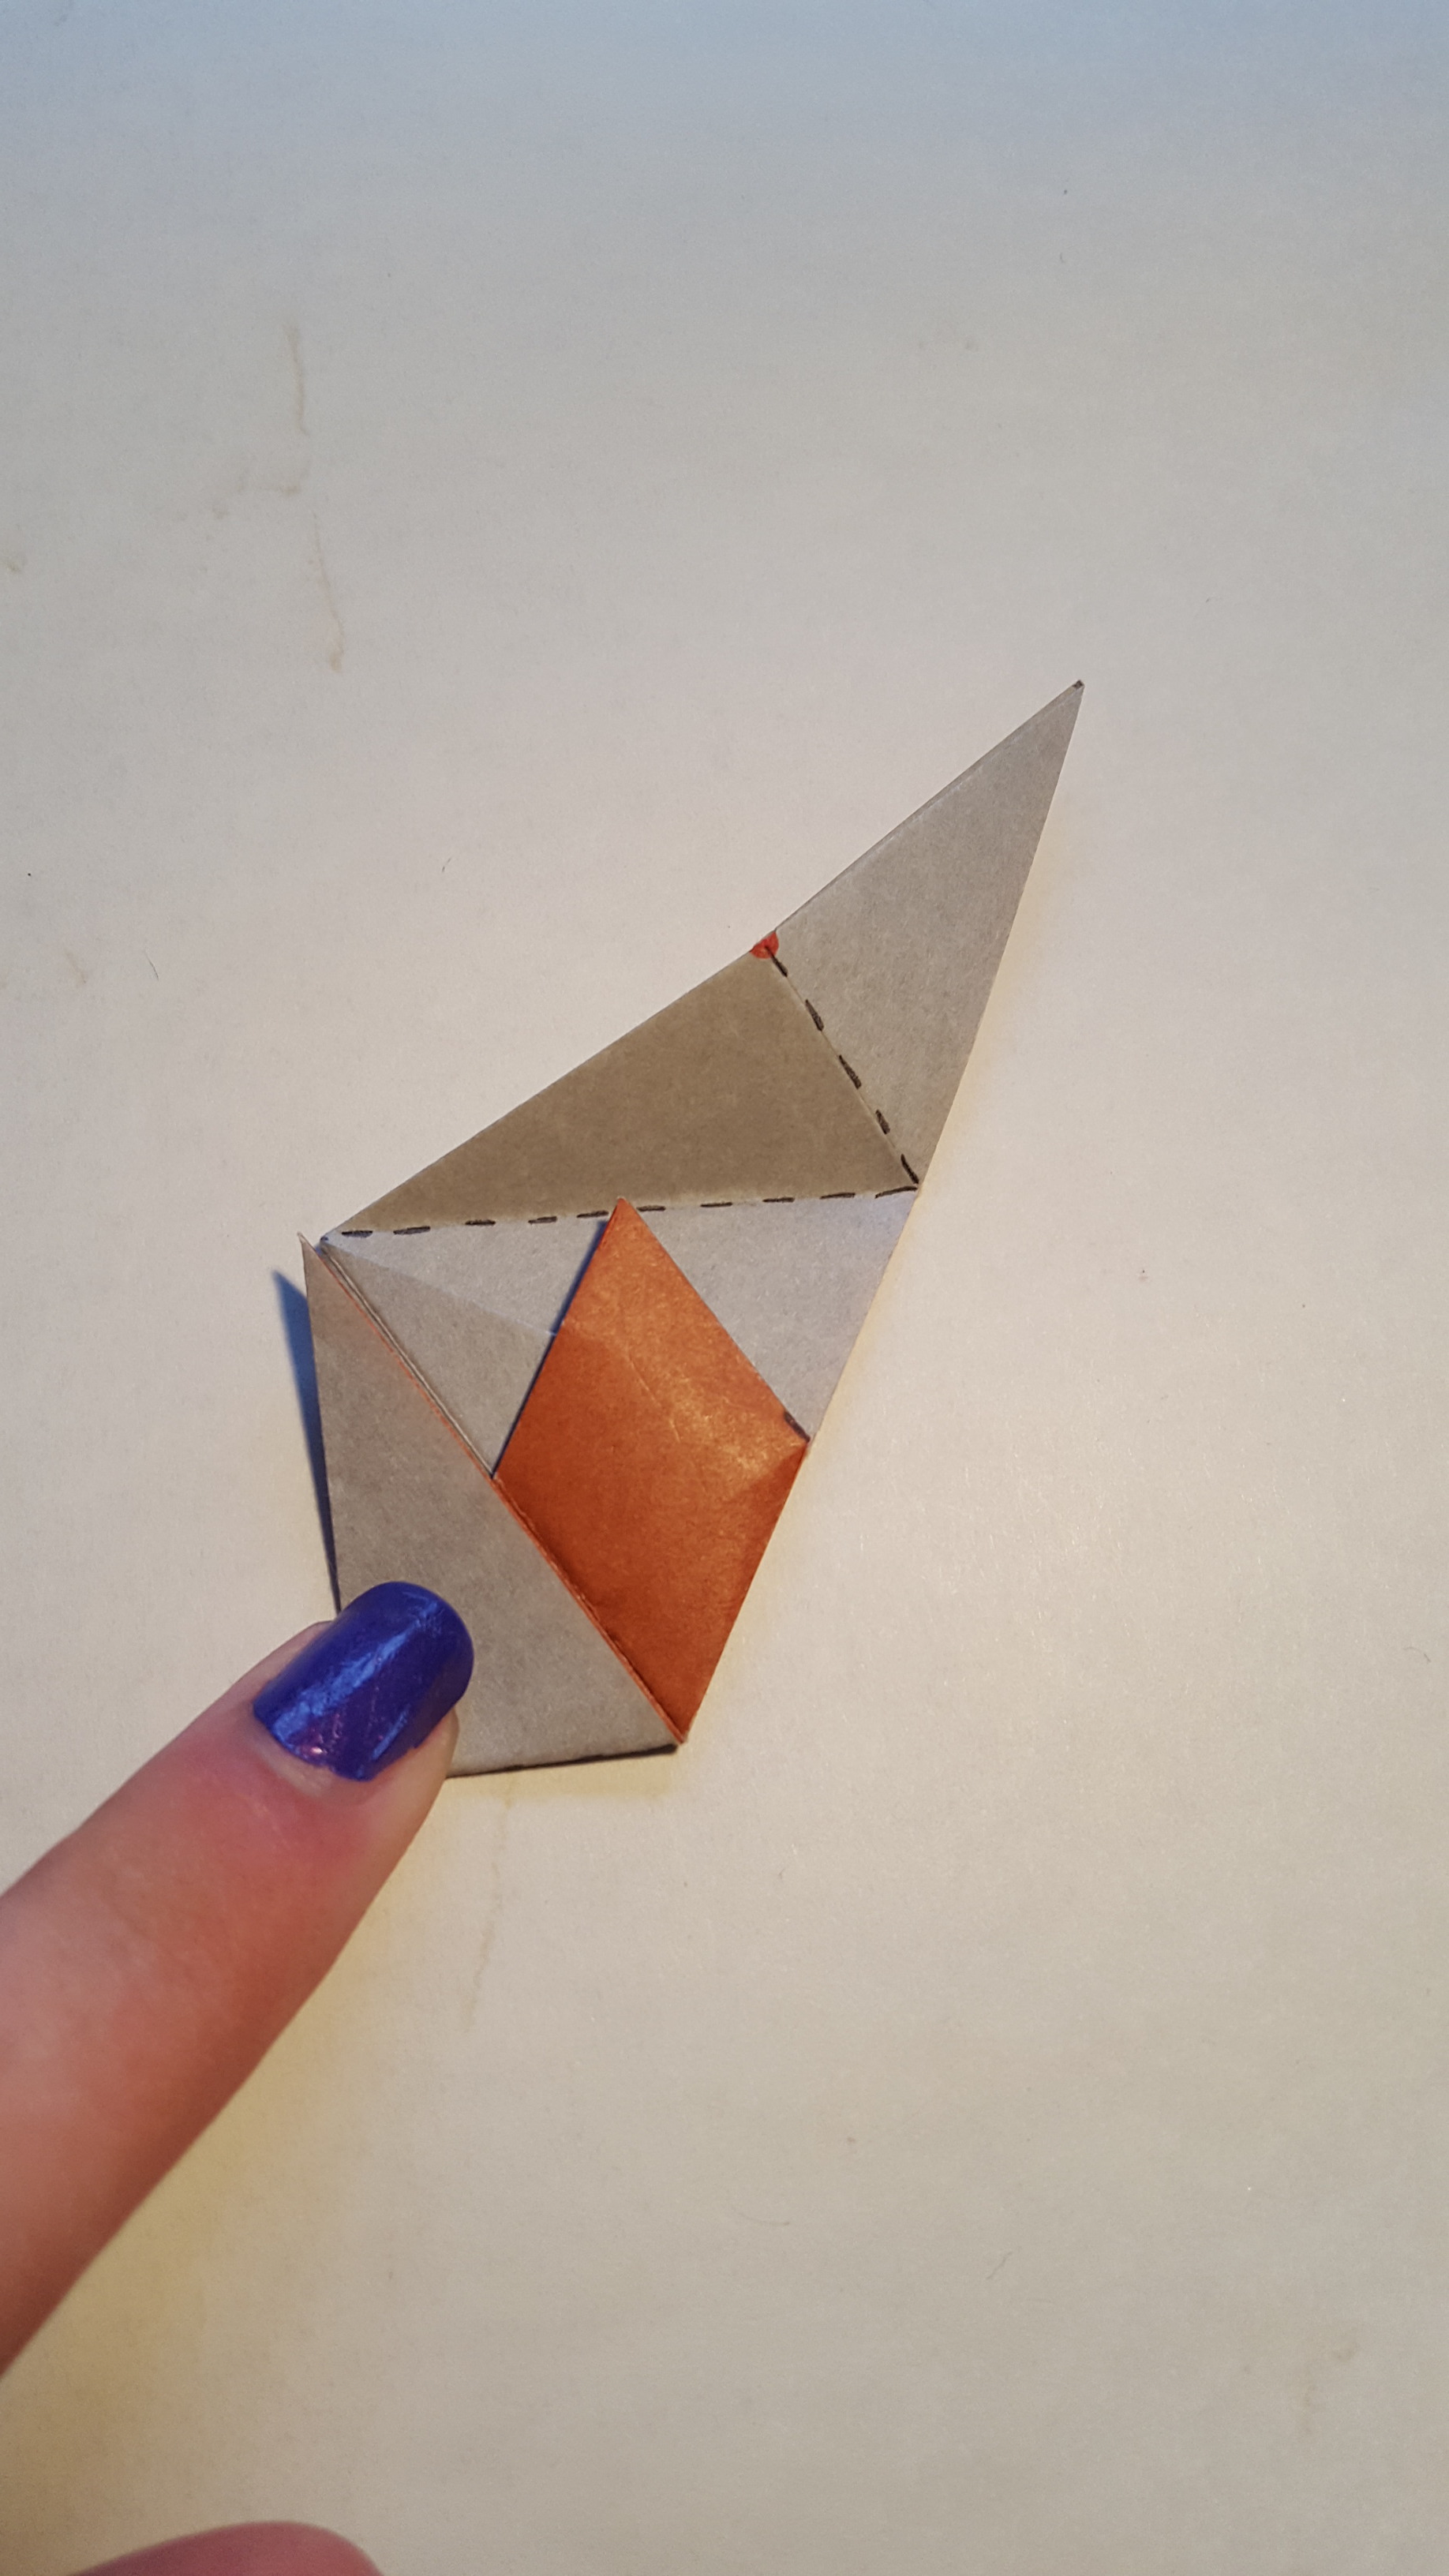
Step 27
Flatten this by aligning the tip with the right corner shown.

Step 28
Fold the tip back to the left and hide the little grey triangle between the layers. Repeat from step 25 on the other side of the module and then it is done.


This is how you connect the units. Make sure you insert the flap into the pocket correctly, it should not go into the bridge between the "flowers" or it will fall out easily (though on the last module this is a good idea for when the assembly becomes difficult). It needs to go into the left part which is enclosed. Assemble five units in this way to form a closed loop and then move to other "flowers" standard assembly geometry applies (5 unit flowers, 3 units round to make holes). You could use 12 units and have 4 units per flower instead if you prefer (the triangular holes will form an octahedron rather than an icosahedron).