A guide on how I edit my Photos for a white background

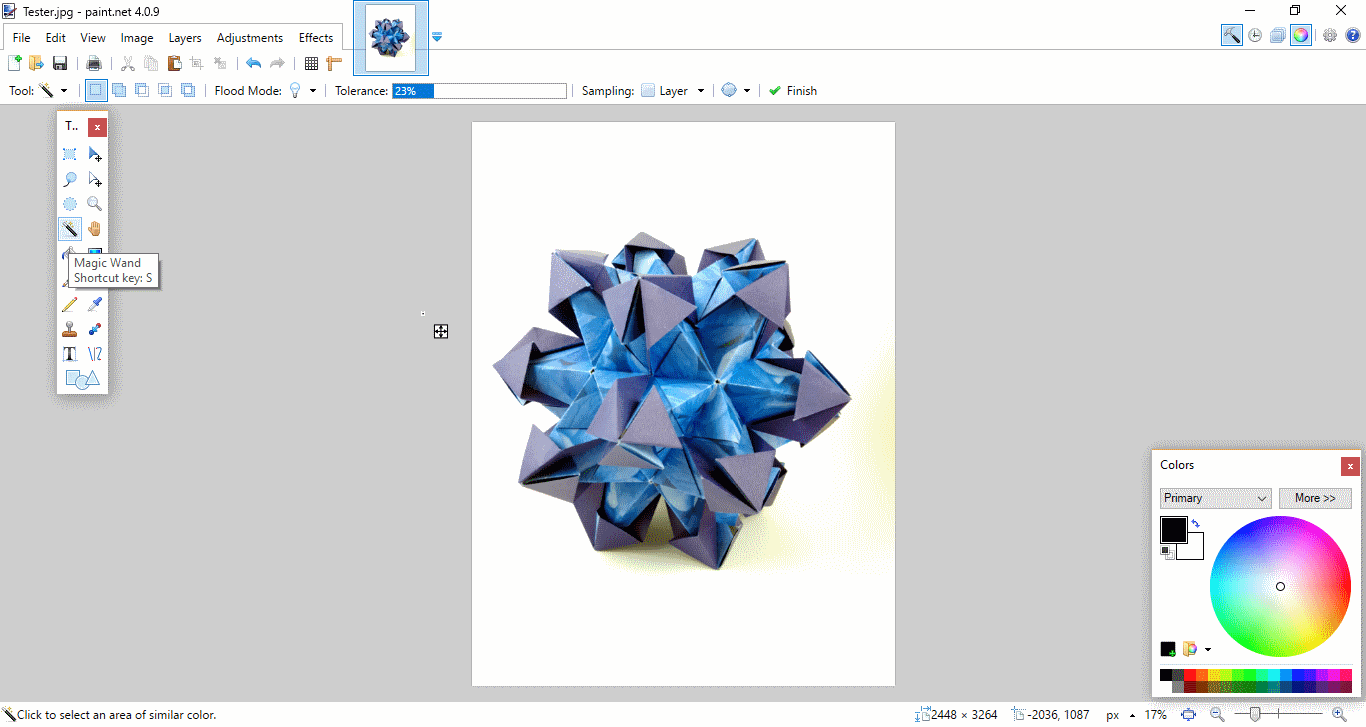
If you are using a photo sharing medium like Instagram or want to prepare photos to go in a book or document then it can be nice to get a white background for your origami photos so there is a seamless flow between the photo and the background. This guide is an explanation of how I edit my photos using free software. The software you will need is GIMP 2 which you can download here: https://www.gimp.org/downloads/ and paint.net: https://www.getpaint.net/

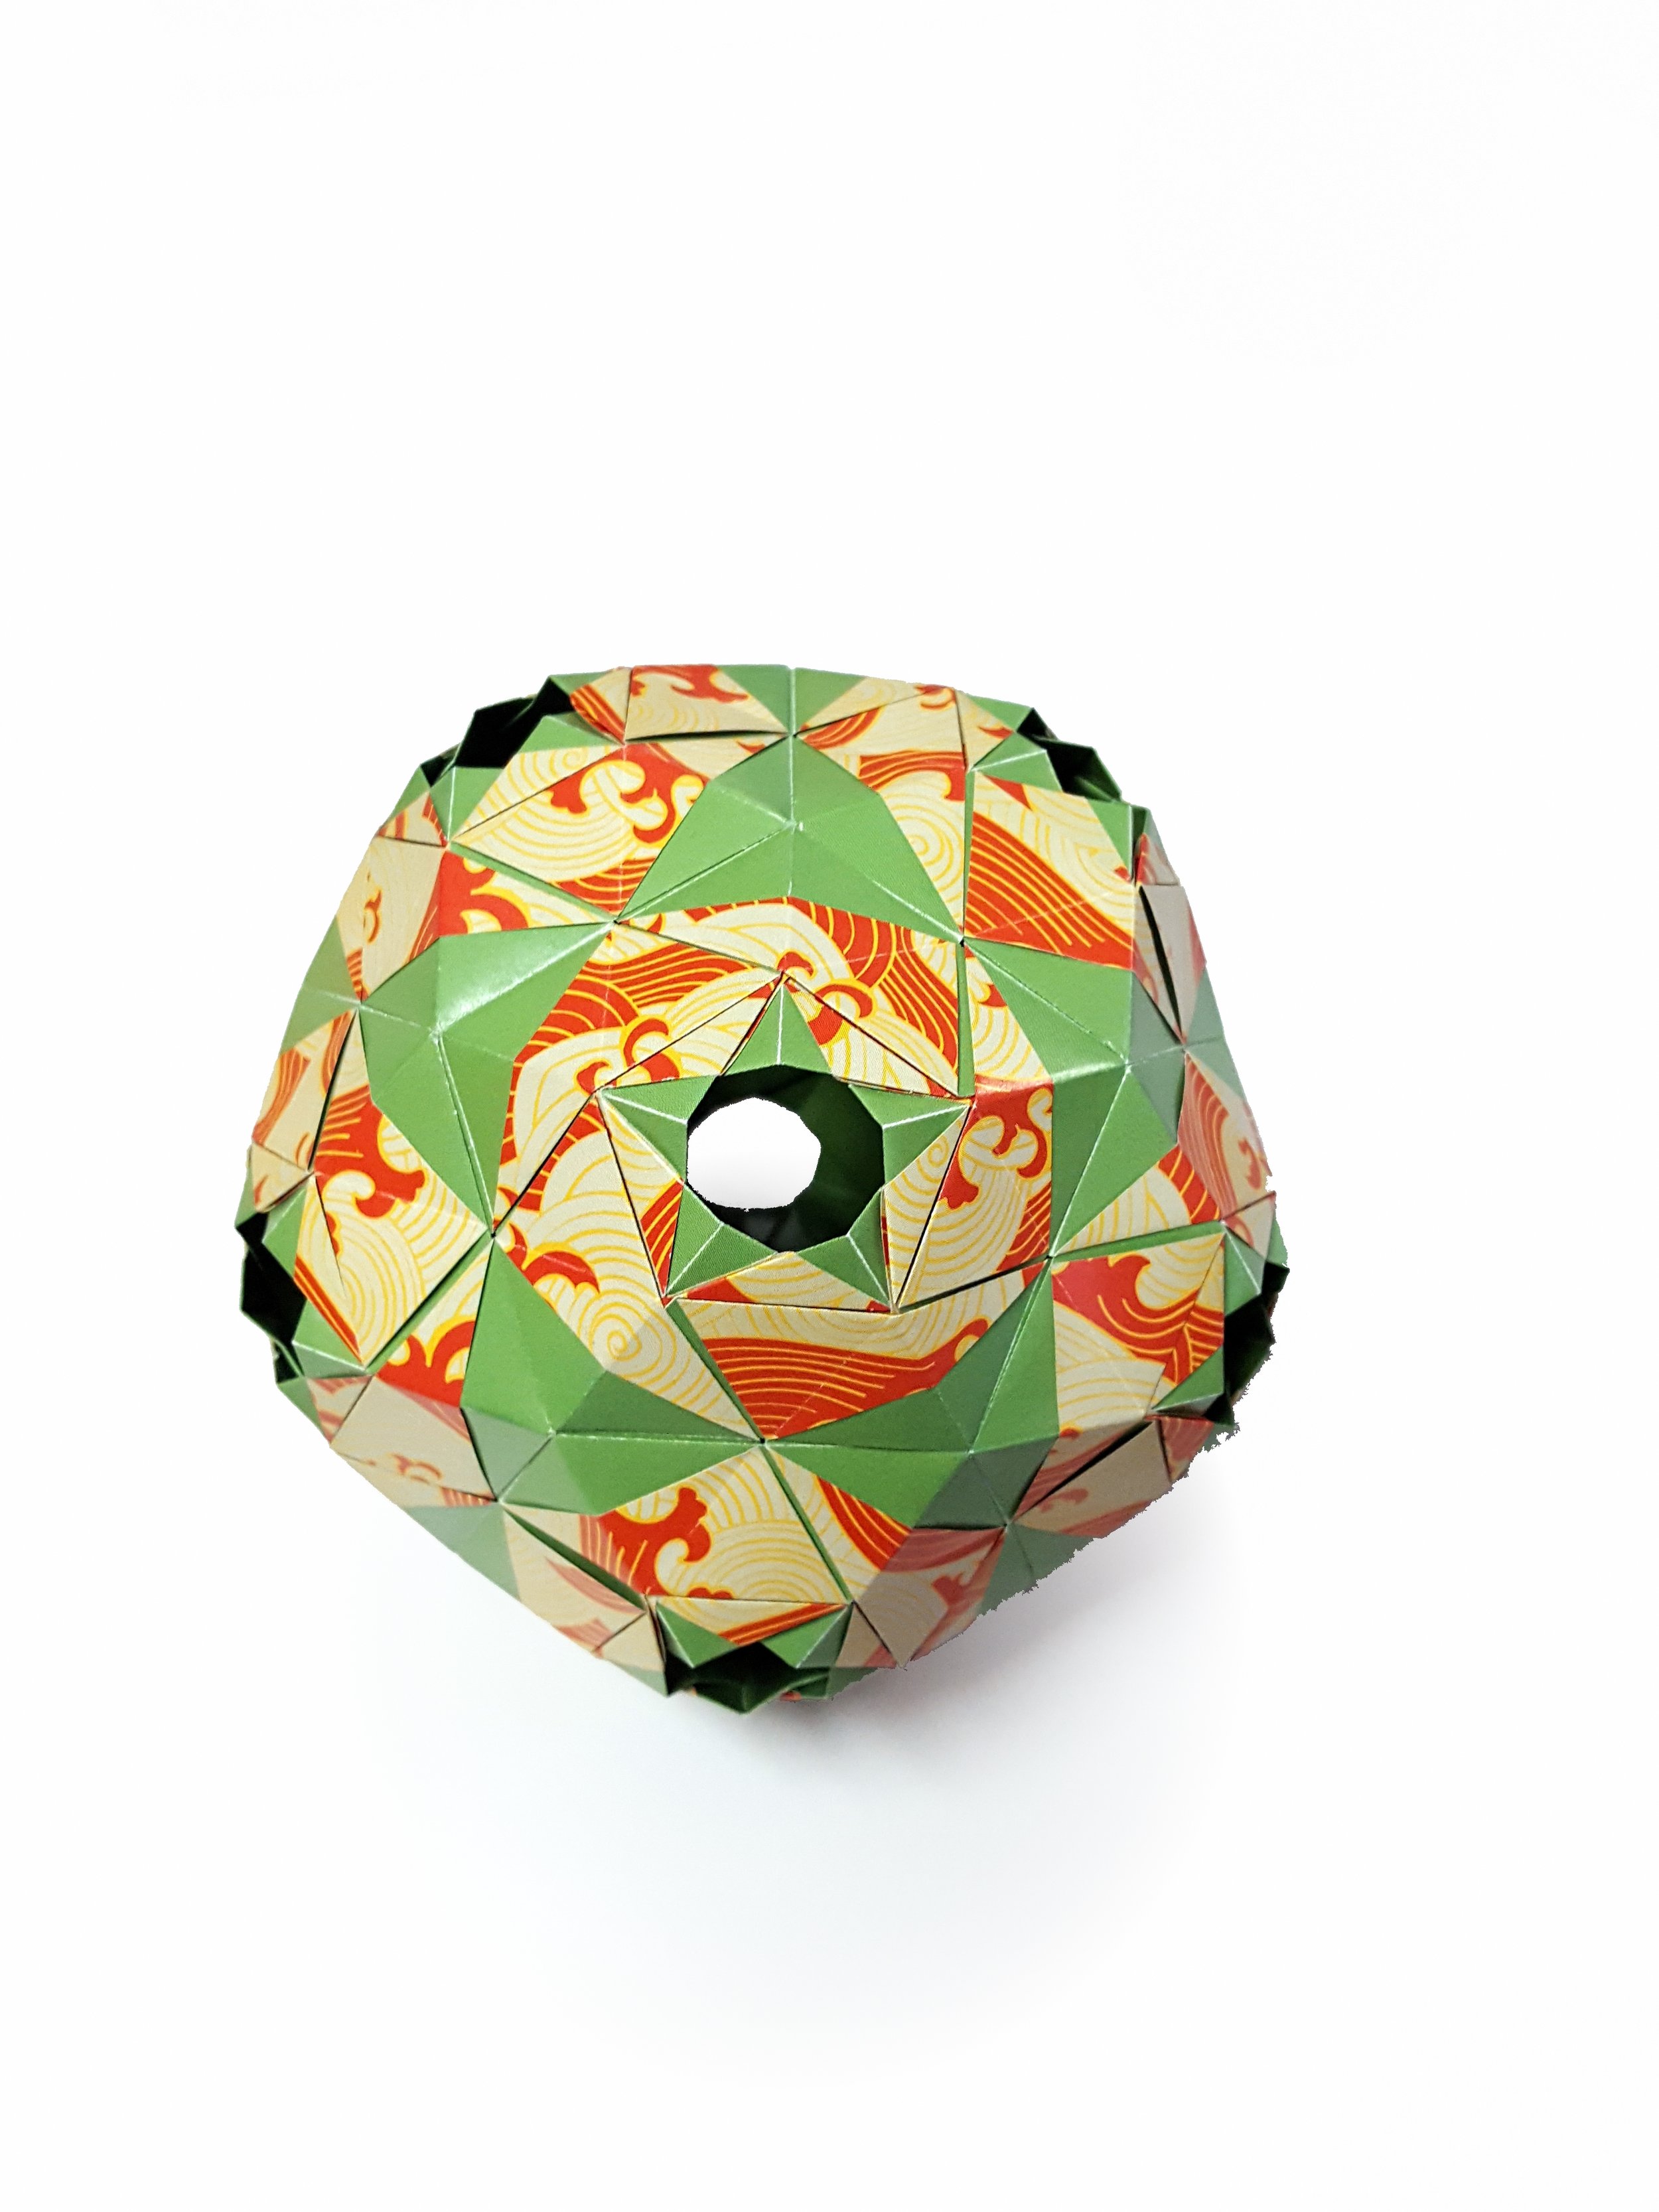
First of all you will need a photo with a relatively white background. I use a light box which I made by following this video: https://www.youtube.com/watch?v=T6fnHEvLyAE

You might have your own way of getting a photo with a white background though, and again - it doesn’t have to be perfectly white, this editing can fix that.

First open your photo in GIMP 2

1.png

White balance the photo to make the background more white. The software is doing what it thinks is best so Sometimes this makes it worse in which case skip this step.

2.png

This usually improves contrast as seen below.

3.png

Now i like to color enhance to make the colours more intense. Again if this is not an improvement in your photo then skip this step.

4.png

Here is the color enhanced photo

5.png

Now export the photo to a new file. Note that this is different to saving it.

6.png

Open this new file in Paint.net

7.png

You can see how there are some non white areas in the photo. we will fix this and keep some of the shadow on the origami. Select the magic wand tool.

8.png

See that the tolerance is set to 23%. THe higher the tolerance then the more different colours will be picked up, but set yours so it gets as much of the background as possible without selecting the model. You can click on different parts of the background and choose different tolerance levels until you are happy.

9.png

See how I have clicked in the top left (where that little square is) and got most of the background near my model. Then delete this (as long as you haven’t selected any of the model).

10.png

You need to make this empty space all the way around the model (it doesn’t matter if there are other blobs of colour that aren’t touching the origami part). Therefore I zoom in and try the same thing again.

11.png

It will be more difficult to select just the background as it gets shadowier and less distinguishable from the paper. Adjust your tolerance accordingly and work gradually.

12.png

Keep deleting until you have cleared the model of the background. note that I’ve had to make the tolerance much smaller. Also remember that the tiny bits in the background are fine as long as they are not connected to the main piece.

13.png

Zoom back out and use the magic wand tool to select the entire origami. You will want to select the darkest part of the model and turn the tolerance really high. Since it is surrounded by empty space you should be able to get even the lightest parts selected without the background.

14.png

Copy the selected origami (Ctrl + C) and then open the photo again (the one you saved from GIMP). Paste (Ctrl + V) the model on top.

15.png

Then delete the model out so you are left with just the background. Select the gradient tool.

16.png

Now select the radial gradient mode and also choose more in the colors panel (both circled in red).

17.png

Drag the opacity slider all the way to the left or set it to 0 (found in the bottom right corner of the color window). Also make sure your secondary color, which is should be by default.

18.png

Now drag with the gradient tool from your most central shadow outwards until you have the level of shadow you want left and the rest will fade to pure white. Make sure you leave enough room for the white to fill up to the edges. Circled are the points I dragged between.

19.png

Final step: Paste again (Ctrl + v) and the model will be placed back into your now perfect white background. Save your photo and use however you wish!

20.png

See below for how even a photo taken in a non-ideal setting can be transformed using these techniques. I will admit the left edge of the model got a bit fuzzy, but if I took more time you might not have noticed!! The Model shown below is FUturism by Masha Athanasiadi.

 
20181018_140944.jpg
 
Futurism.jpg