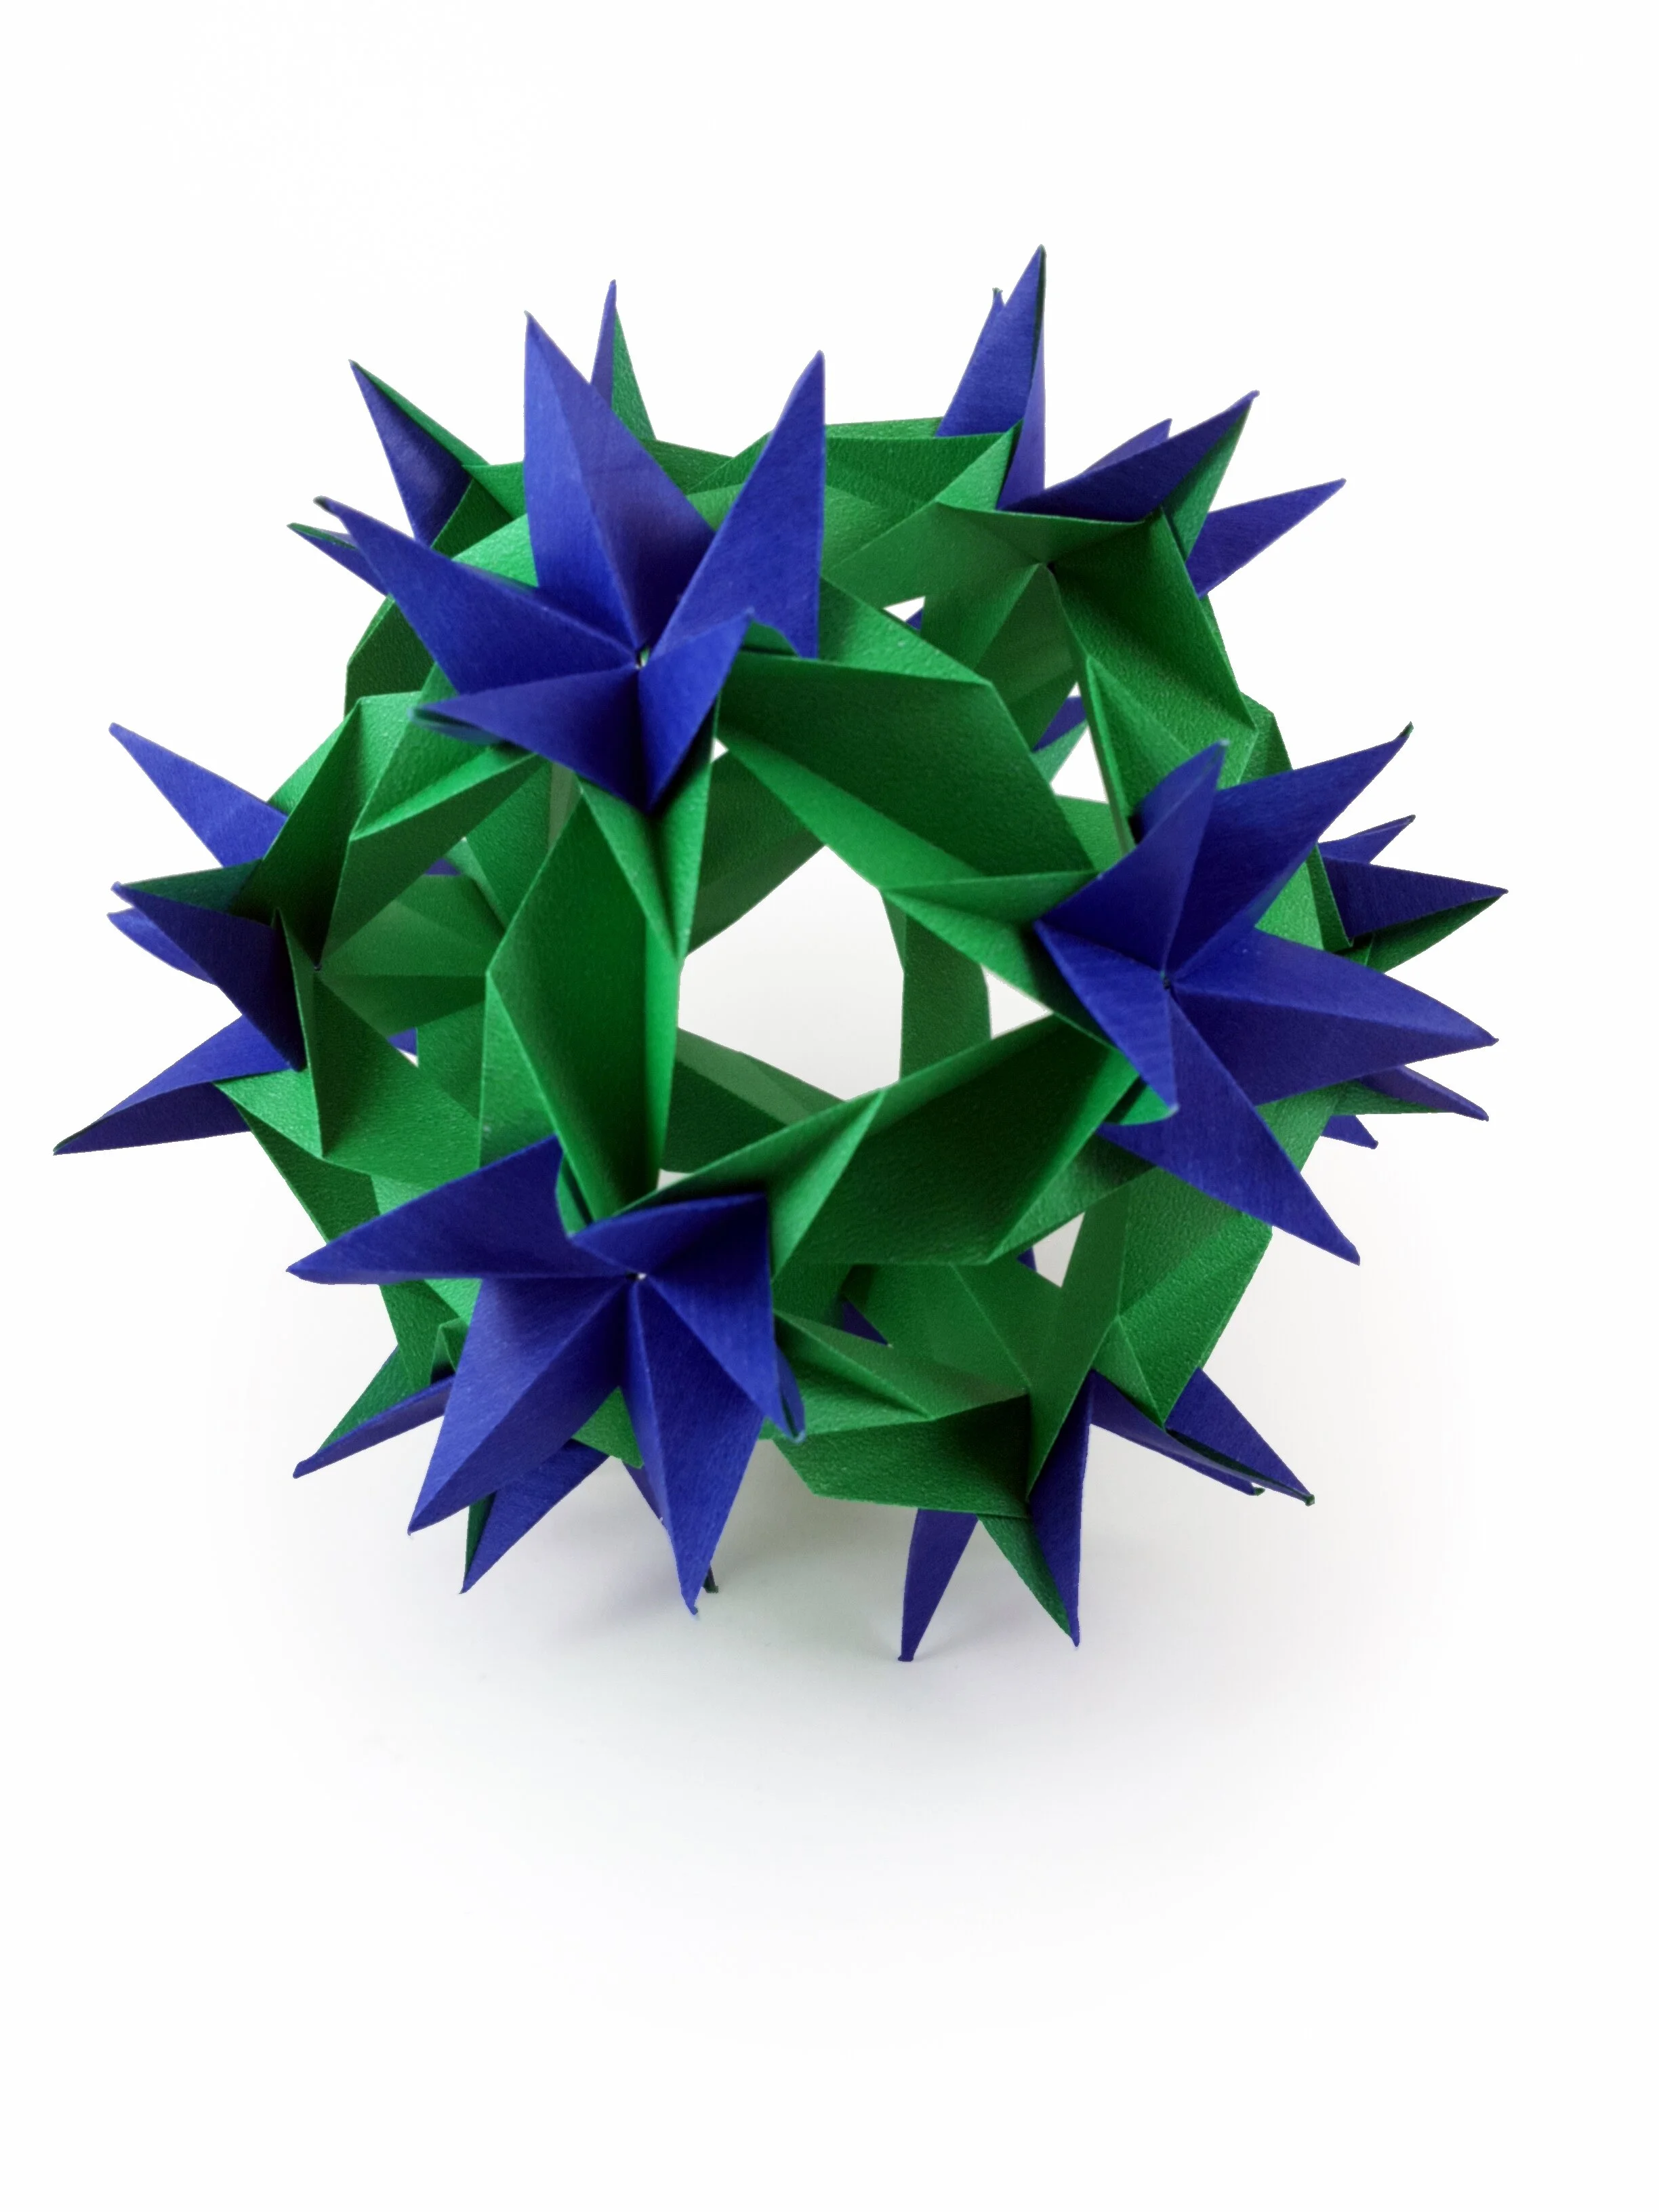
Cosmic Tutorial
This model uses a similar connection to Claire, but with embellishments leading to some beautiful spiky flowers. There are quite a few layers where the flowers are so thinner paper will work well and clips will probably be useful during assembly.

Step 1
Start with a 5:√3 piece of paper. You can find instructions in the paper shapes tutorial. Fold the midline in the places shown.

Step 2
Fold the bottom left and top right corners to meet the creases in step 1 such that the fold pass through the bottom right and top left corners respectively. Note the marked corners.

Step 3
Fold the corners marked in step 2.

Step 4
Unfold step 3 and fold the lower left edge to meet the crease from step 3.

Step 5
Repeat step 4 on the top of the paper.

Step 6
Note the marked points, in the next step we will fold up the bottom and right most point so the edge stays parallel and the paper goes through the other marked point.

SteP 7
This is the result of that fold. Now unfold this step and make and inside reverse fold by pushing the paper between the layers.

Step 8
The result.

Step 9
Fold open this section towards the top left. It will fold here naturally due to the previous fold.

Step 10
Fold the right point as far left as it can go so that it just reached the left marked point and it will also make a crease through the high point shown here.

Step 11
Fold this whole section back down (the reverse of step 9)

Step 12
Fold the triangle in as shown making a continuation of the long diagonal edge.

Step 13
Fold the right point across to meet the bottom midpoint.

Step 14
Unfold this step.

Step 15
Fold the paper to meet this crease just made. This will form the flap for the unit.
Step 16
Repeat steps 6-15 on the other end of the unit.

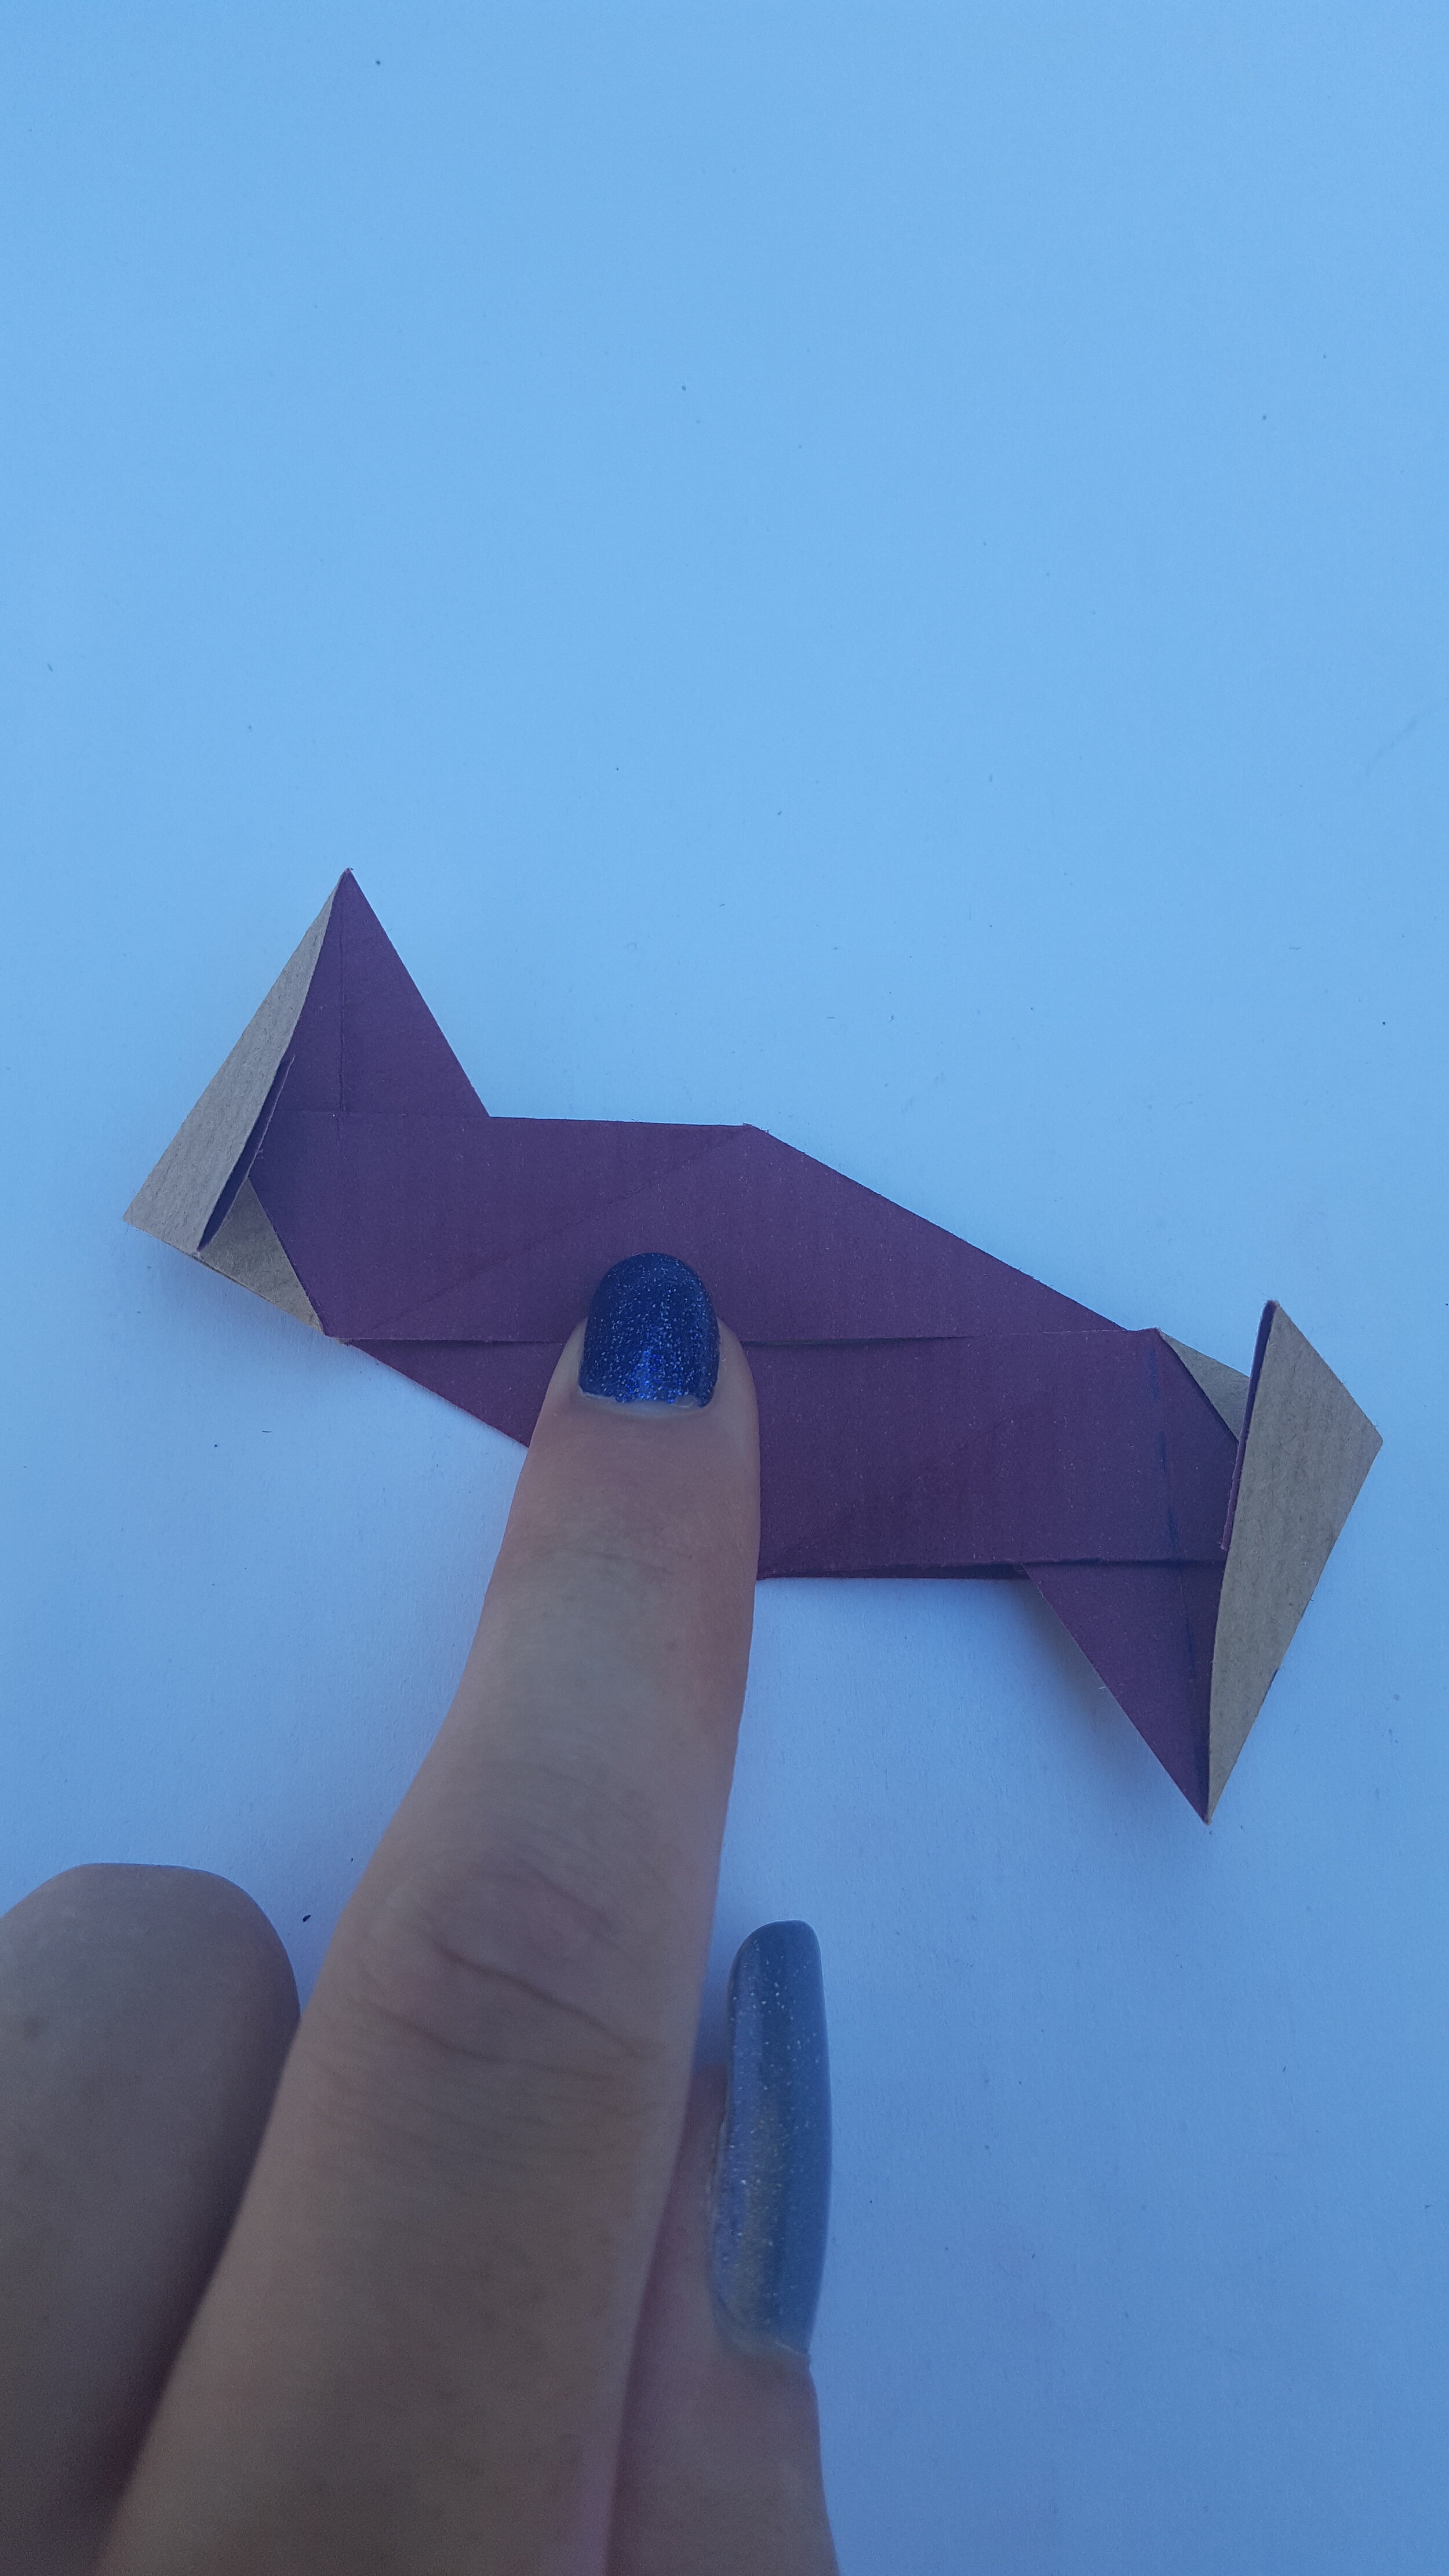
Step 17
Fold the unit in half which will trap the raw edges in the middle. Semi open the folds and now your unit is finished.

assembly
Unfold the flap and bring two units together like this.

Hook the paper into the pocket.

Three units connect like this. Continue adding pieces to make a 12 or 30 unit kusudama. The holes should be triangular and the pointy bits in groups of 4 to use 12 units or groups of 5 for 30 units.