
CHameleon Stars Tutorial
Judith made an excellent tutorial of 15 of these stars on her youtube channel origami tutorials. You can use this video located below to learn to fold these stars and I also present photo diagrams for a couple of other variations.

Step 1
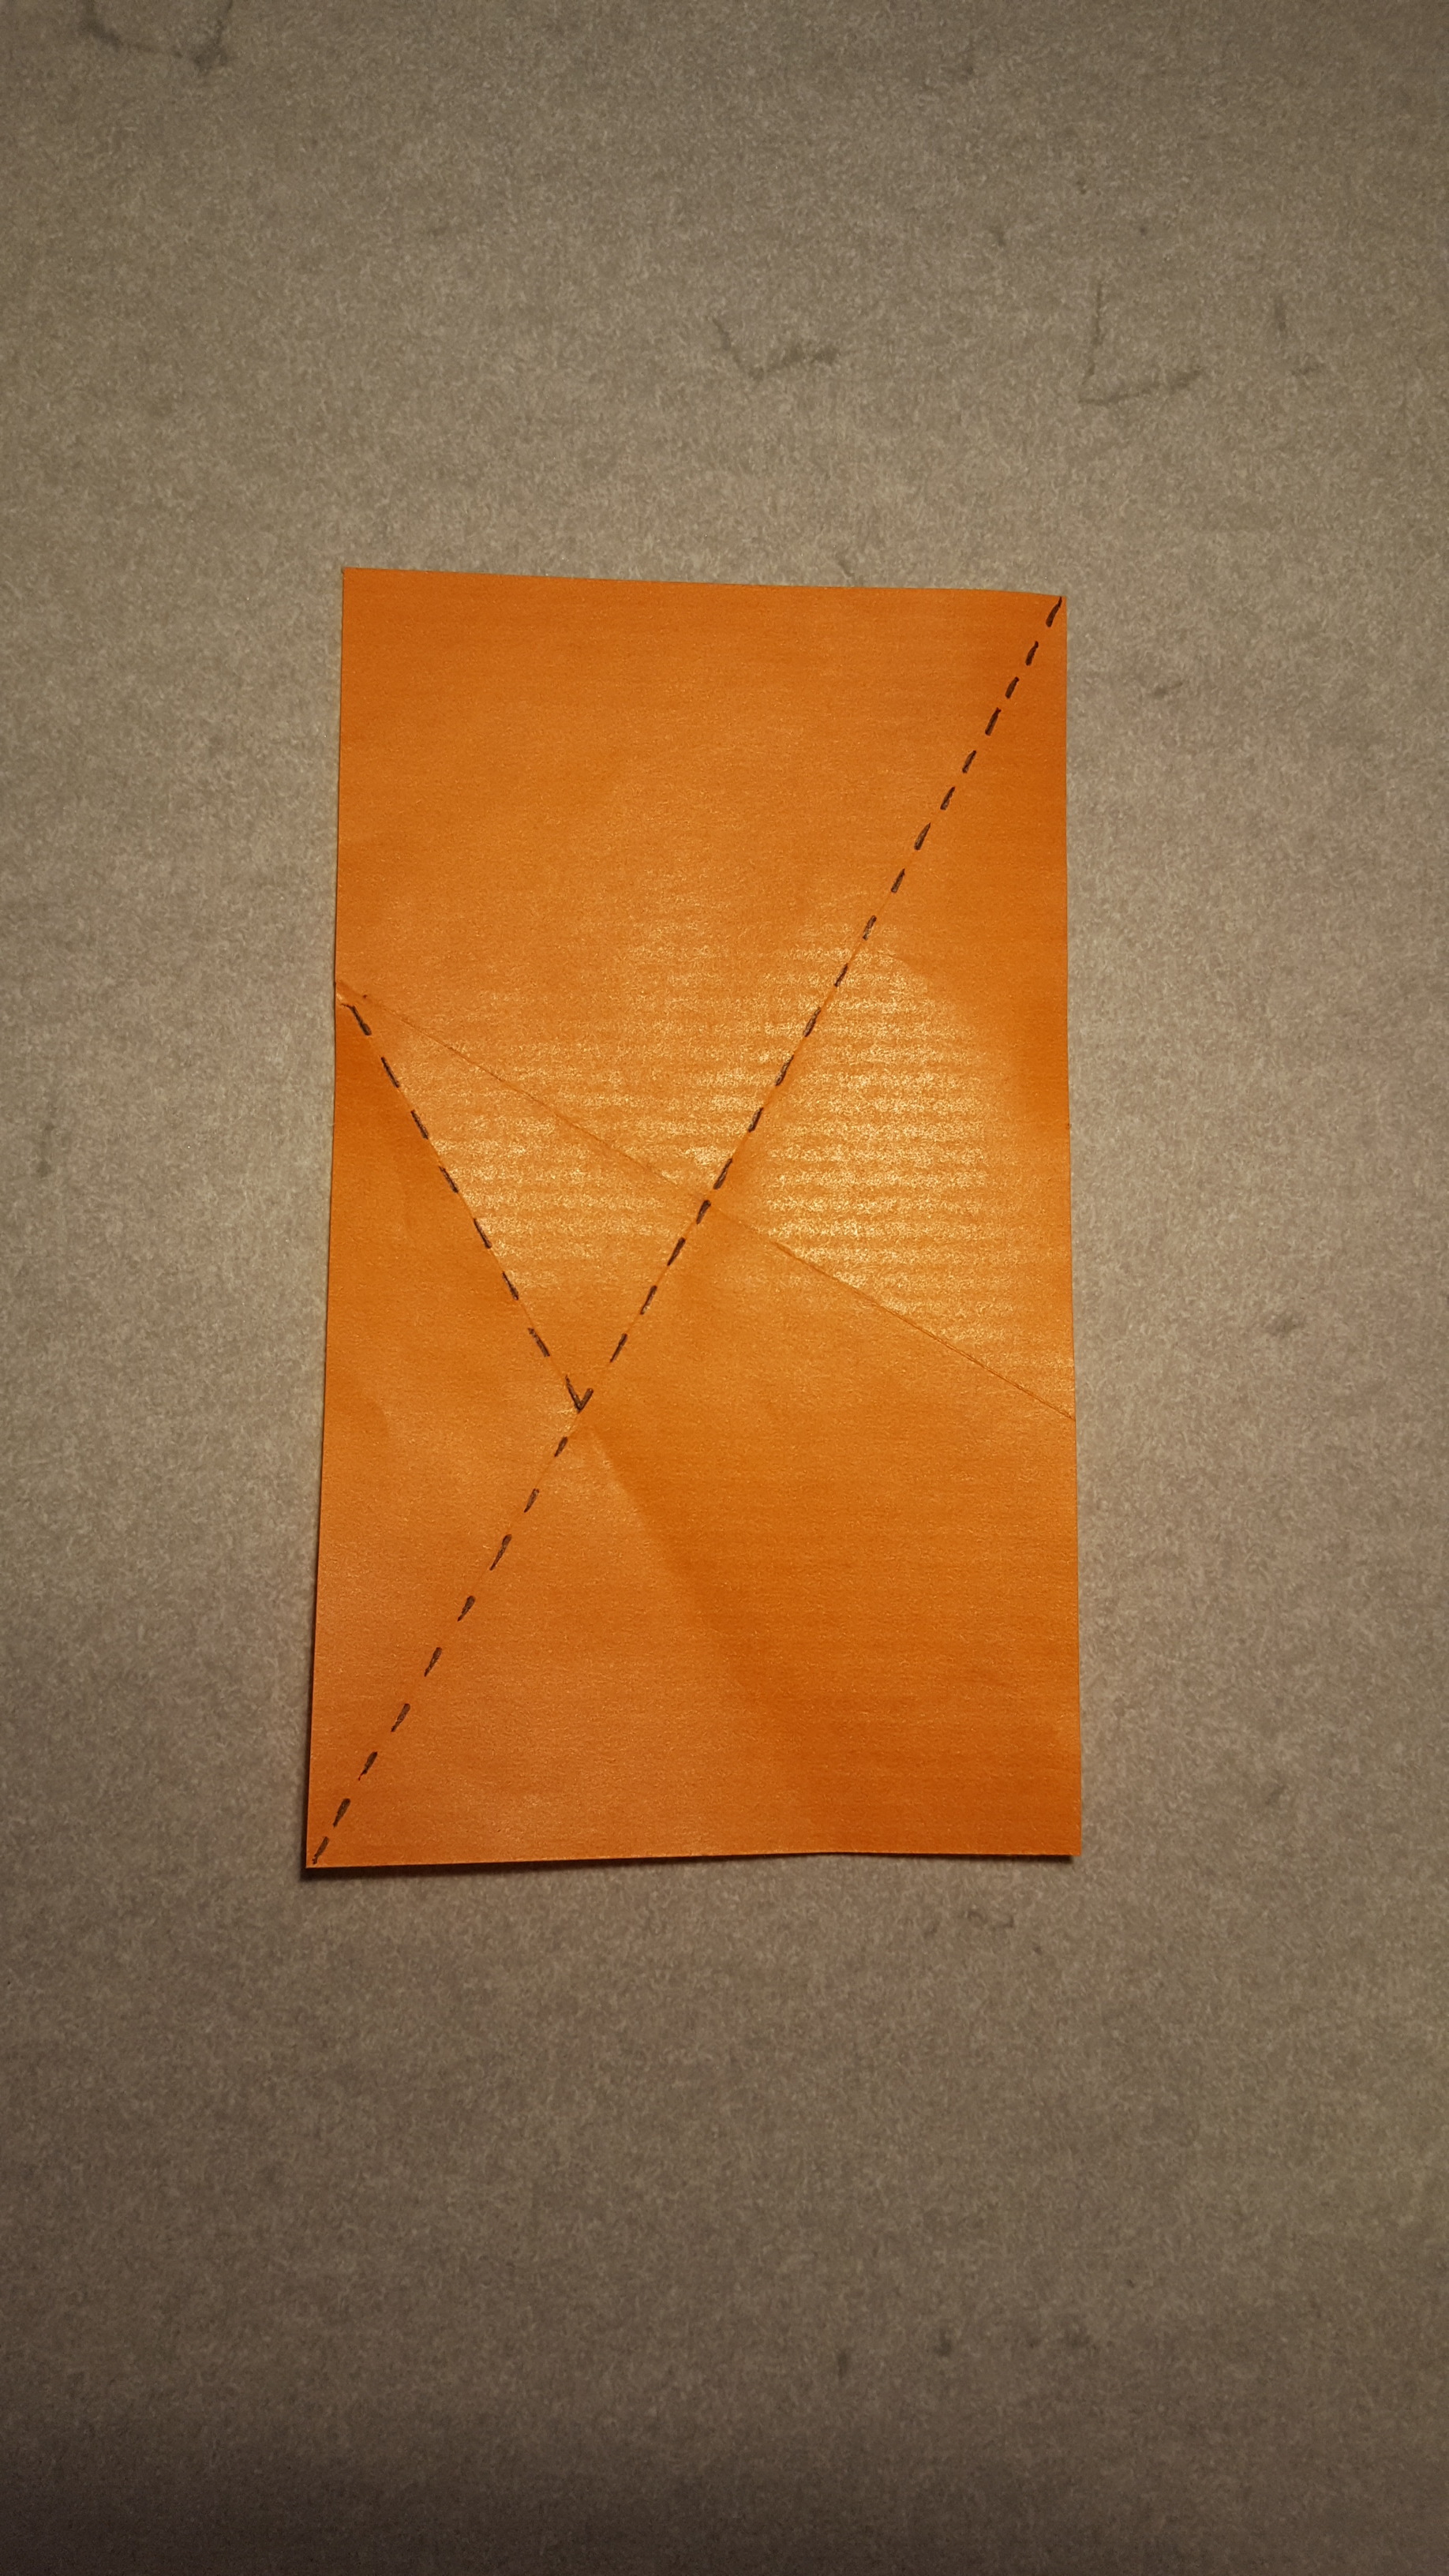
Start with paper in 1:√3 proportions.(see my paper sizes tutorial for how to get this shape from a square)

Step 2
Fold the bottom right corner to the top left corner.

Step 3
Unfold and turn over the paper.

Step 4
Fold the ends of the last crease together to fold the diagonal.

Step 5
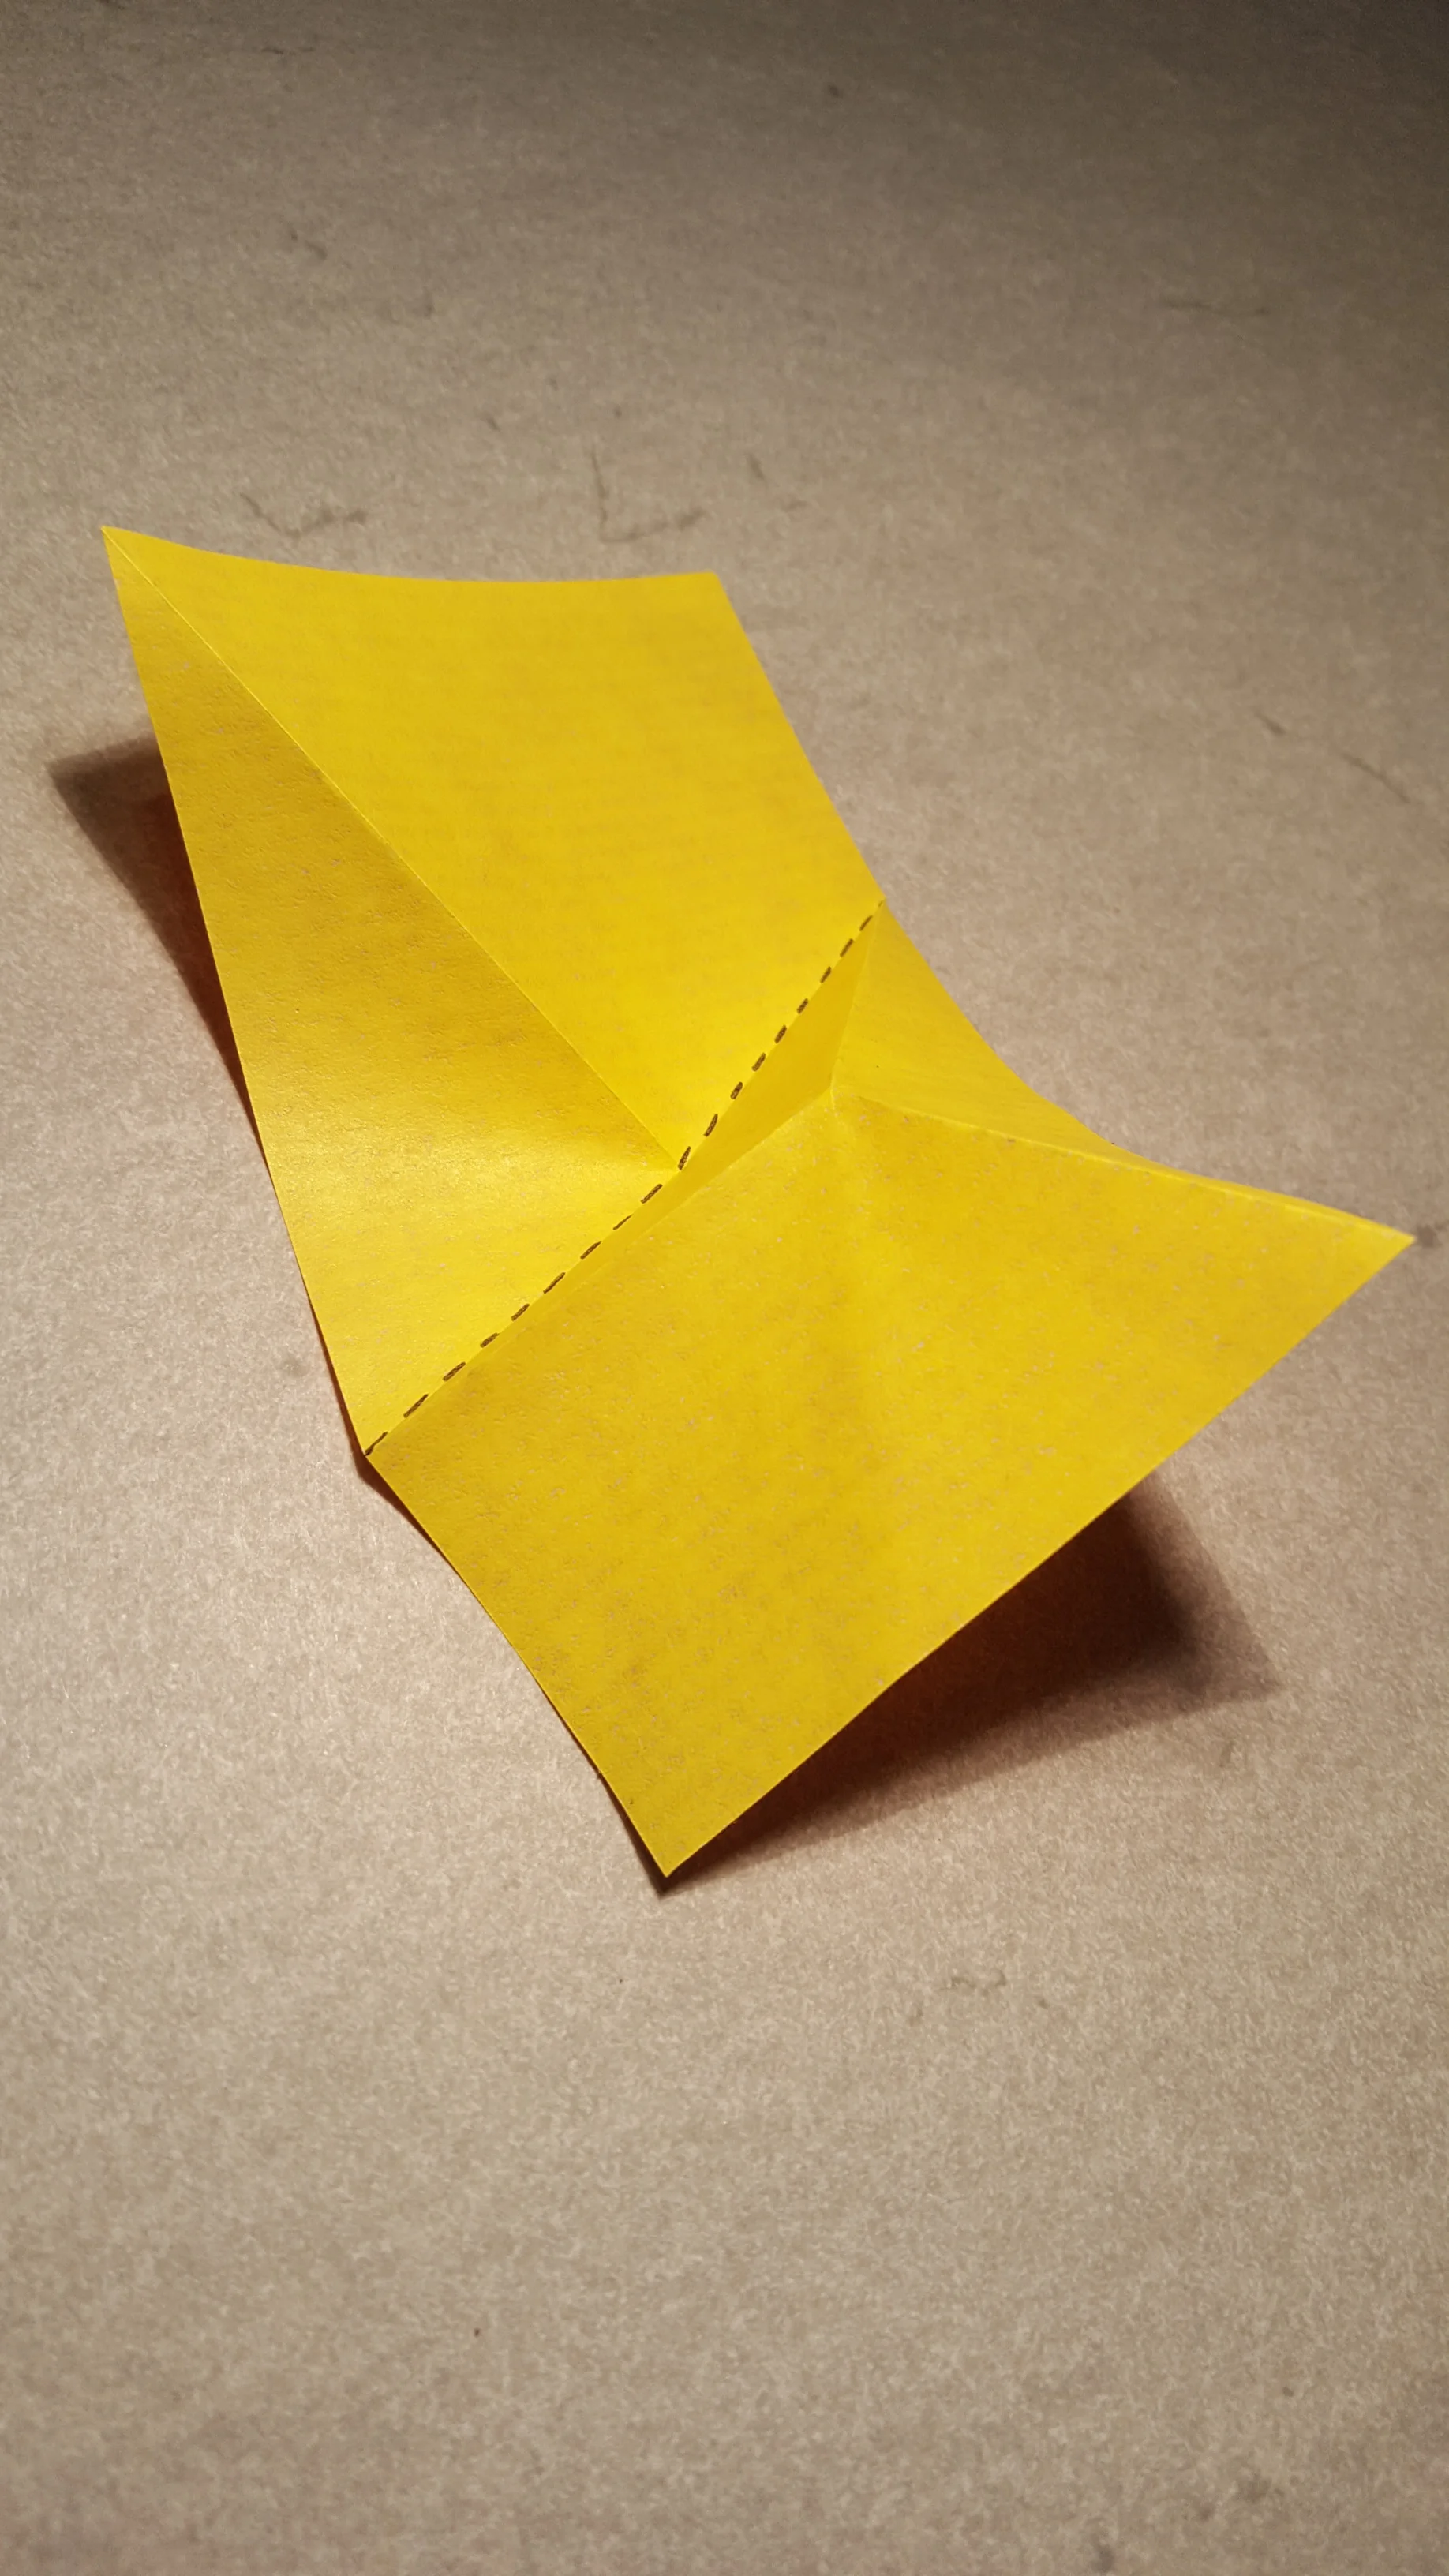
Unfold and fold the bottom of the left edge to meet the first crease. Only crease the left part of this fold until the midpoint.
Step 6
Unfold and the paper should look like this.

Step 7
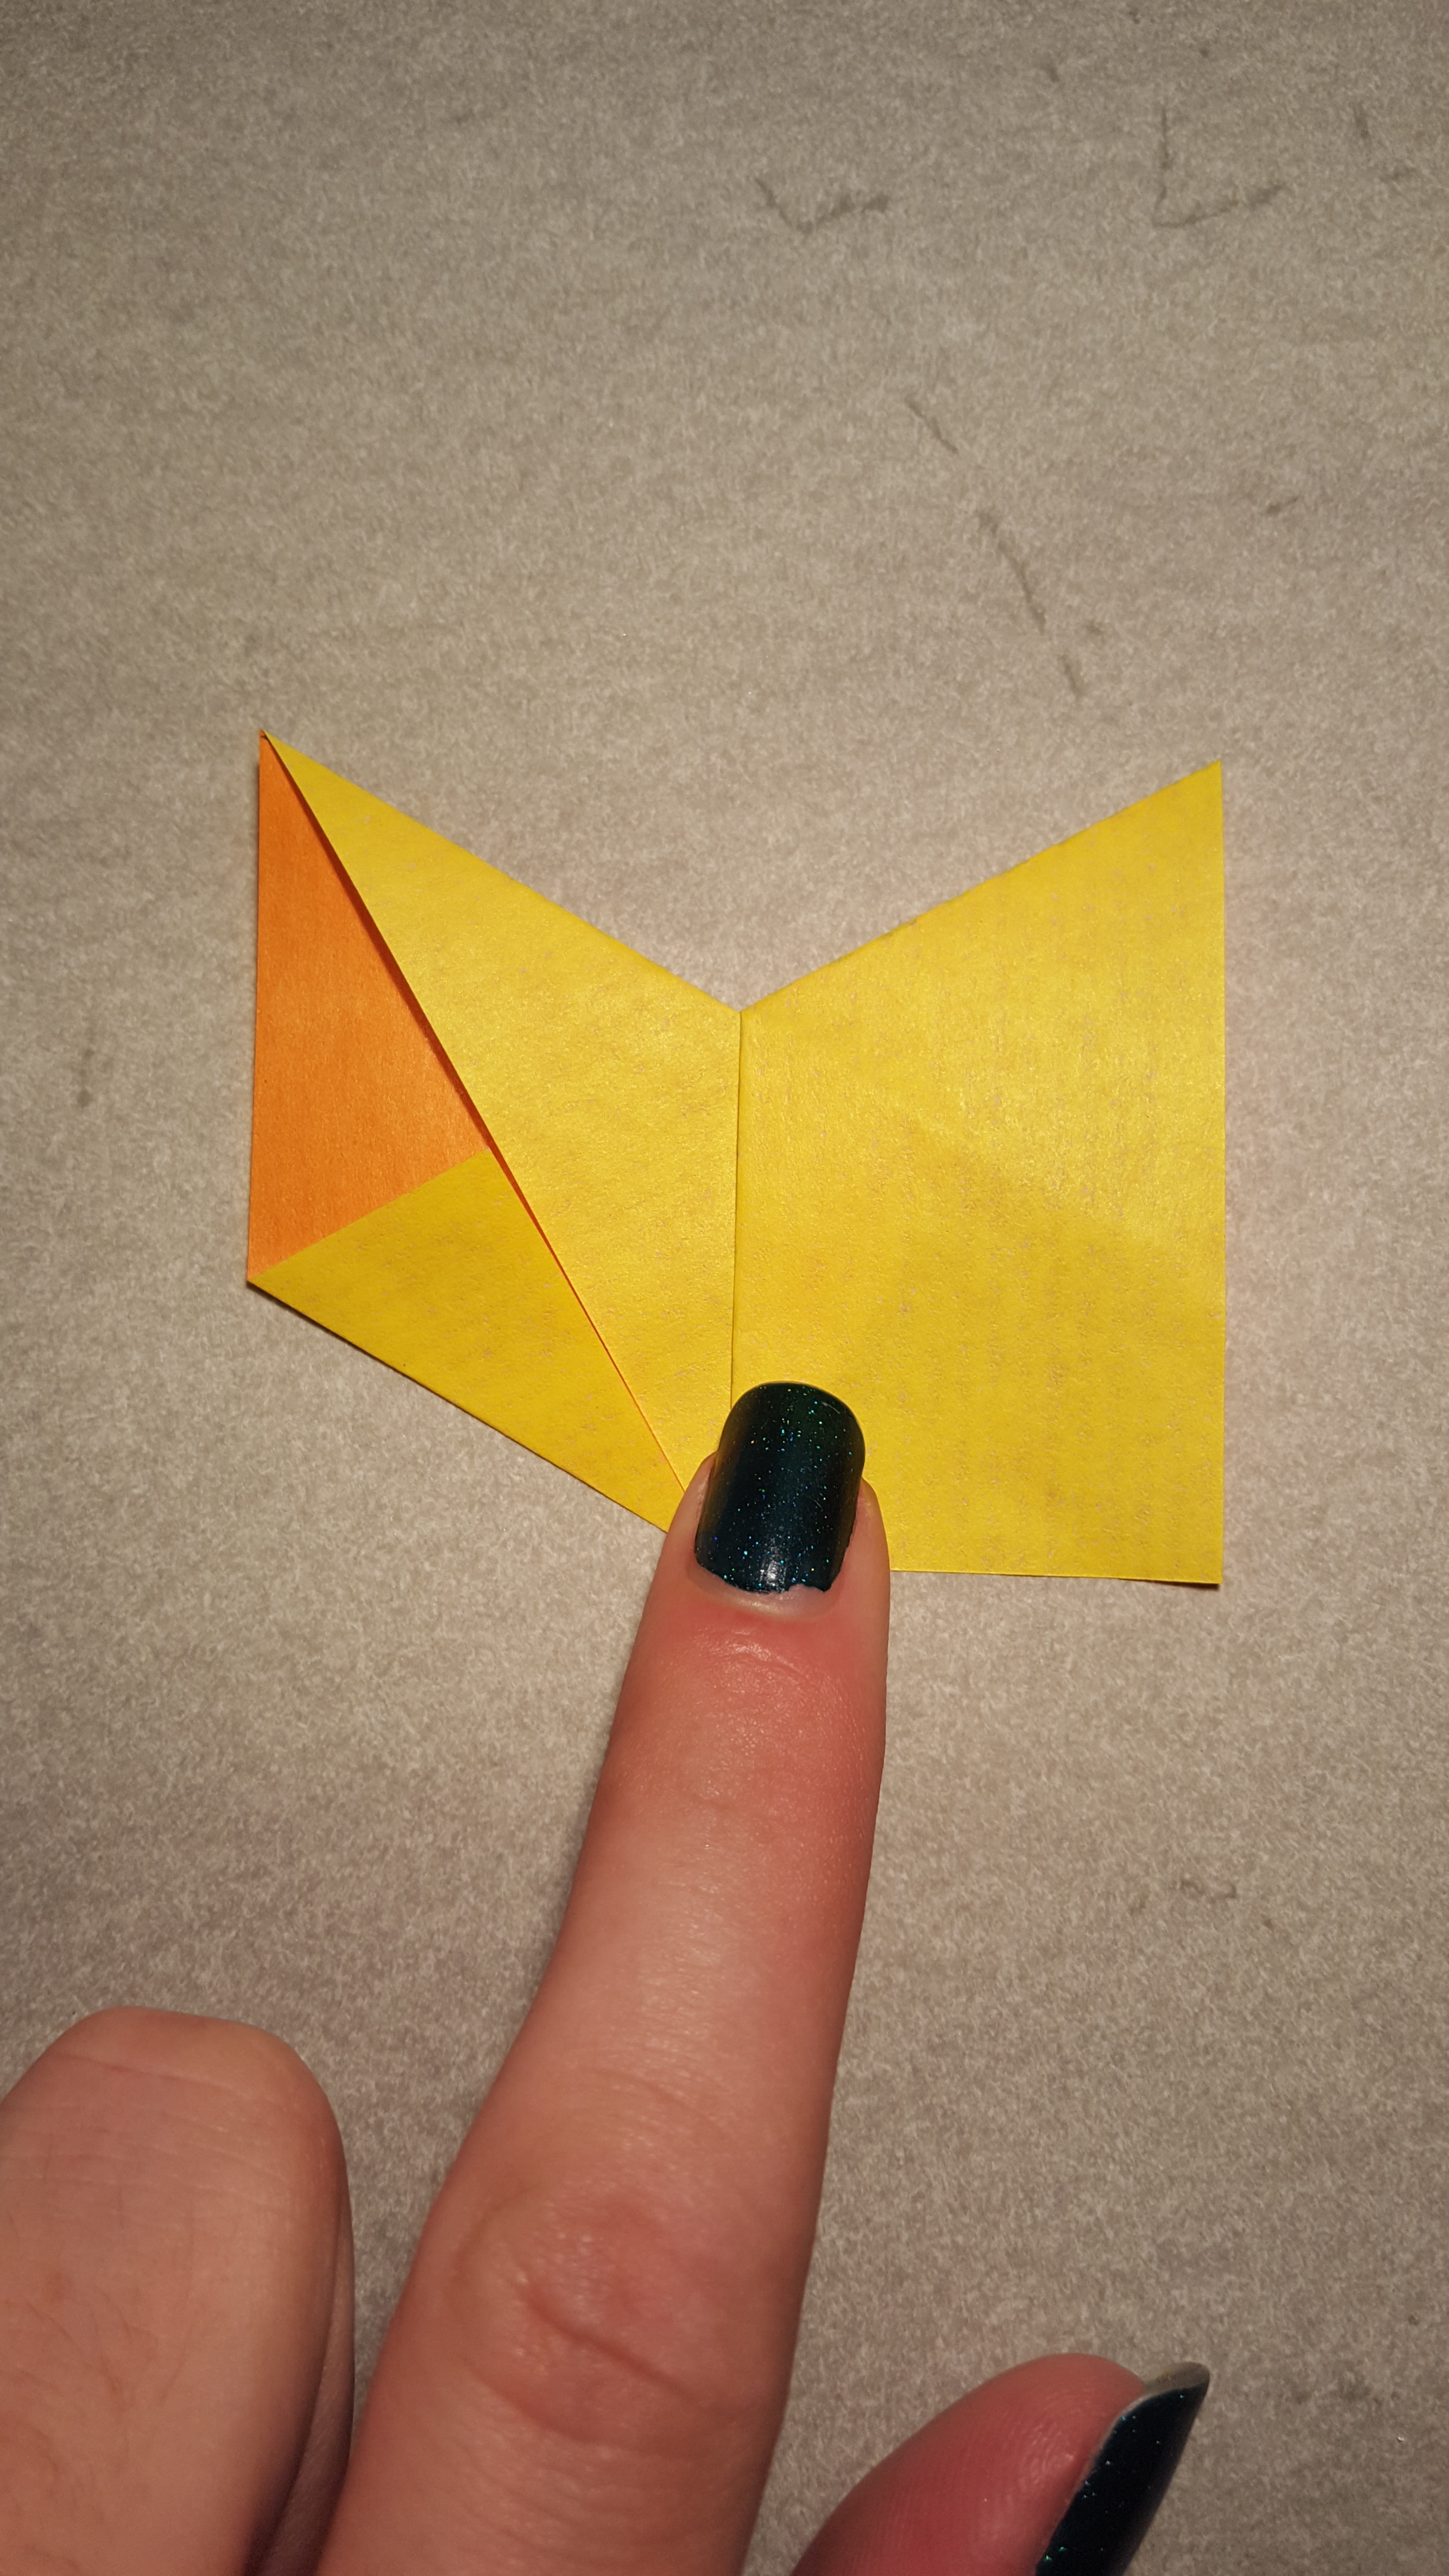
Fold the bottom edge up so that the left corner meets the crease intersection from the first fold. Crease only the right part of this fold.

Step 8
The folds will look like this.
Step 9
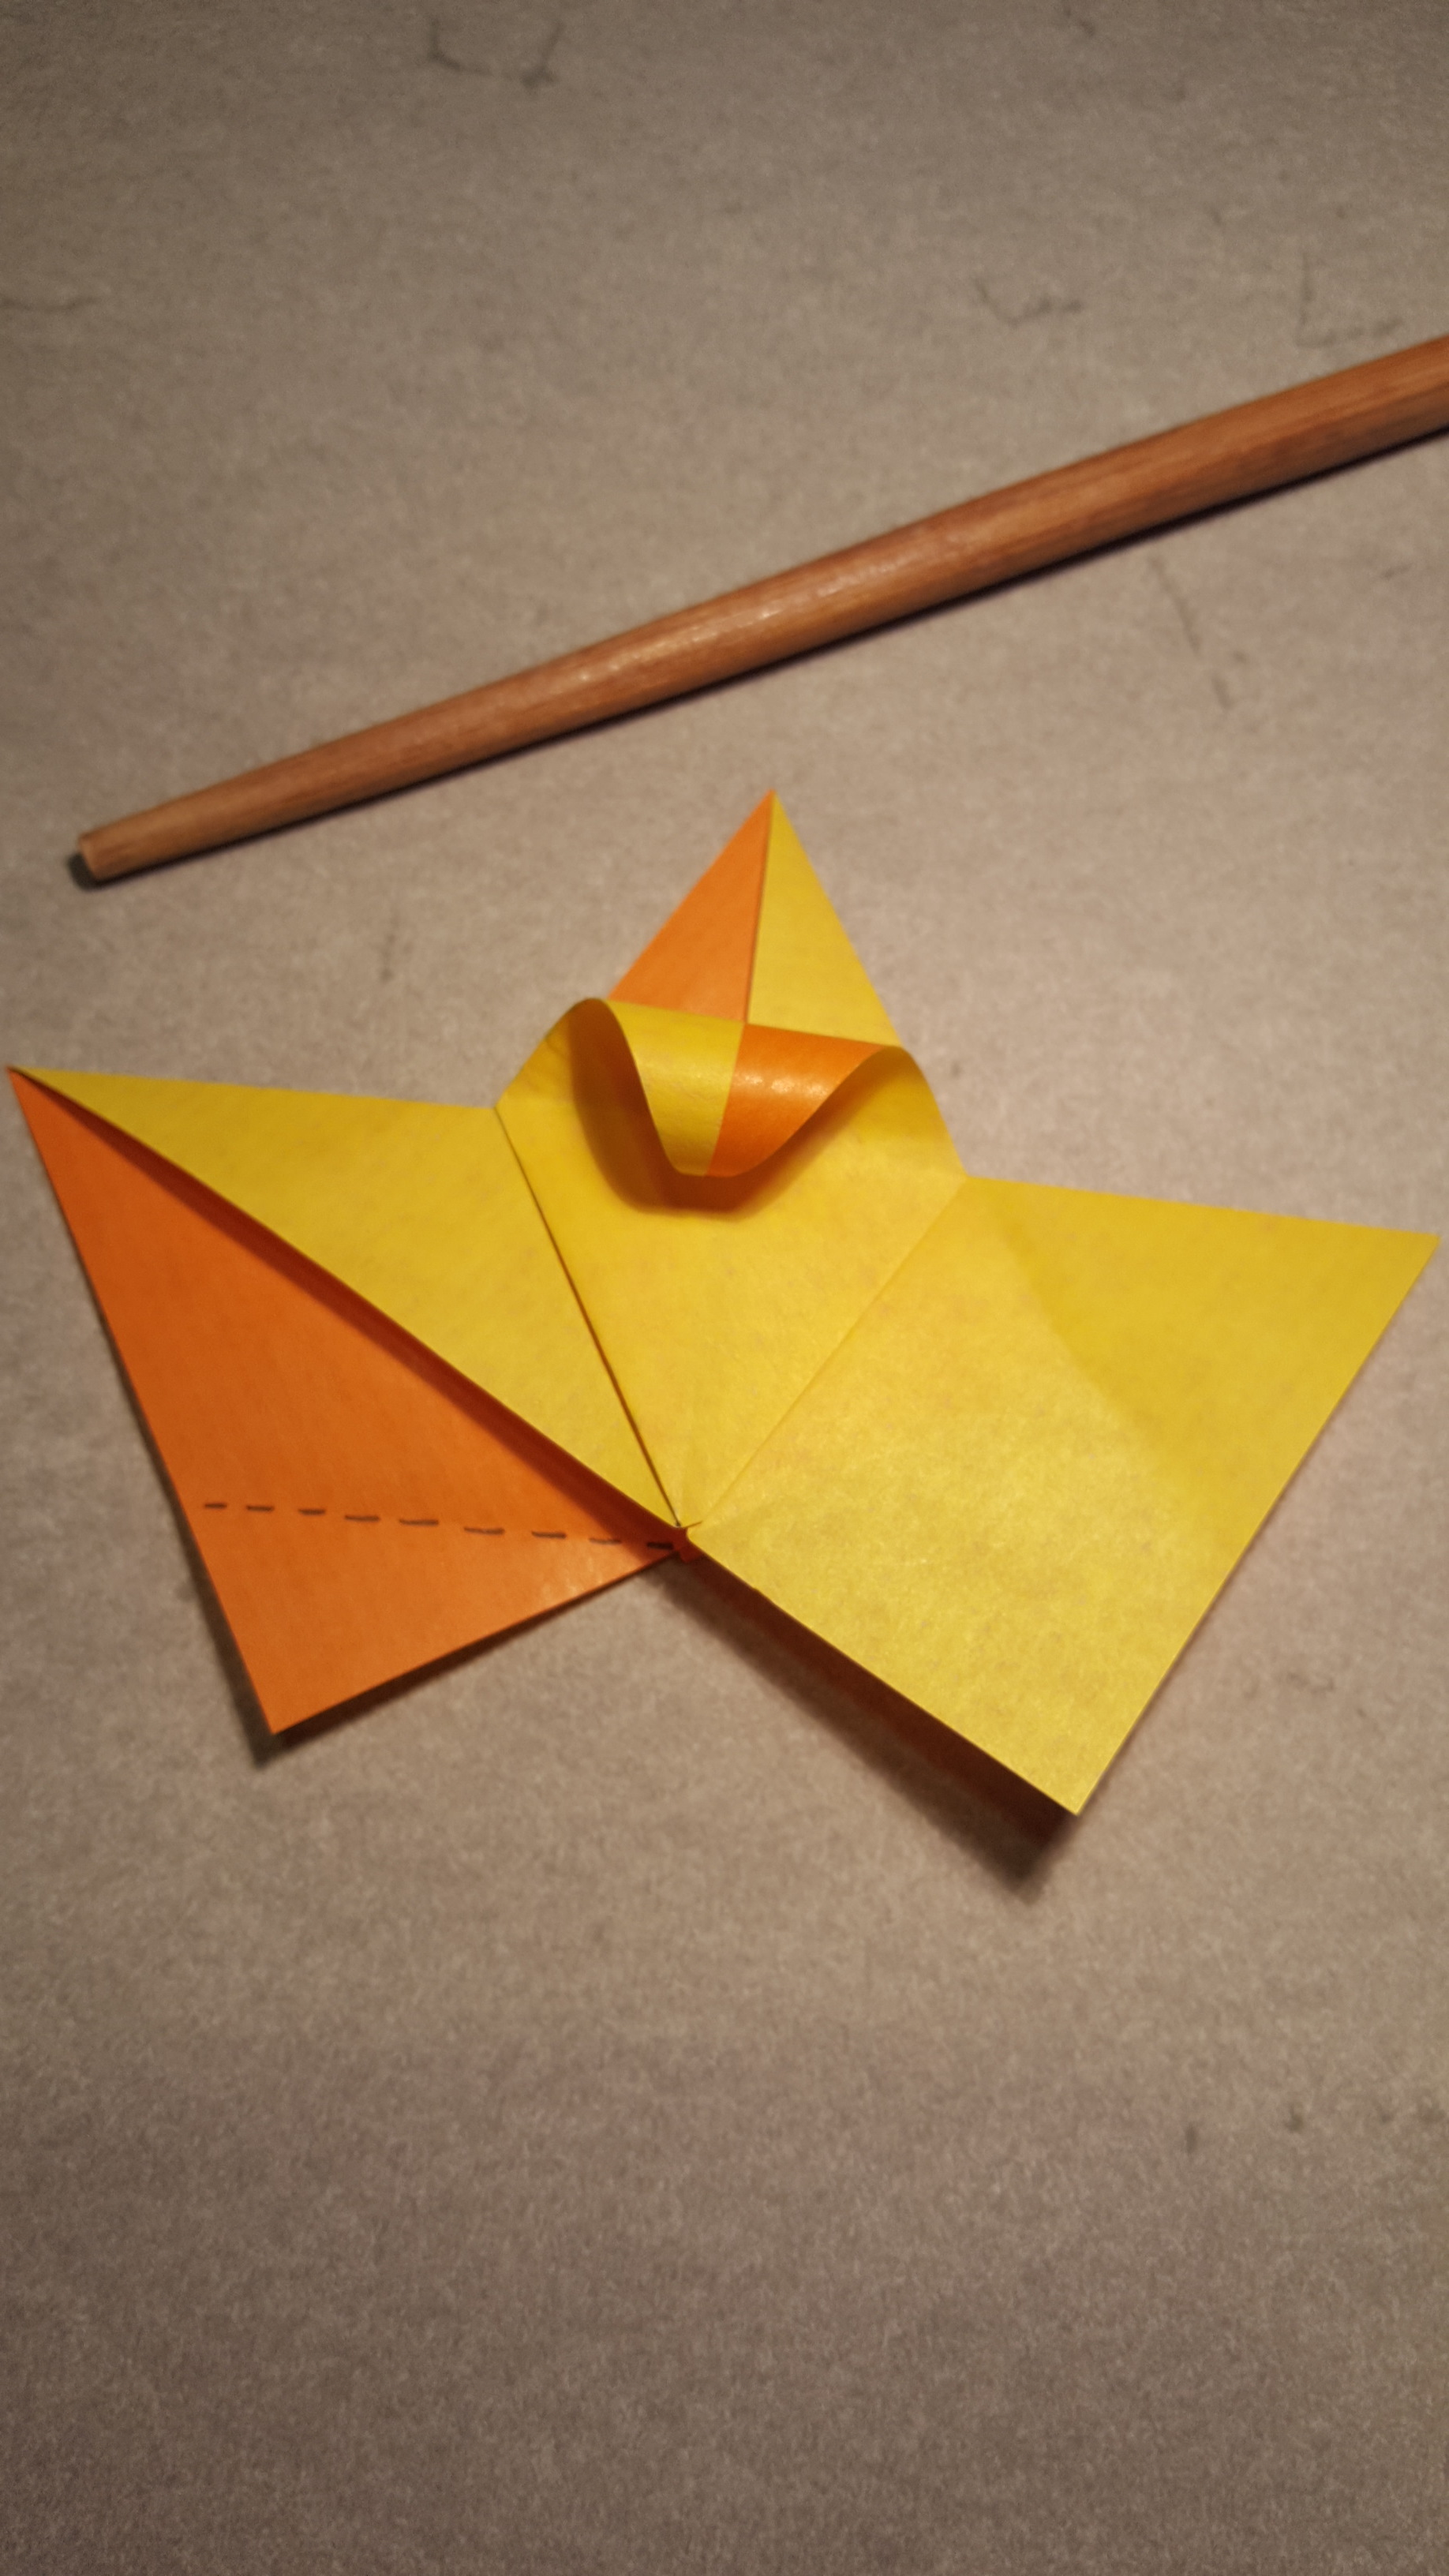
Turn over the paper and begin to shape all of the folds we have made so far. The middle part of the main diagonal fold will have to become a velley.

Step 10
Continue folding until the piece becomes flat and arrange like shown where the pocket opens to the left.
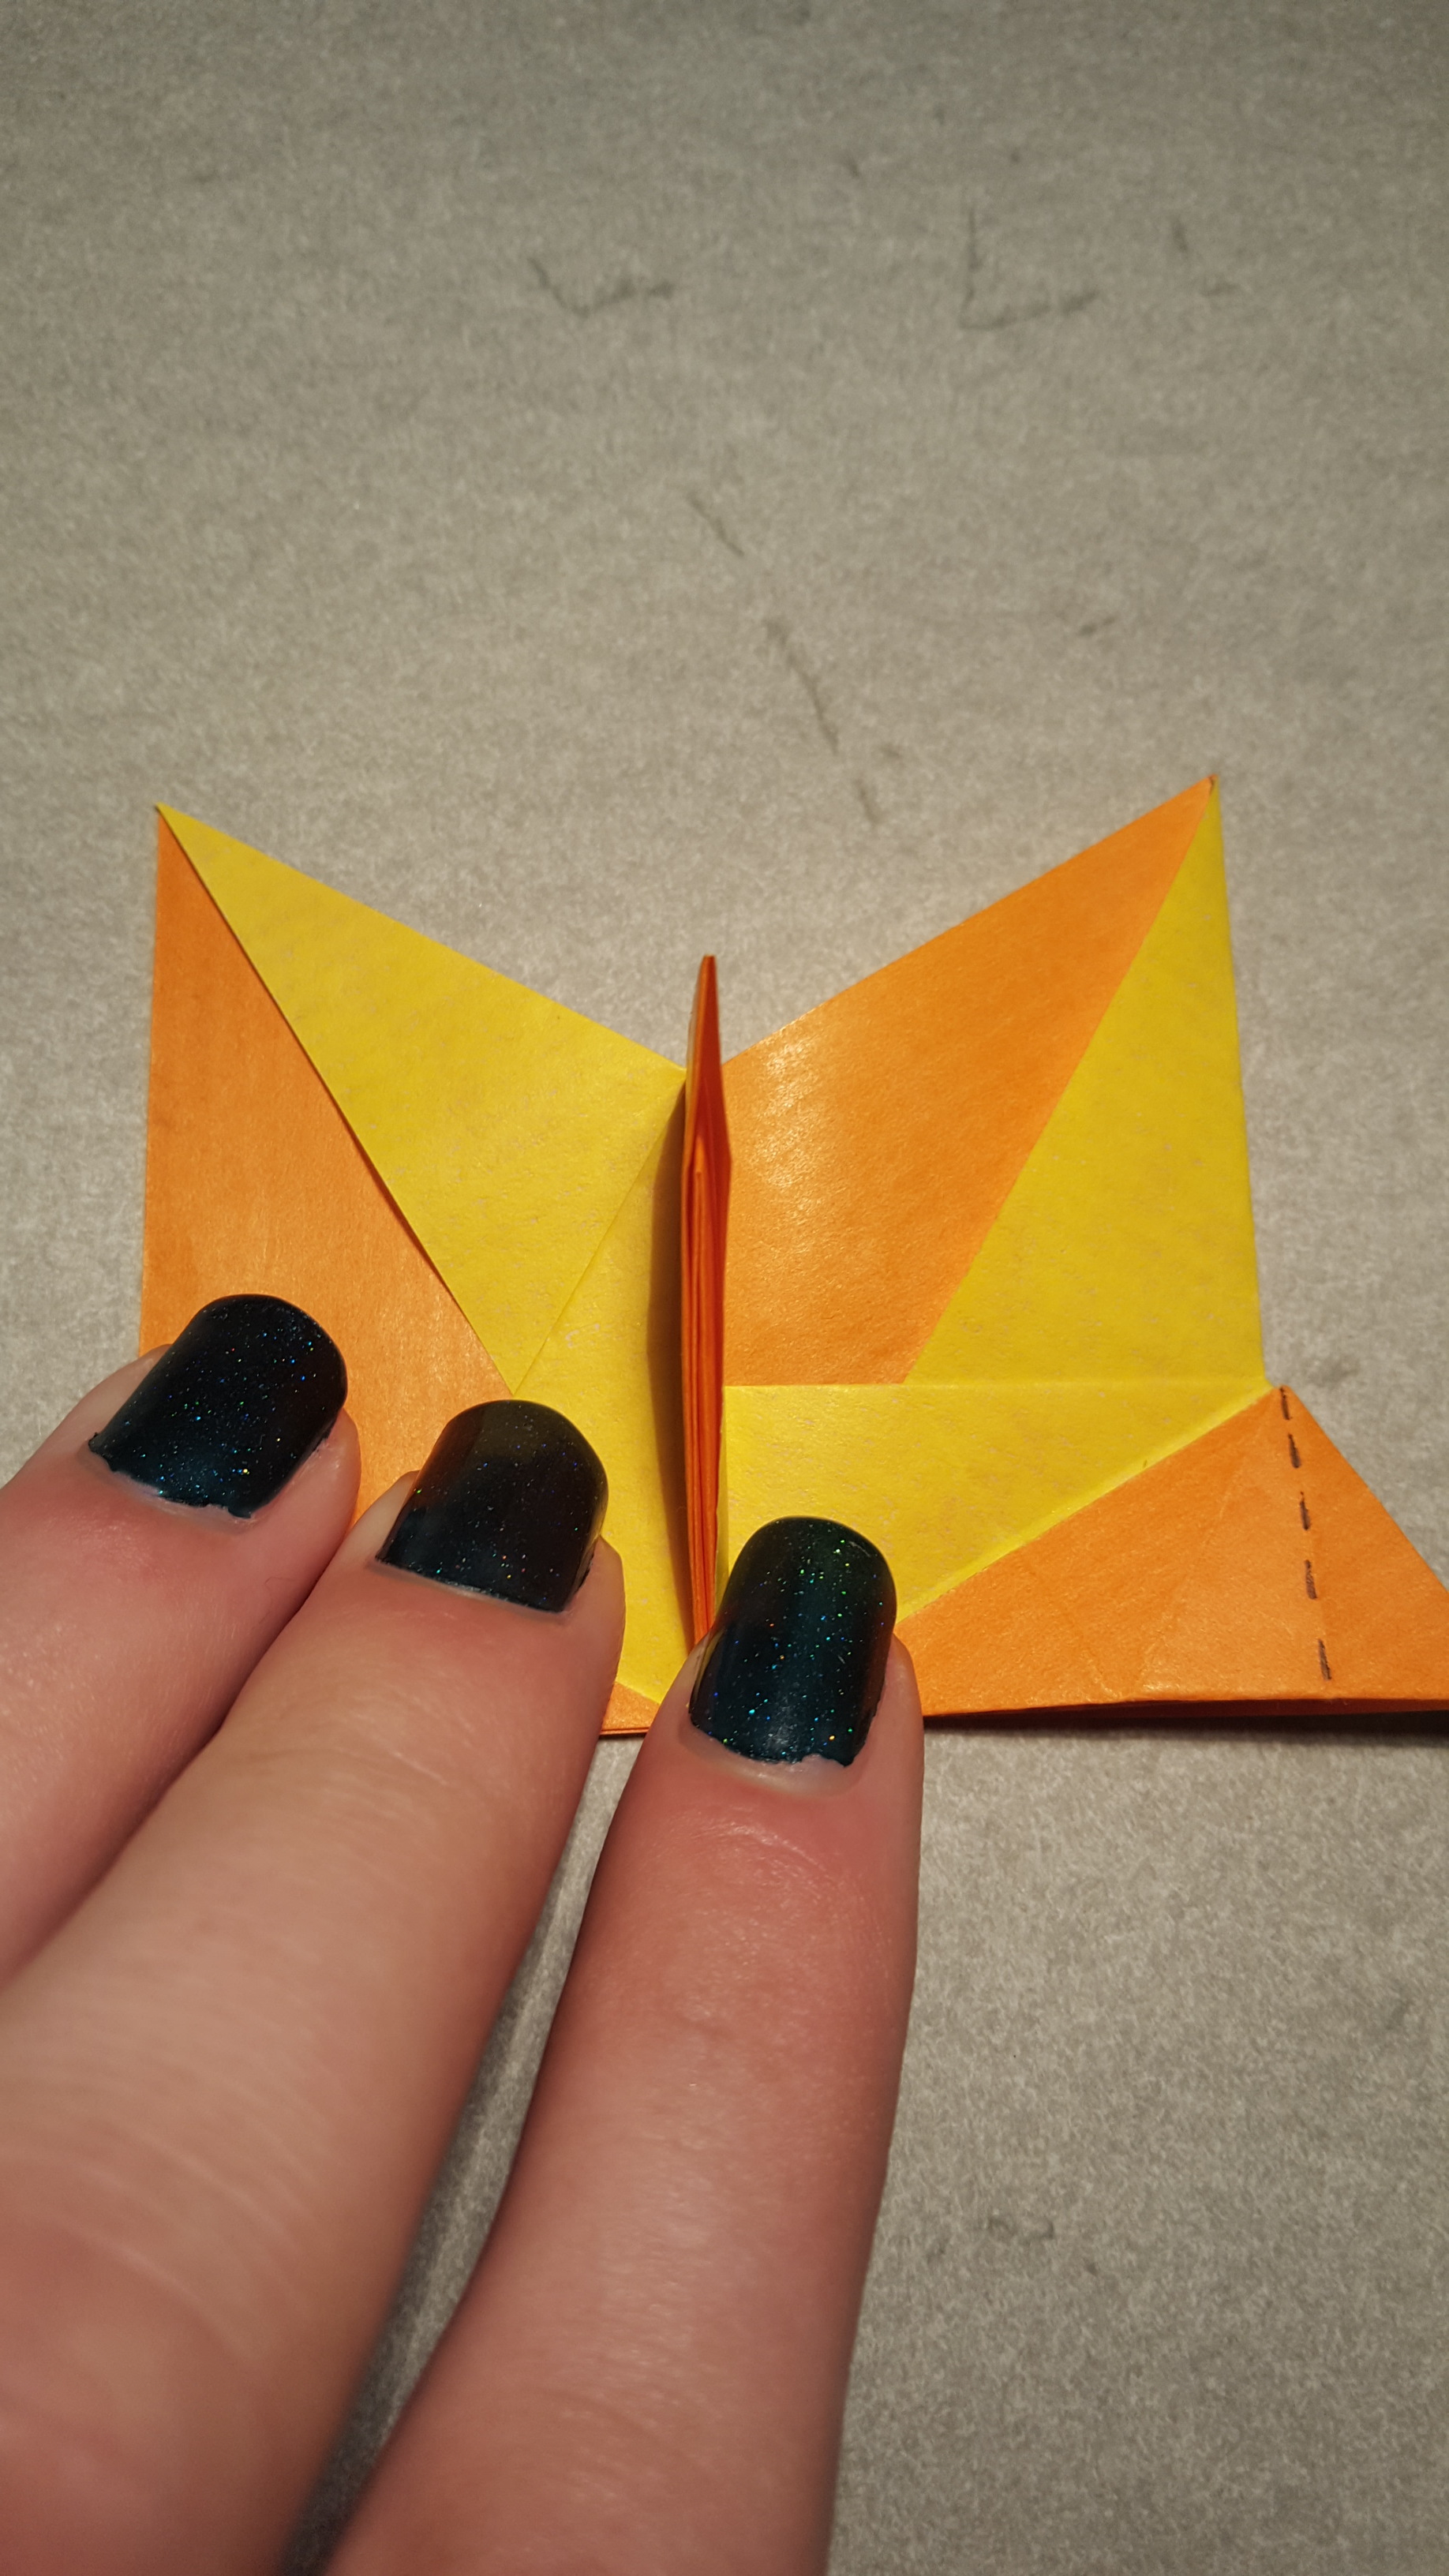
Step 11
Fold a tab on the left side of the paper by aligning the edge to the line where the colour changes.

Step 12
This is how you assemble two units (6 will be needed in total).

Step 13
Put the right corner into the pocket of the next piece.

Step 14
On the other side this corner should be folded along the existing crease so it goes into the pocket on the back.
Step 15
The last step is to curl these tips on the front. (I used a chopstick)

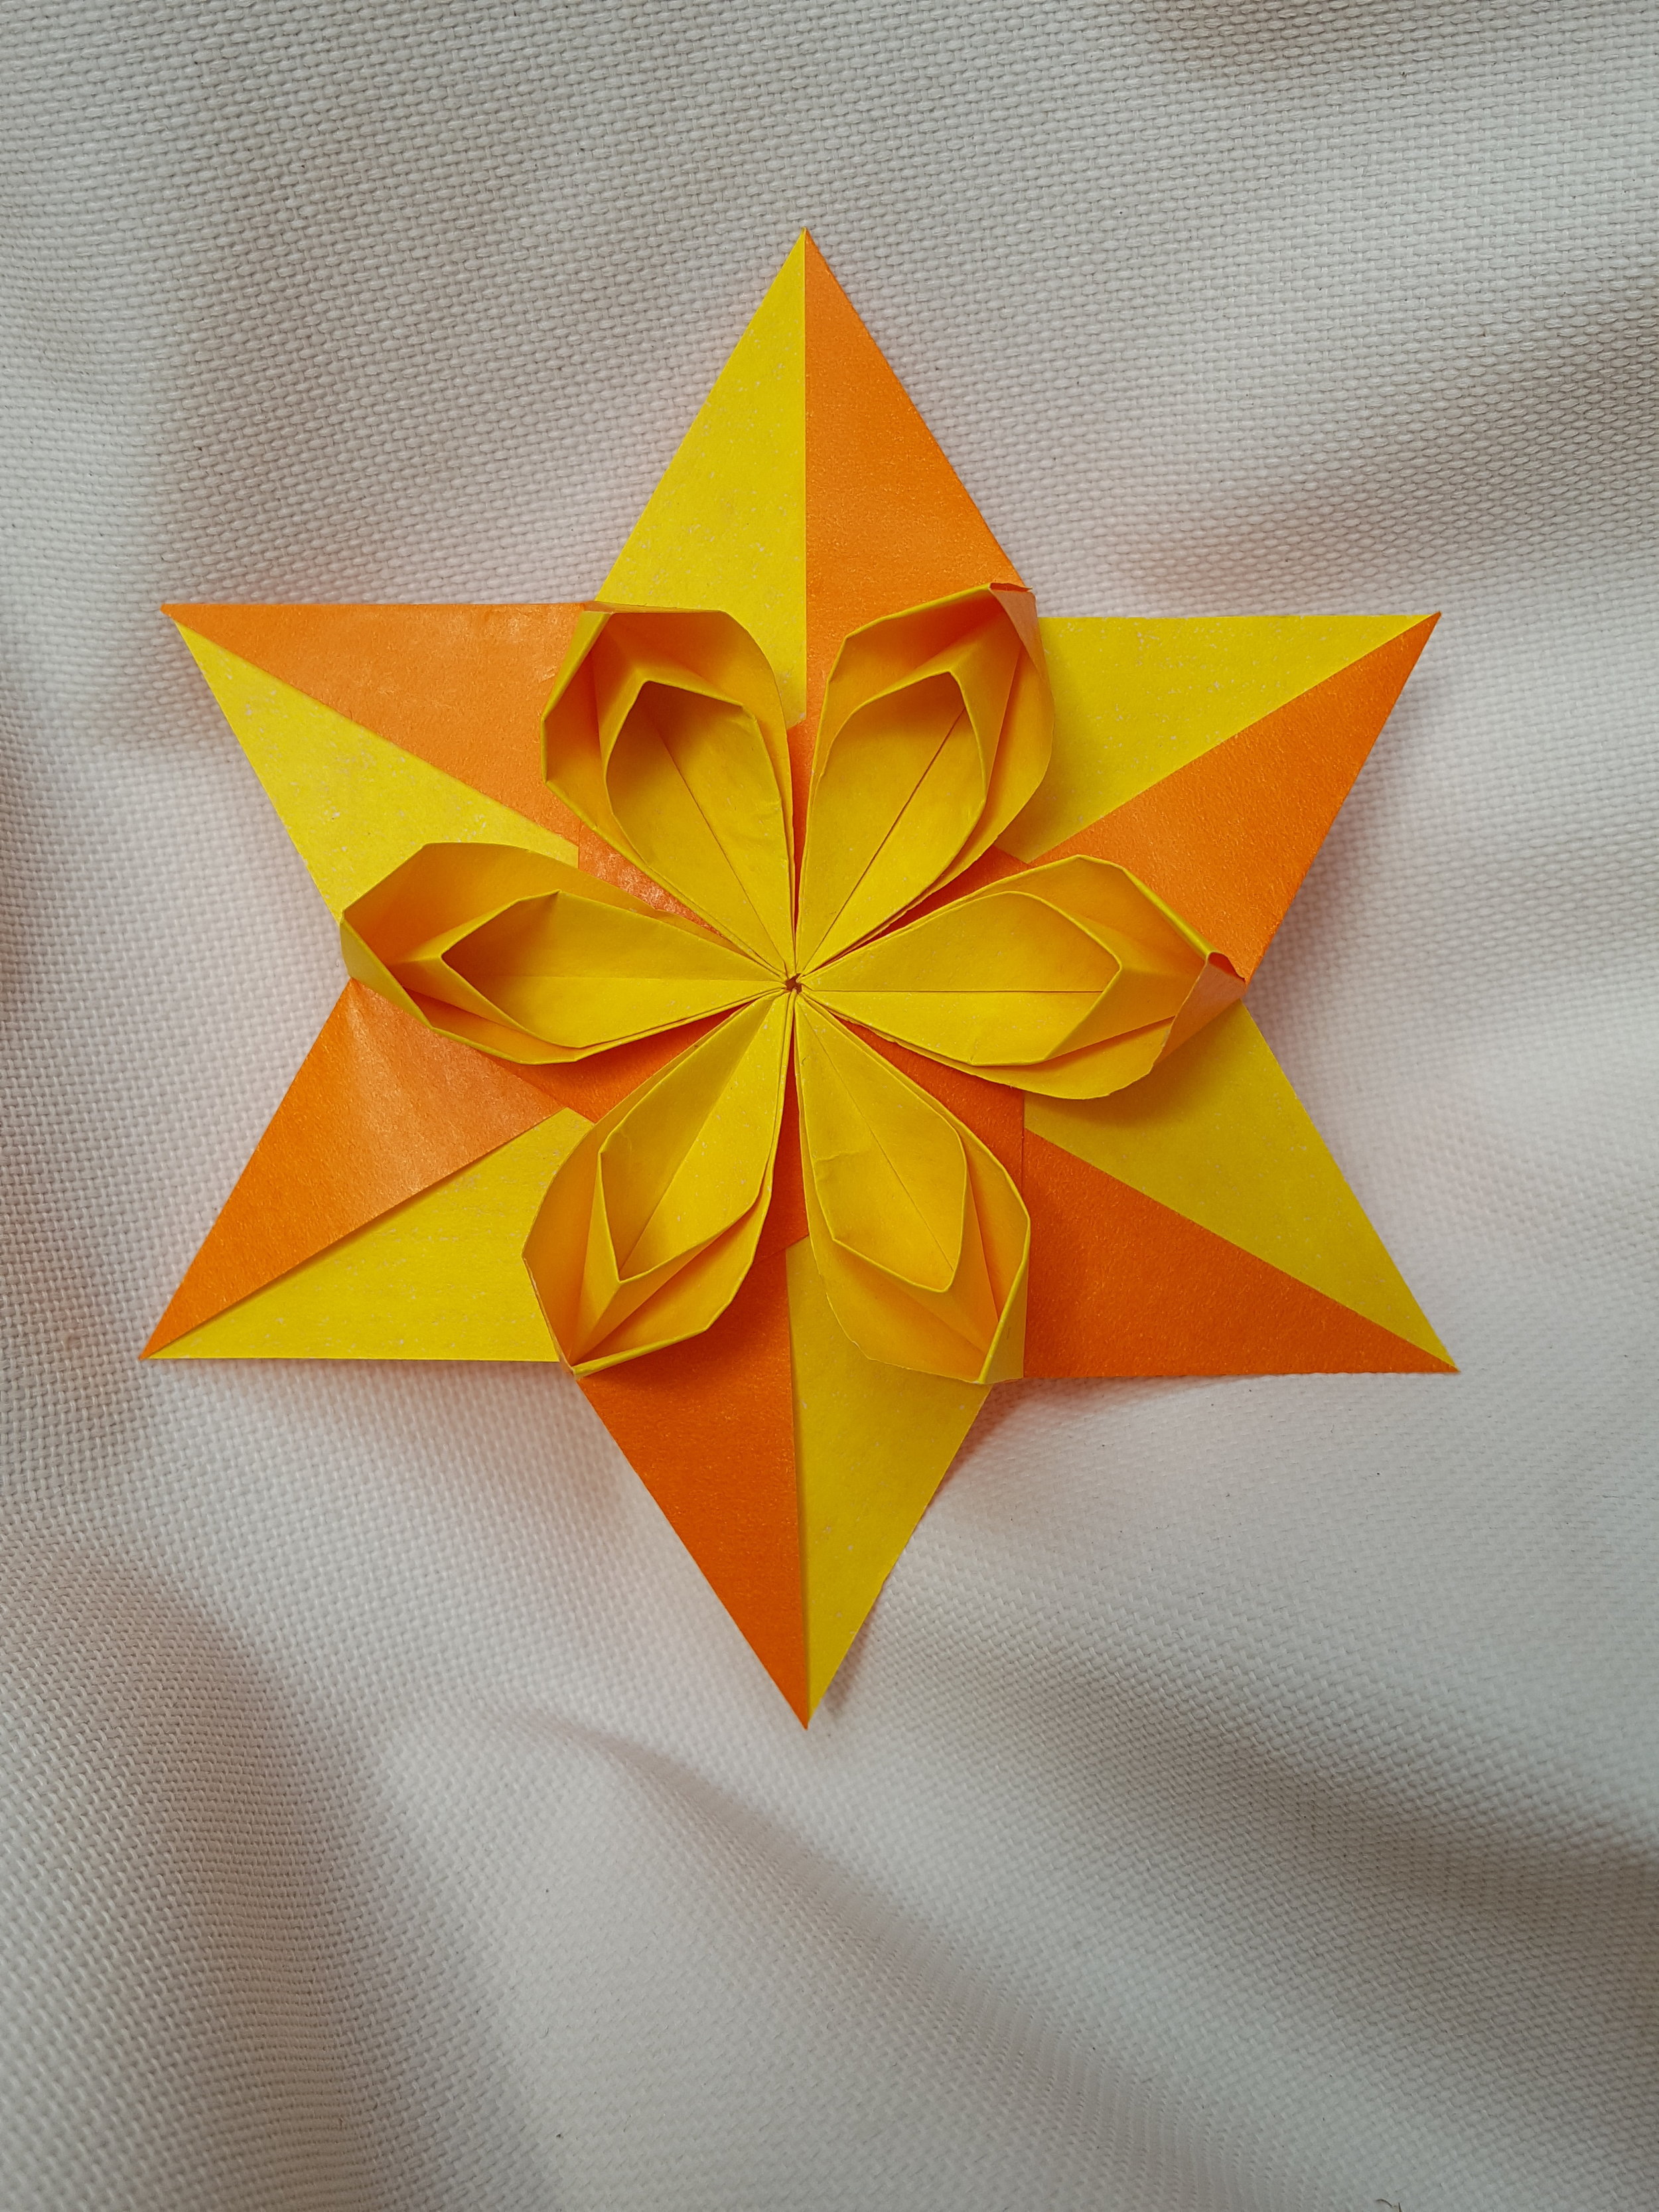
Step 16
A finished star.

Step 1
Start with paper of 1:√3 proportions (see my paper sizes tutorial for how to get this shape from a square)
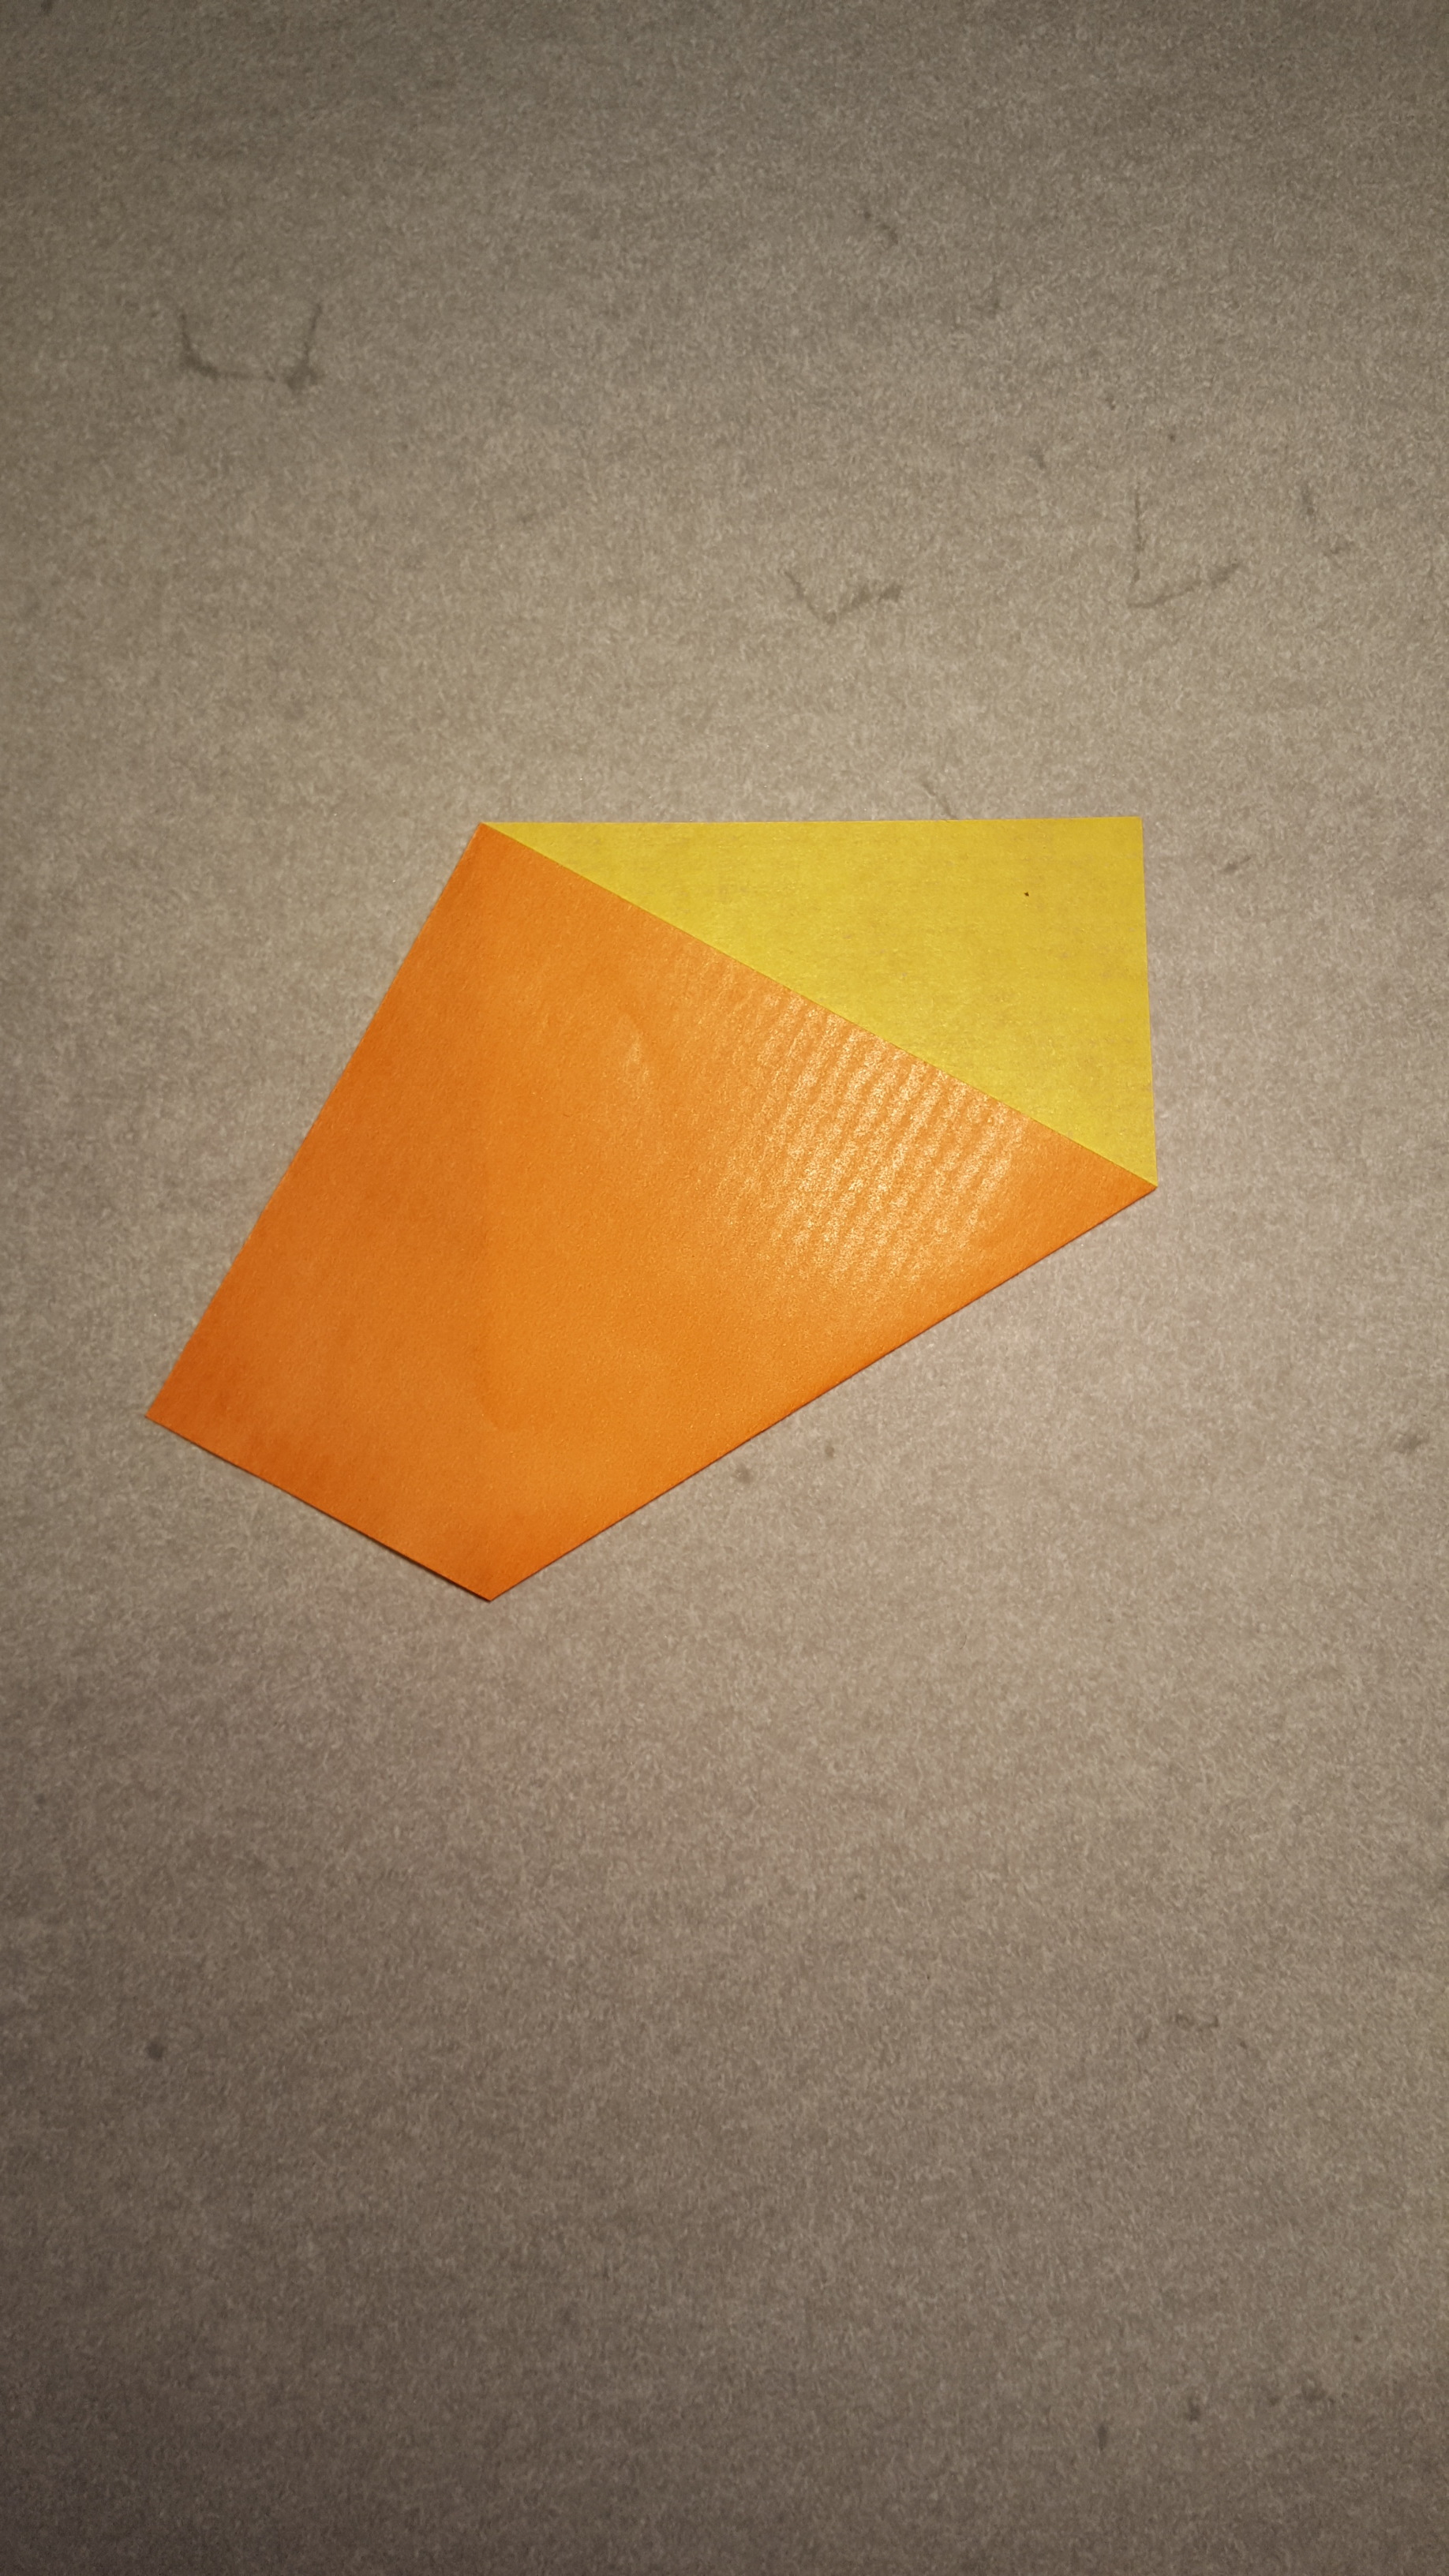
Step 2
Fold the bottom right corner to meet the top left.

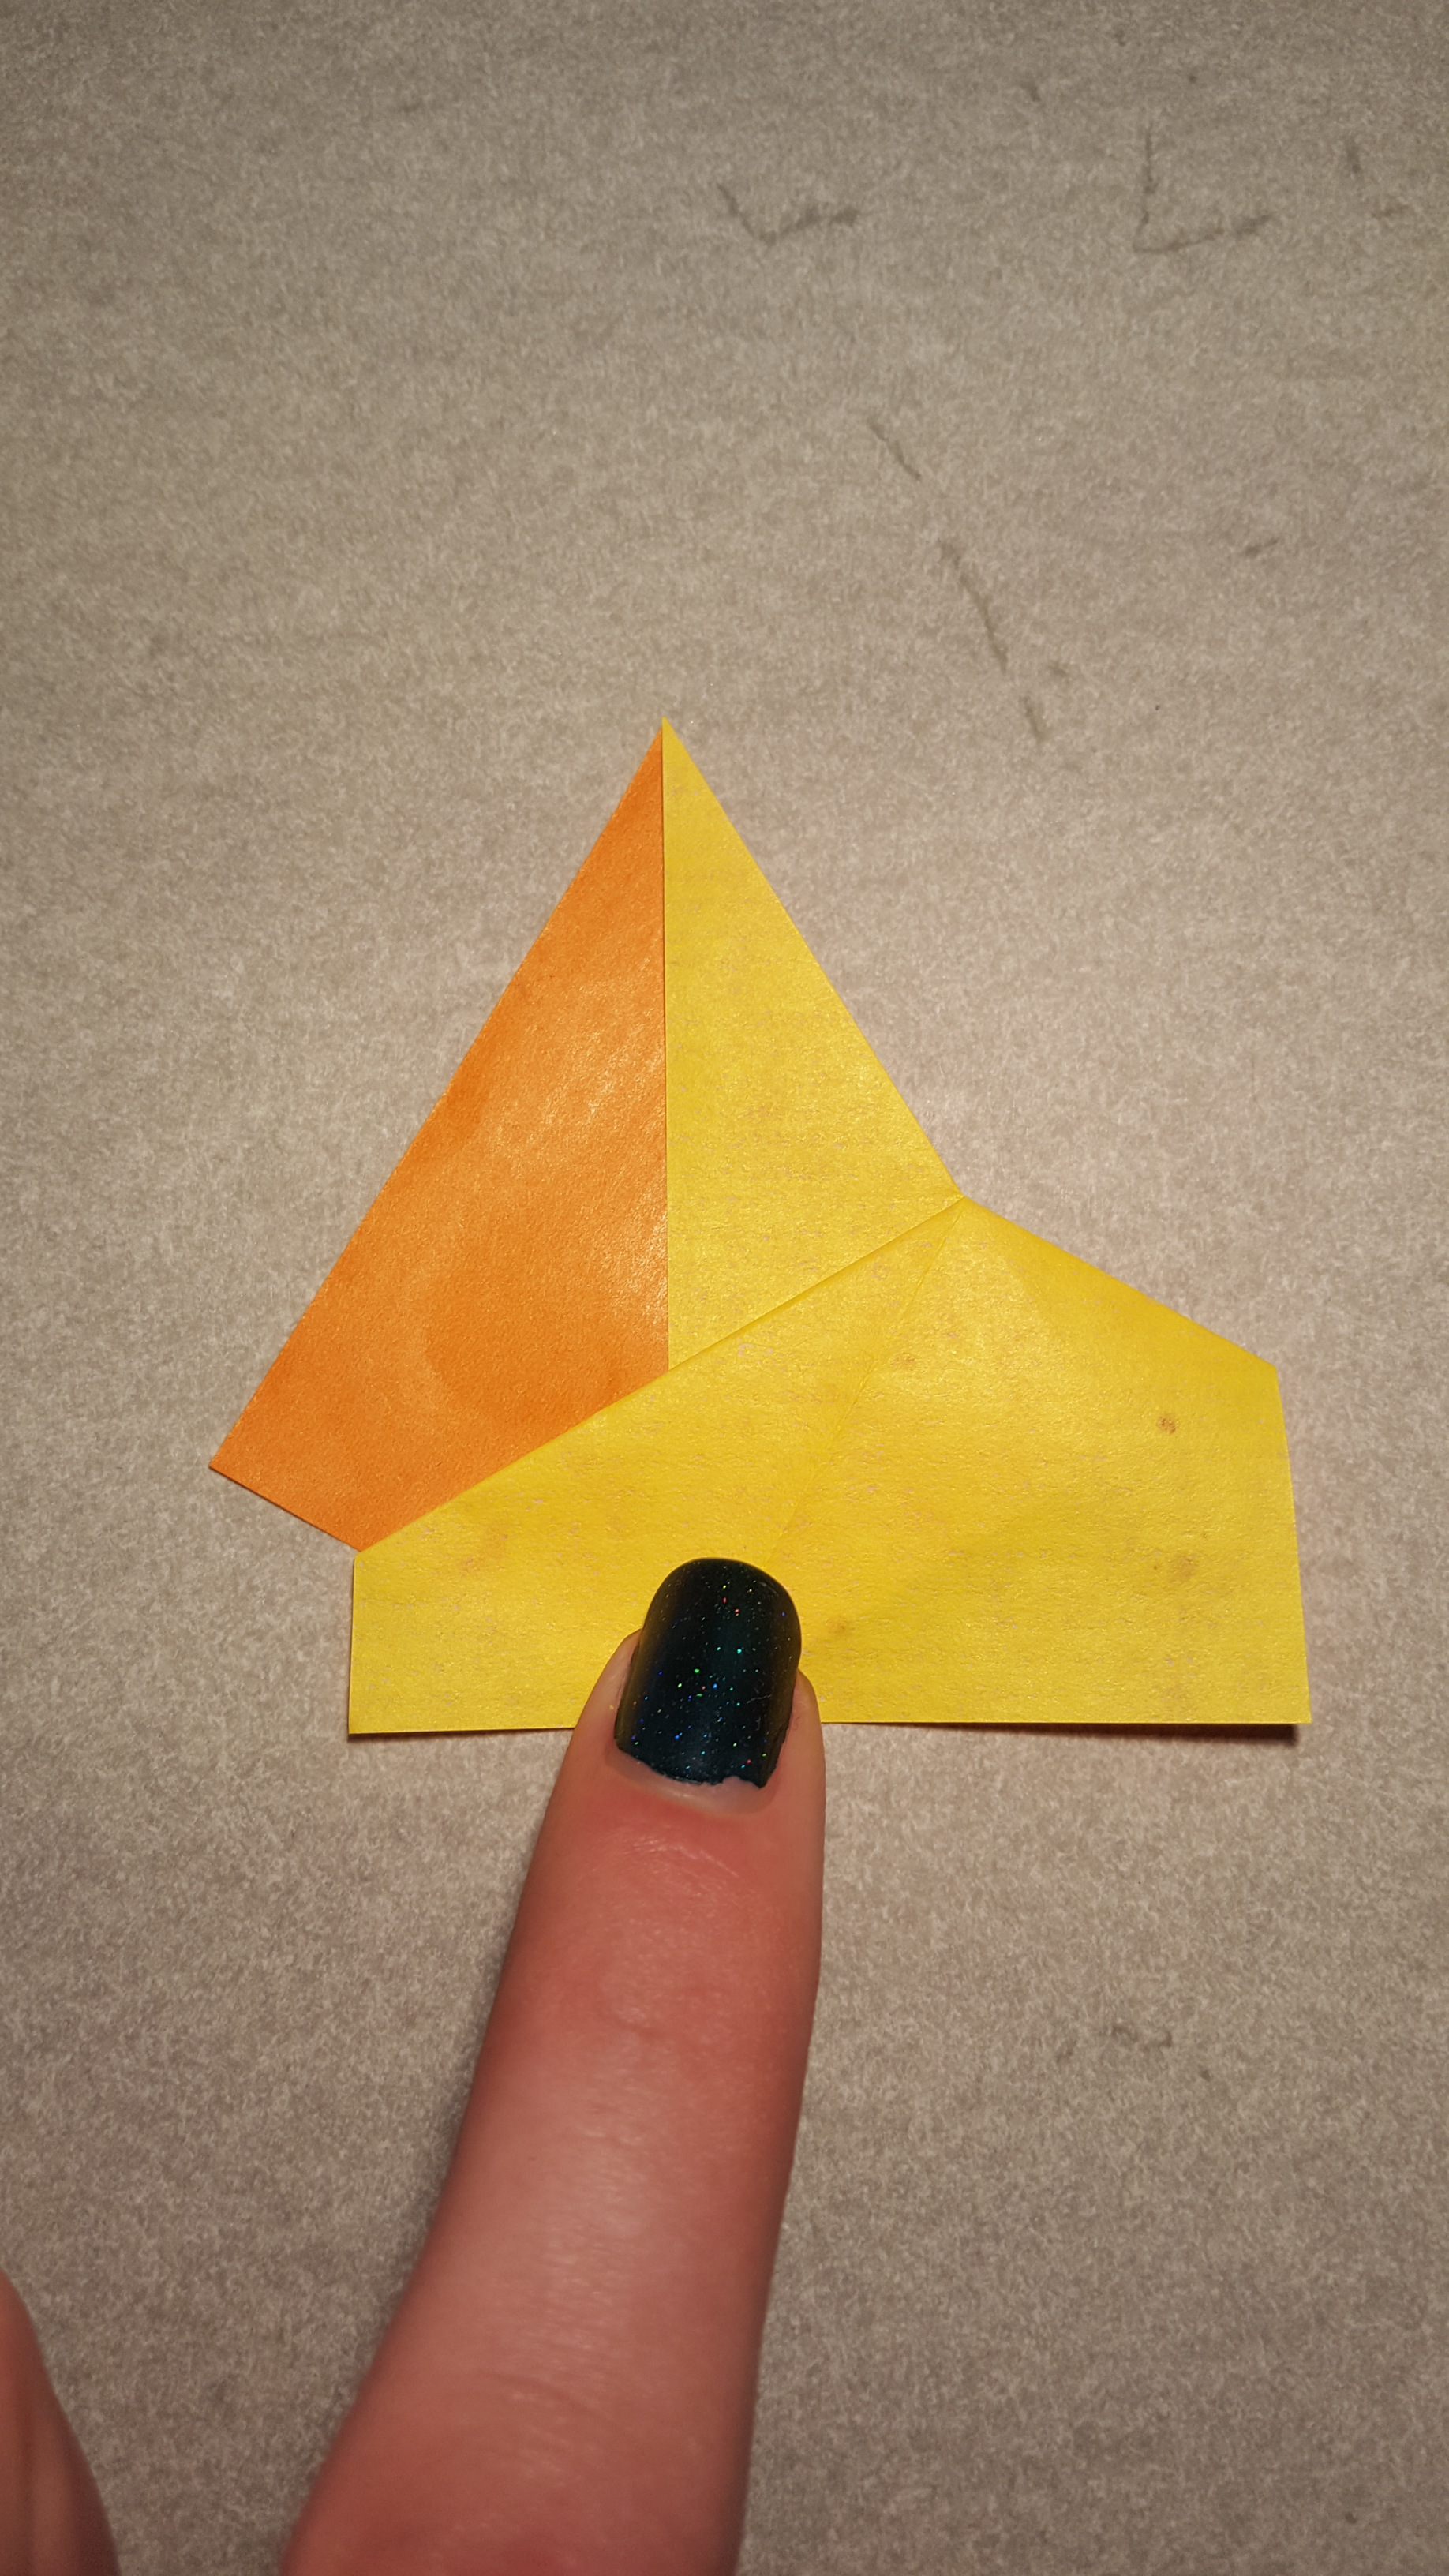
Step 3
Fold the top diagonal edge to meet the bottom diagonal edge.

Step 4
Turn the paper over.

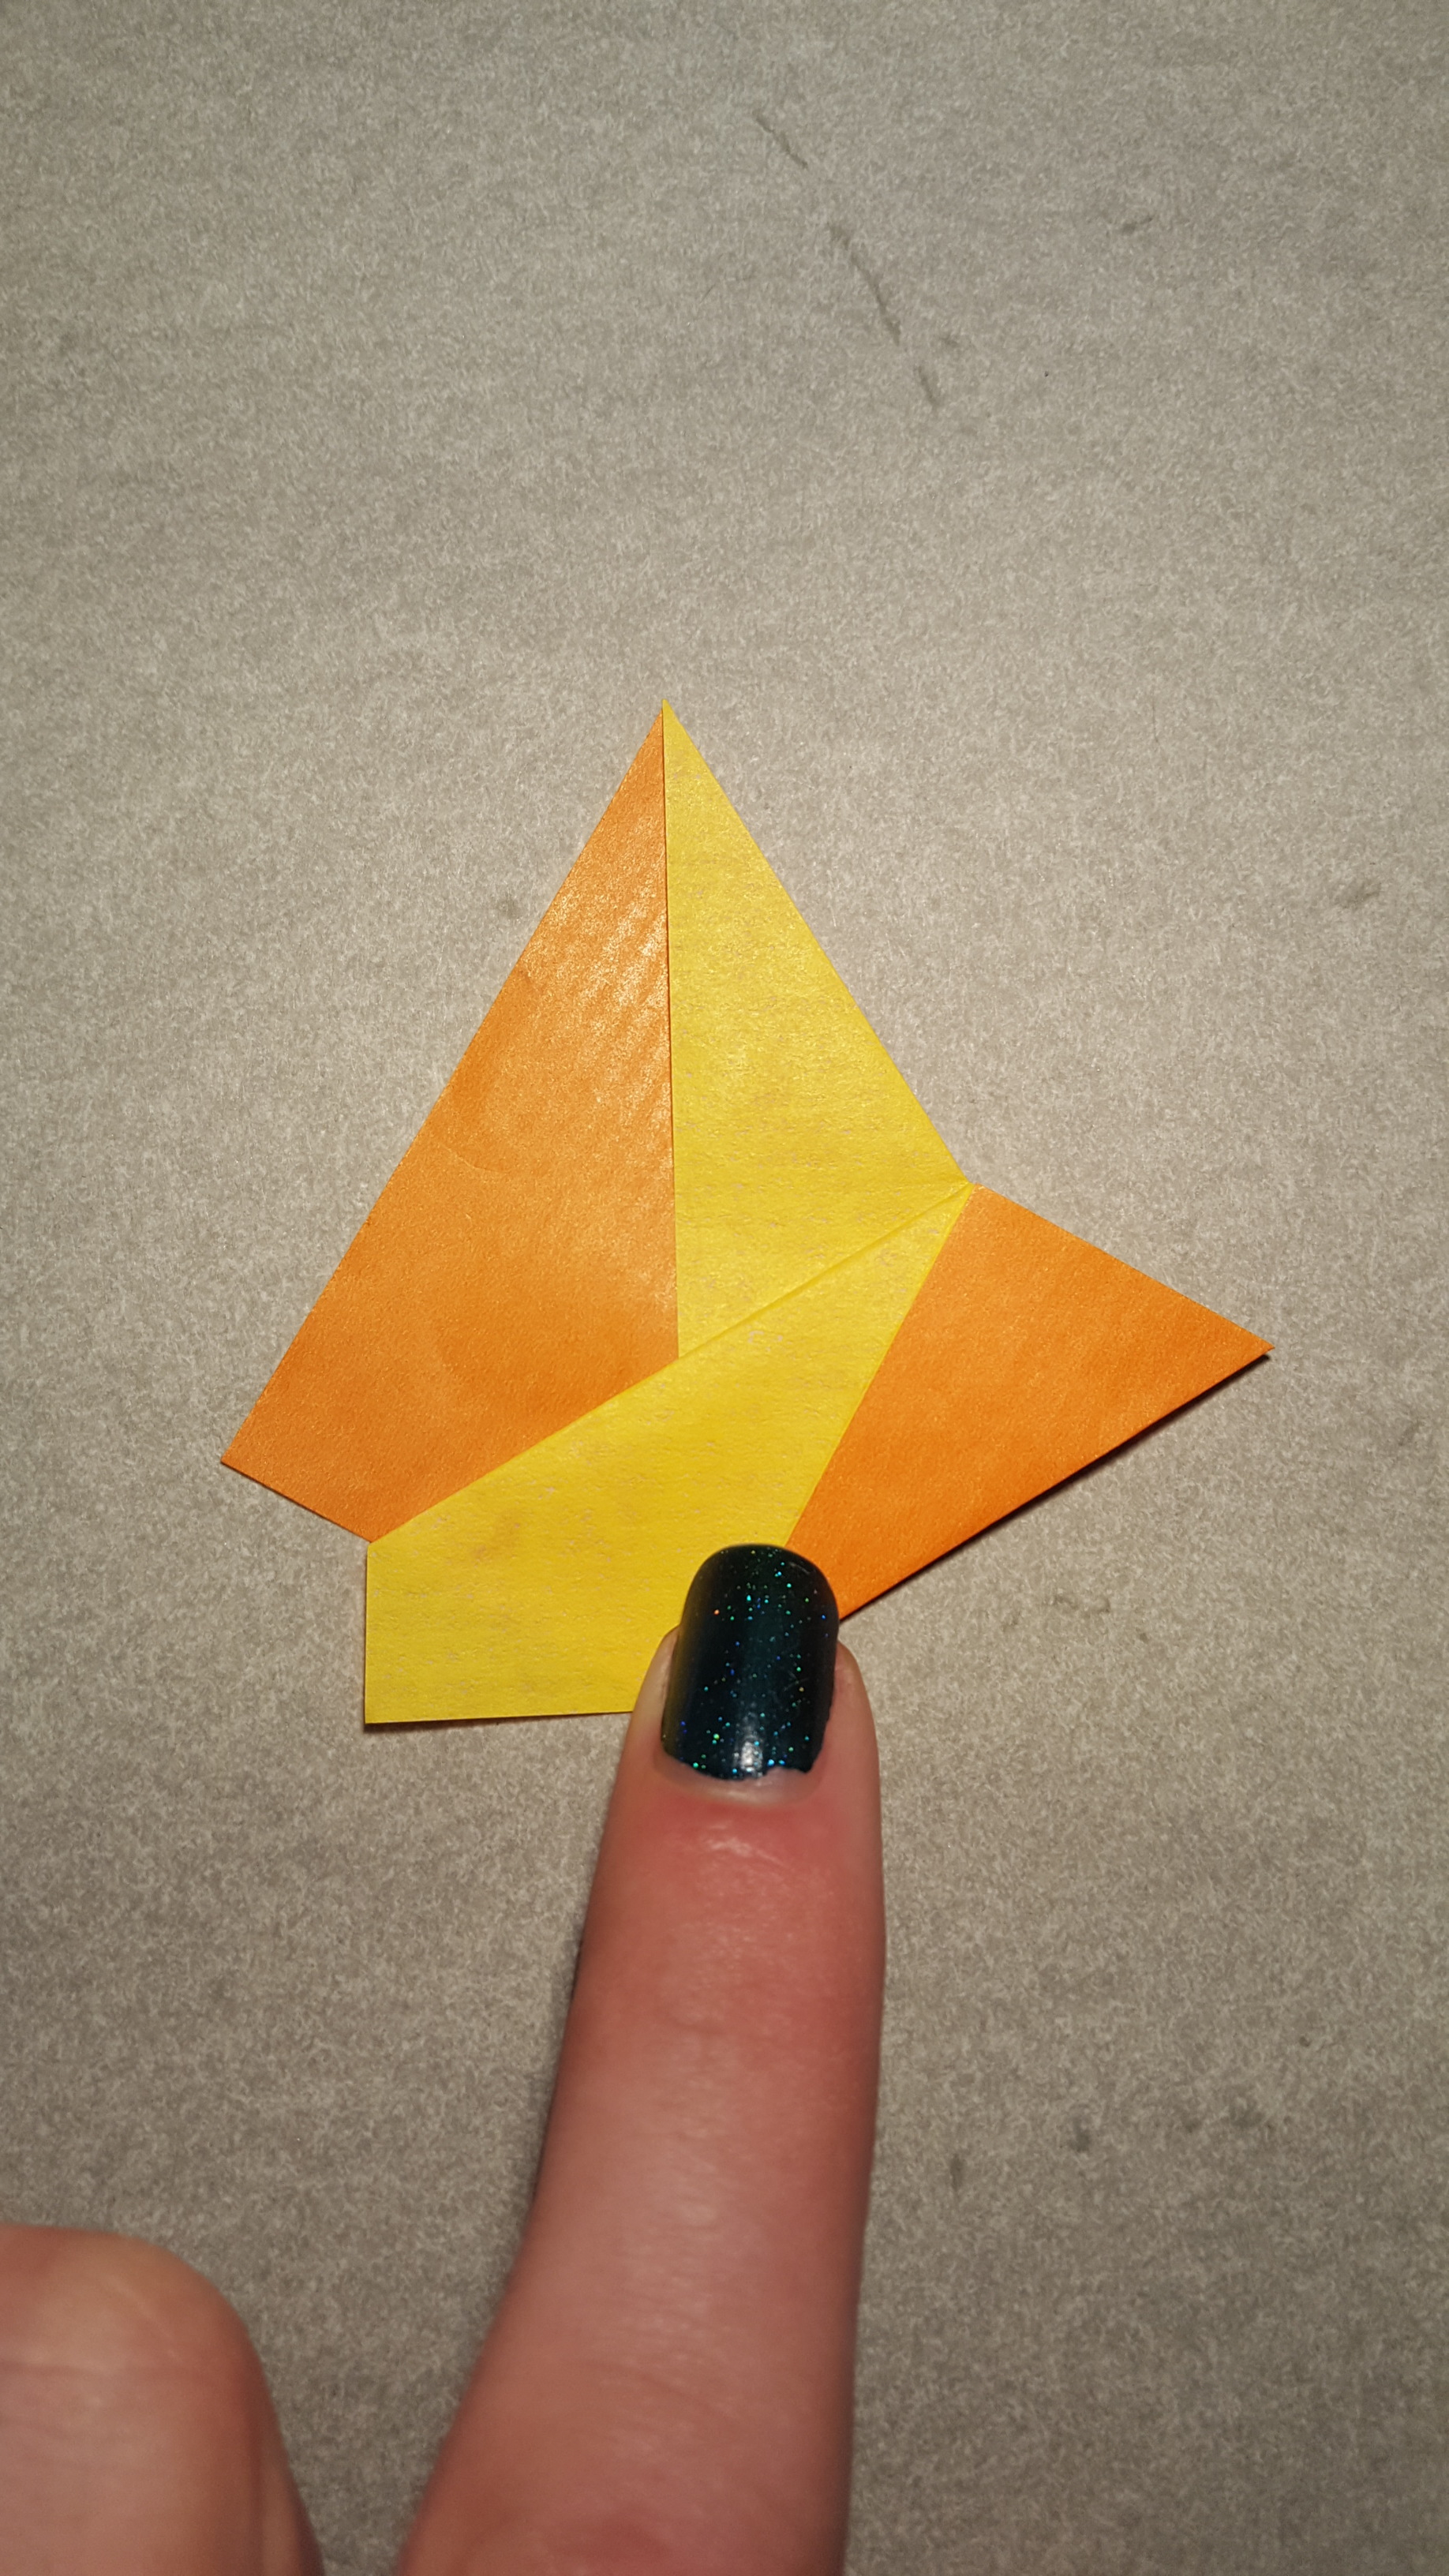
Step 5
Fold the leftmost point to the rightmost point.

Step 6
Turn the paper over again.
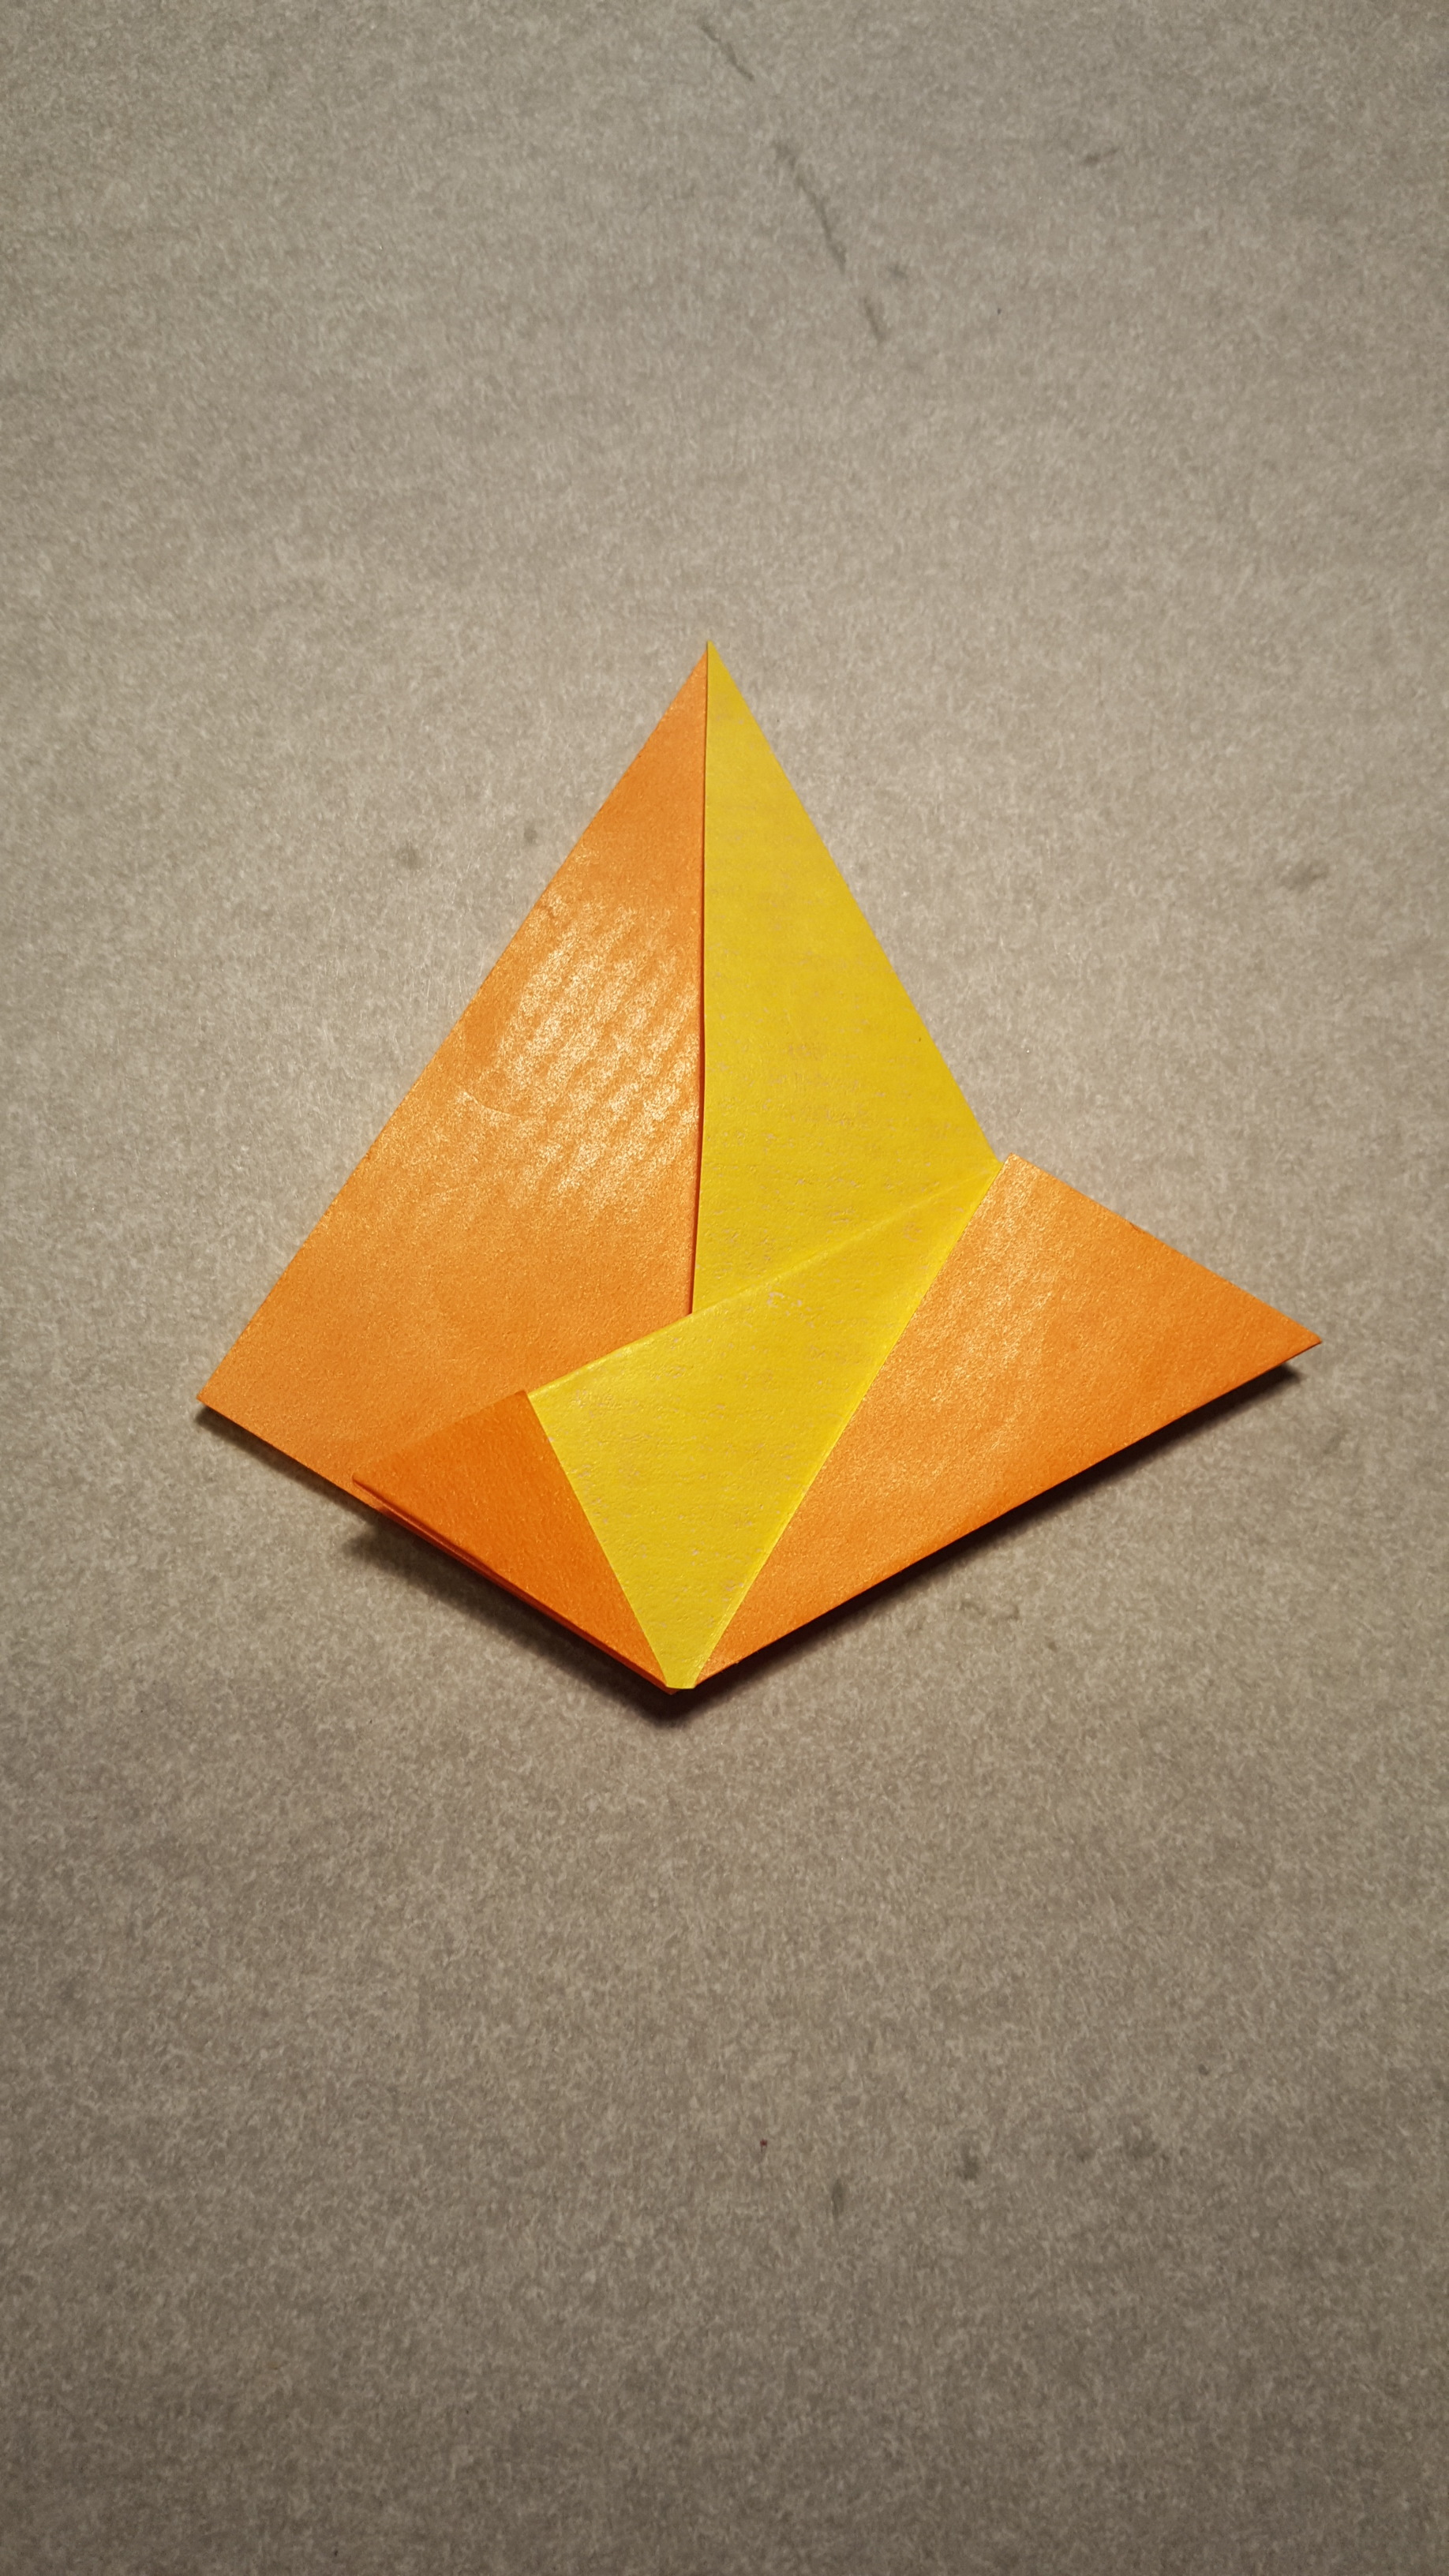
Step 7
Fold the point on the left edge where the yellow and orange meet to the bottom point by opening and readjusting the top layer of paper.
Step 8
Fold the bottom right corner up as shown.

Step 9
Fold the orange part to the left through all layers.

Step 13
Expanding the petals will hold the pieces in place as it curves the tab in the pocket.
Step 10
Unfold and fold the left flap in to align with the edge behind .
Step 14
Competed star.

Step 11
Fold this edge to the middle (I find it easier to do the two layers separately).

Step 1
If you want larger petals start with the finished module from the first star.
Step 12
Now we can assemble the units. Let both sides of the unit stick up. The left tab should go into the back of the right.
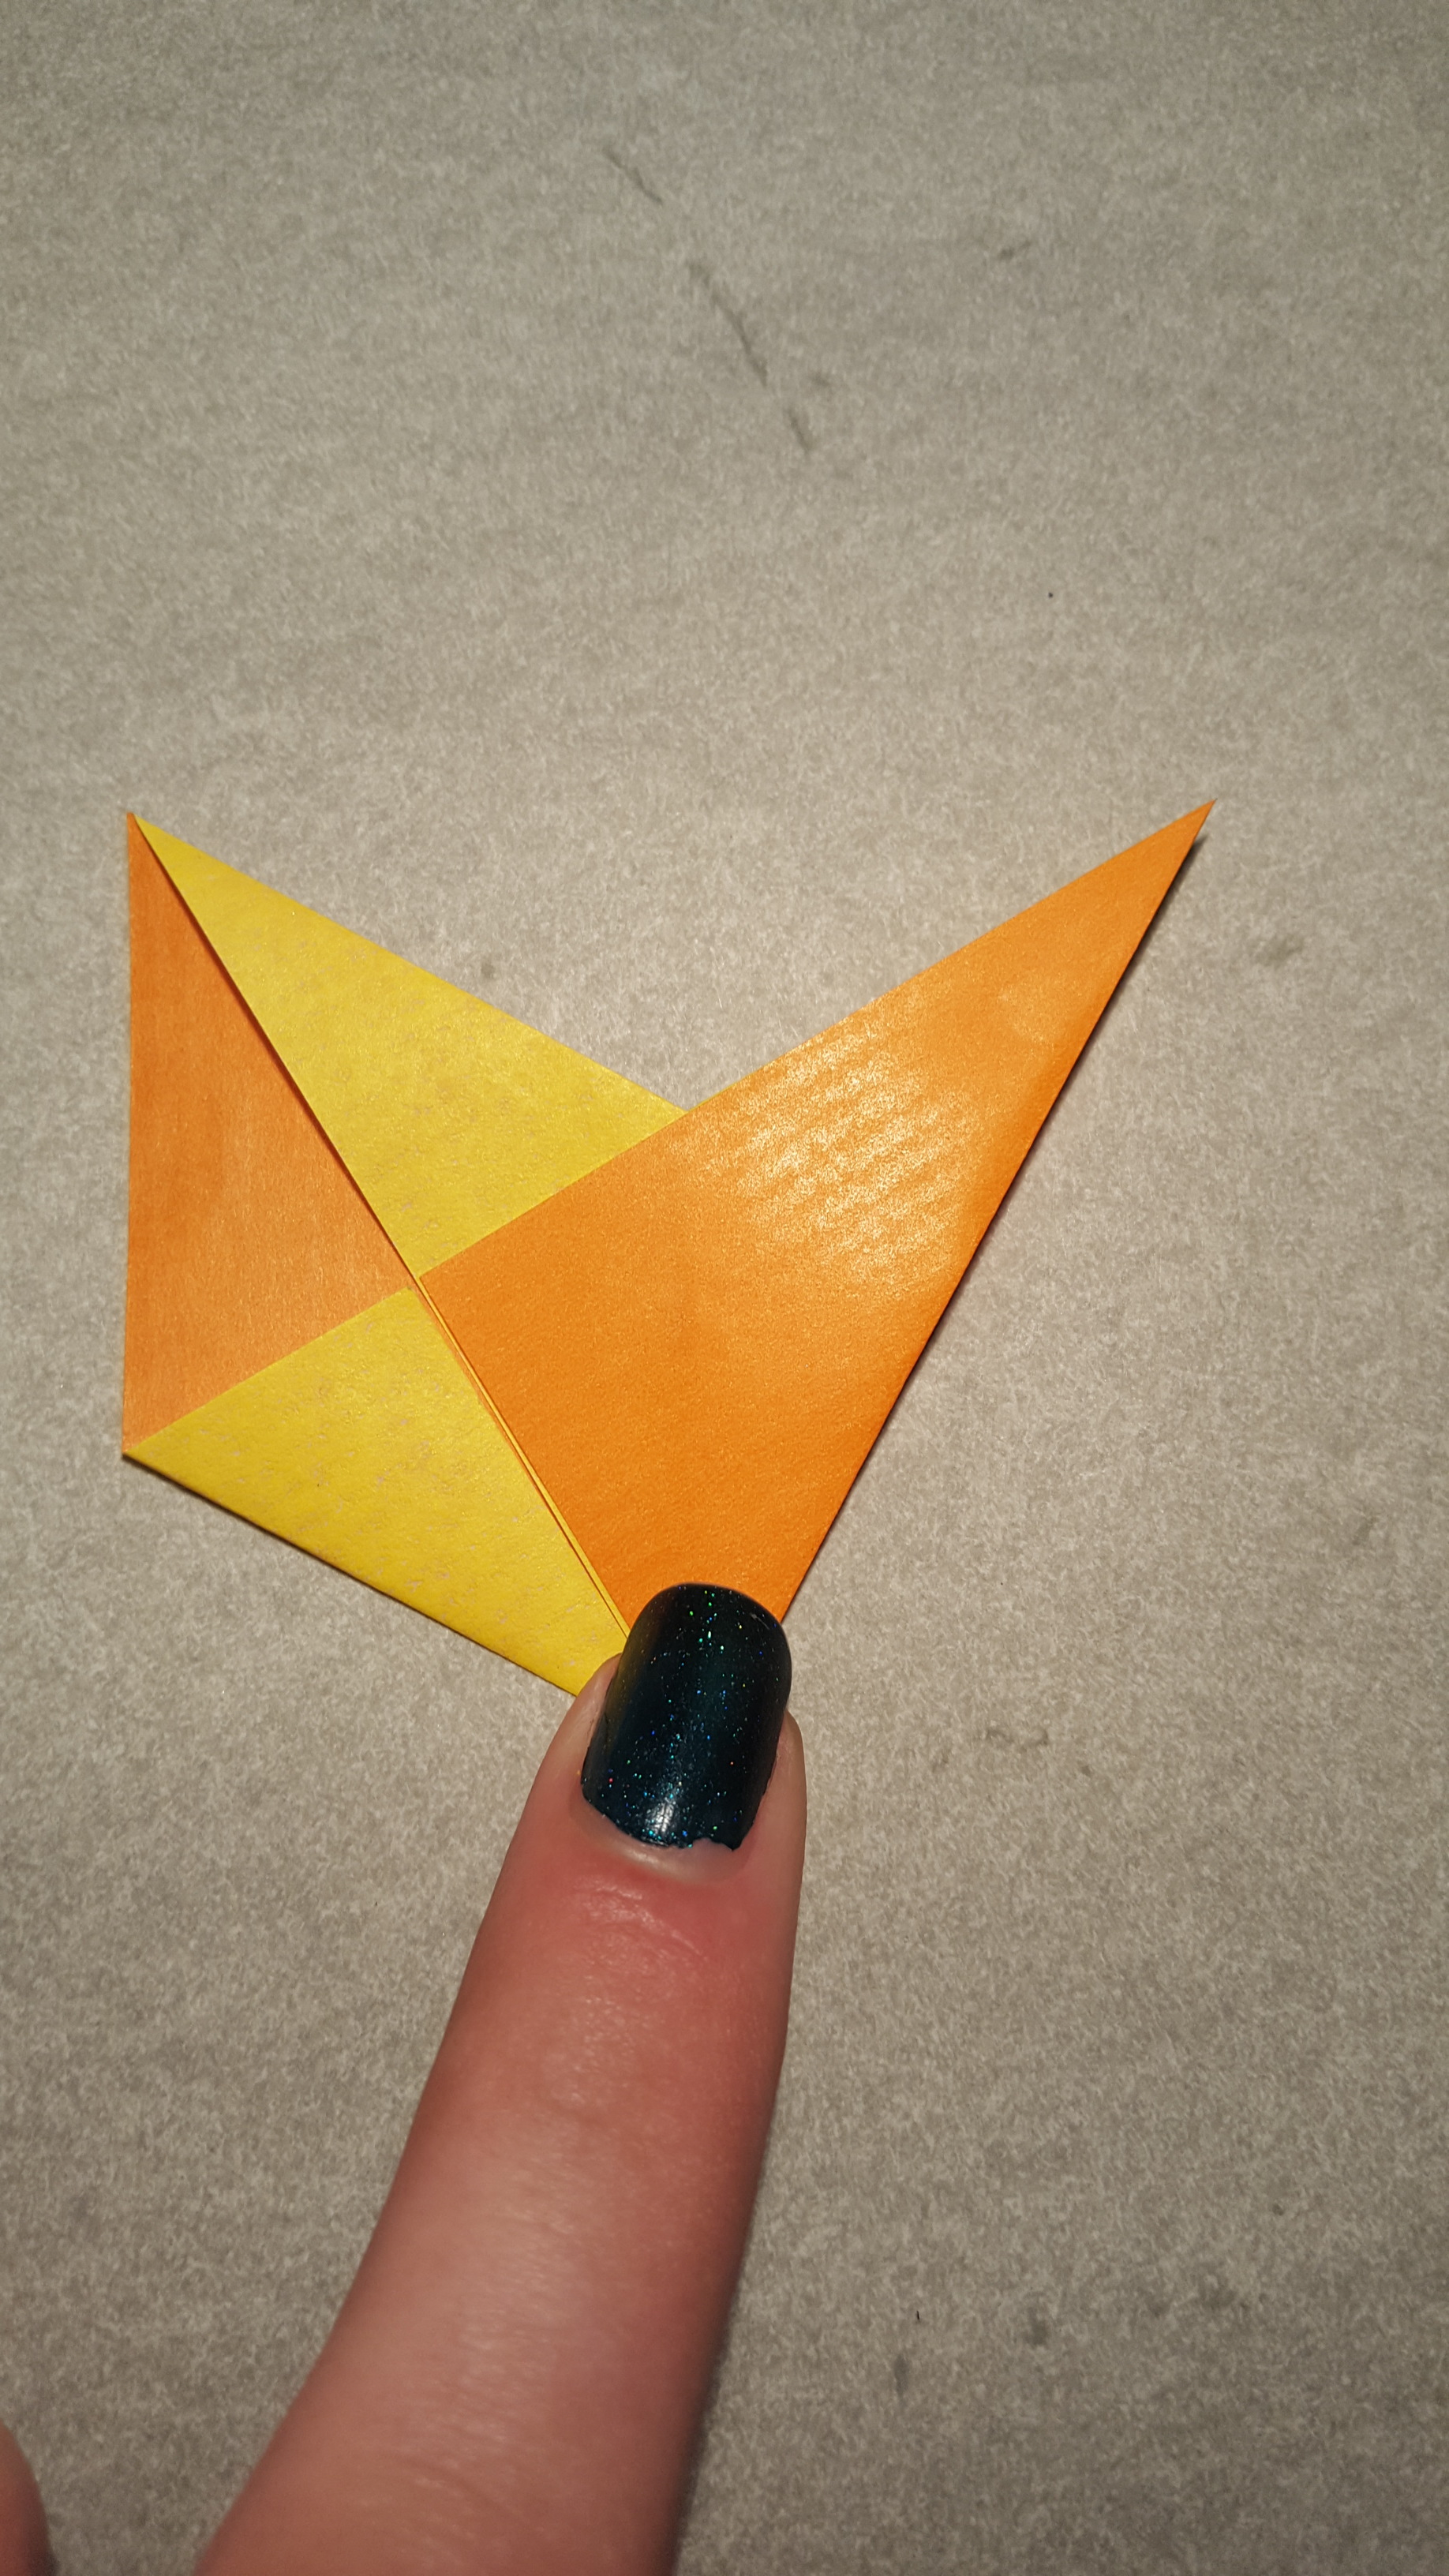
Step 2
Fold the bottom right corner to the left.

Step 3
Fold the excess paper behind (into the pocket or just behind one layer).
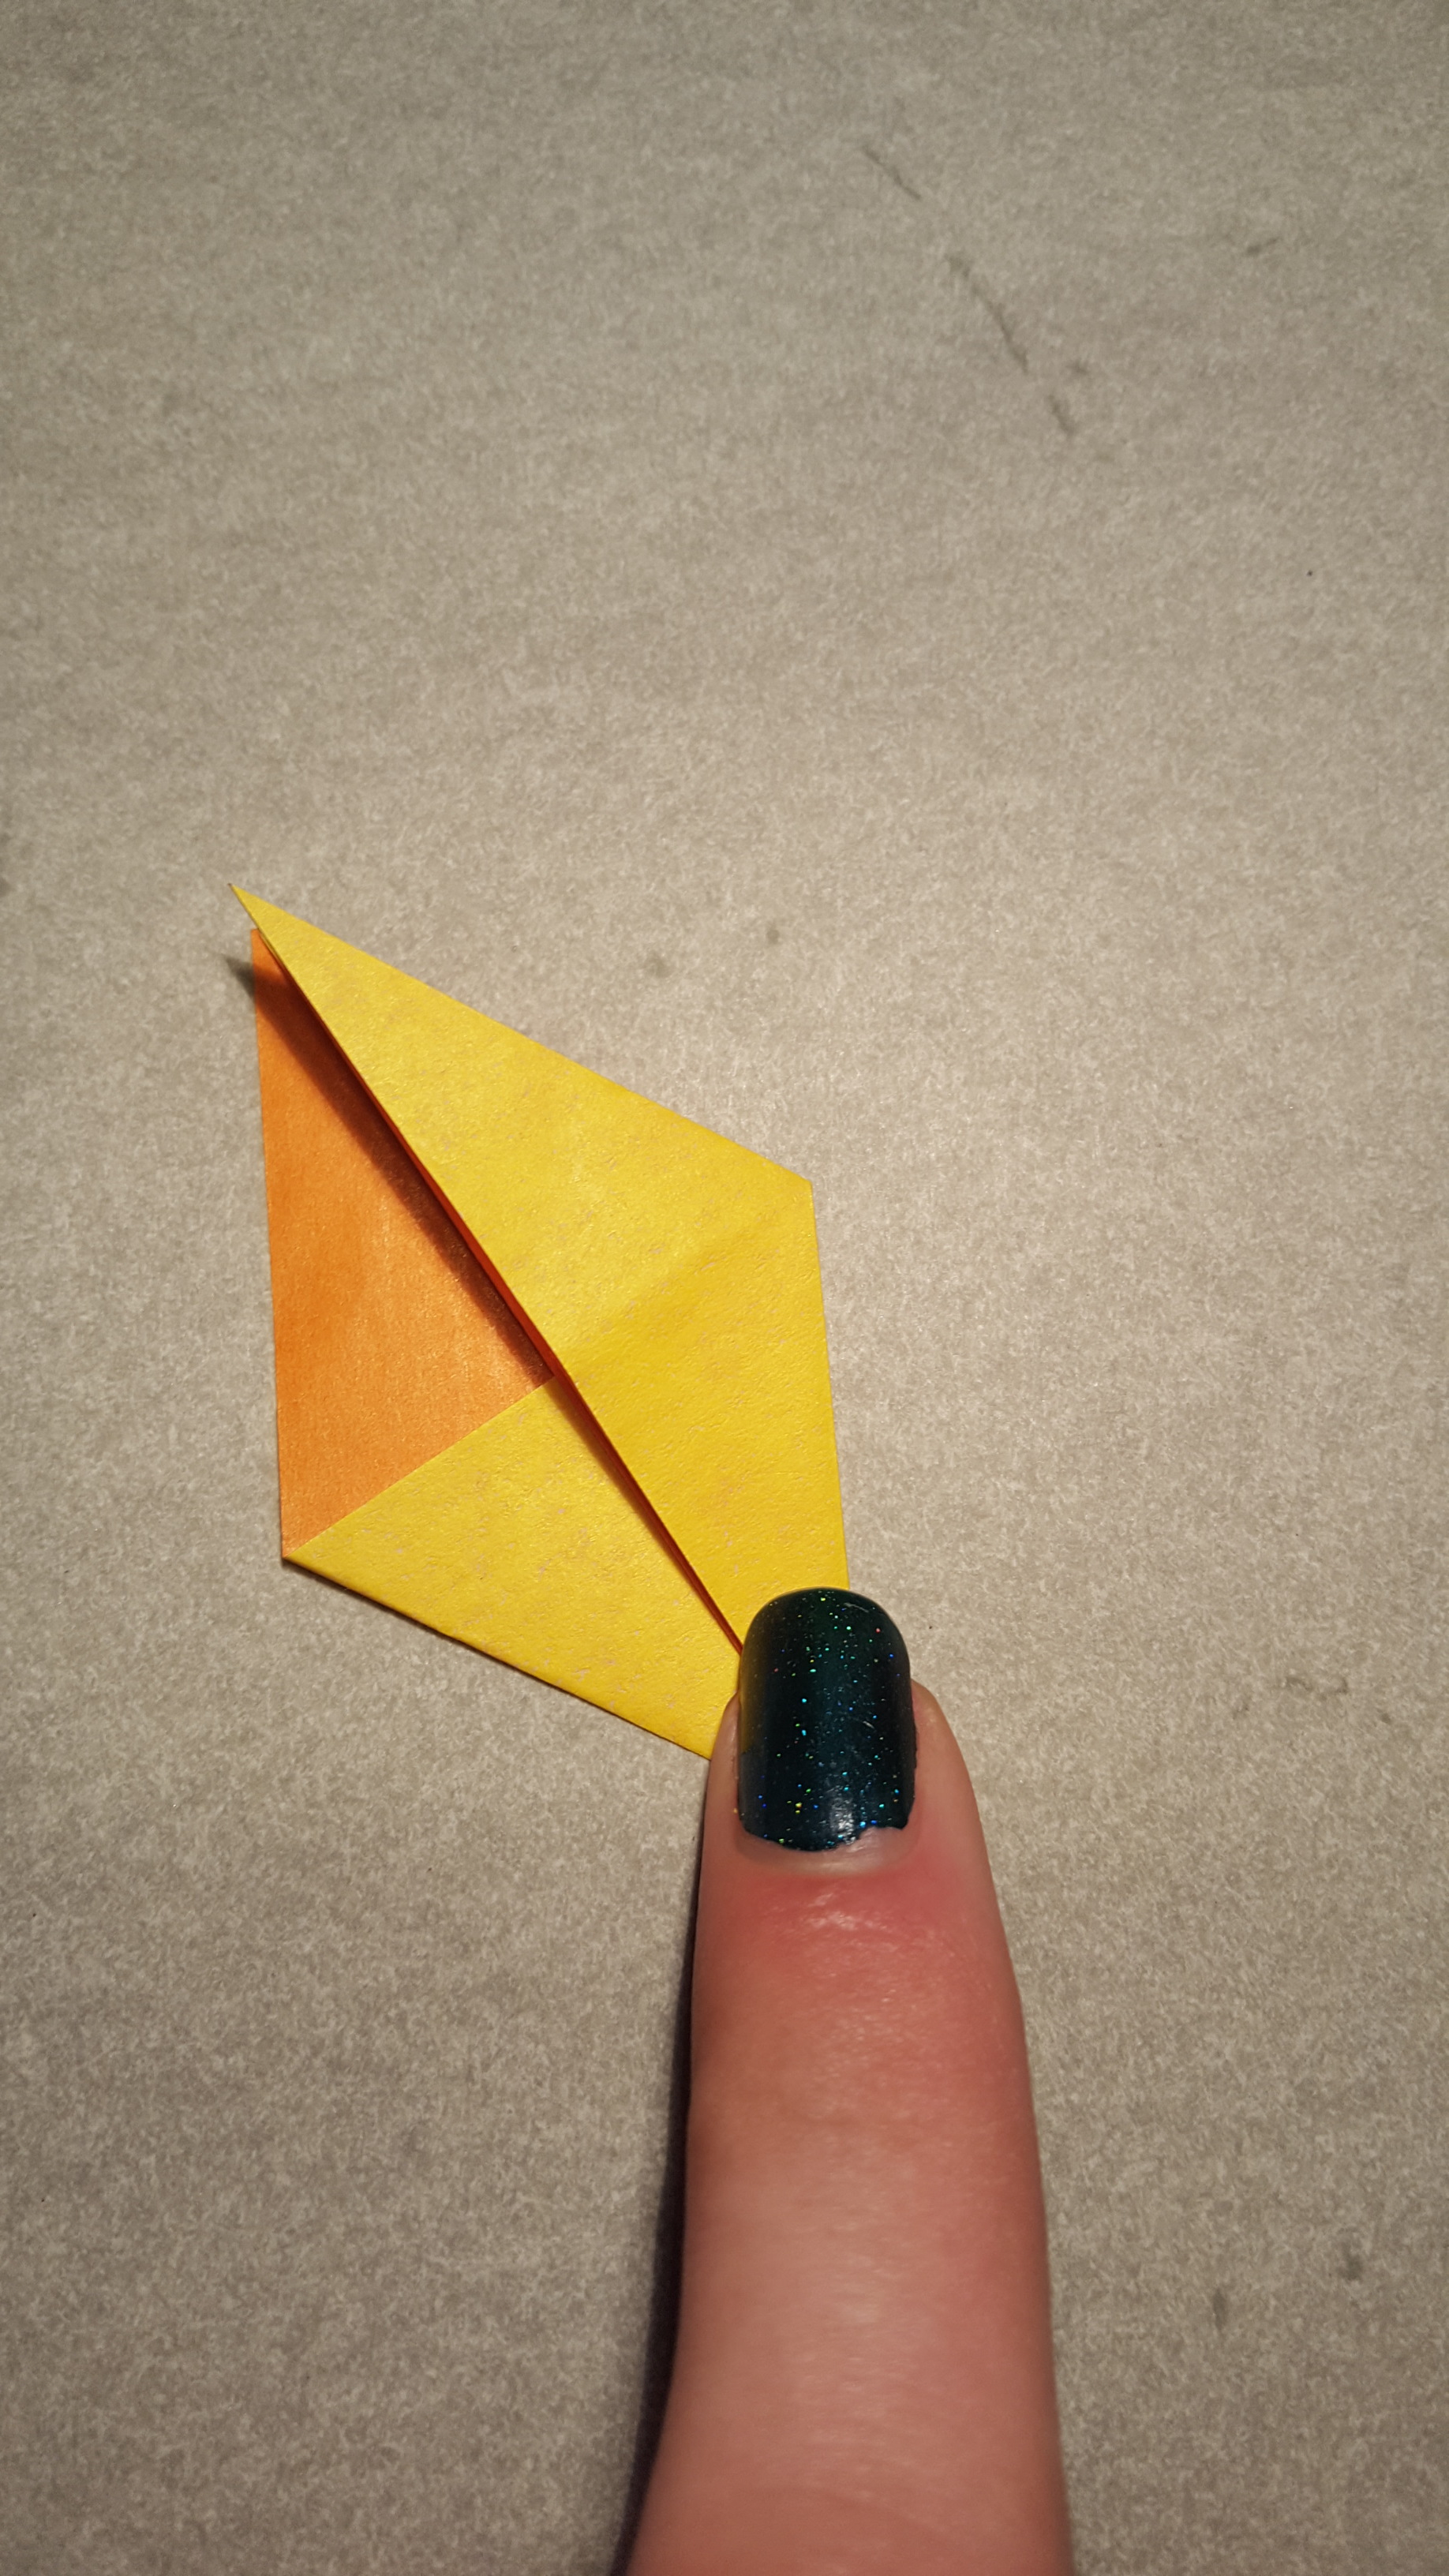
Step 4
Fodl the entire spike to the left.

Step 5
Connect the star in the same way and expand the petals to lock the pieces in place.

Step 6
You can even curl the petals back on the final model.